About this page

As I created this page, I seen wordpress pages using a lot of plugins that I like, but I could not find which plugins they were. So to maybe helps some of you, here is a list of what I use on this page:

  • WordPress – the whole site is a classic wordpress instalation
  • ProPhoto theme (no longer used) – the theme I use is a ProPhoto theme. You can find info about it here http://www.prophotoblogs.com/
  • Phrase theme – the new theme, currently used, more info here http://themeforest.net/item/phrase-responsive-wordpress-blog-theme/4265568
  • Before/After Pictures – plugin used to show comparisons between original and HDR images
  • Google Maps v3 Shortcode – plugin used to insert the location maps into posts
  • Social Media Widget (no longer used)plugin for the social media icons on top of the sidebar
  • Zilla Social – plugin for the social media icons on top of the sidebar
  • Zilla Share – plugin used for the share buttons in each post
  • WordPress Popular Posts – plugin used to show the list of popular posts in the sidebar
  • Related Posts Thumbnails (no longer used) – used to show the related posts on each post page
  • Generate Post Thumbnails – used to generate thumbnails all at once
  • Use Avatar – used to add an avatar image to the user profile

ProPhoto theme Discount code

If you like the theme this site used, the ProPhoto theme, you can use this discount code MPET8715 ang get a 10$ discount on it :)

Info about the theme and prices can be found here http://www.prophotoblogs.com/

ProPhoto theme

Page evolution

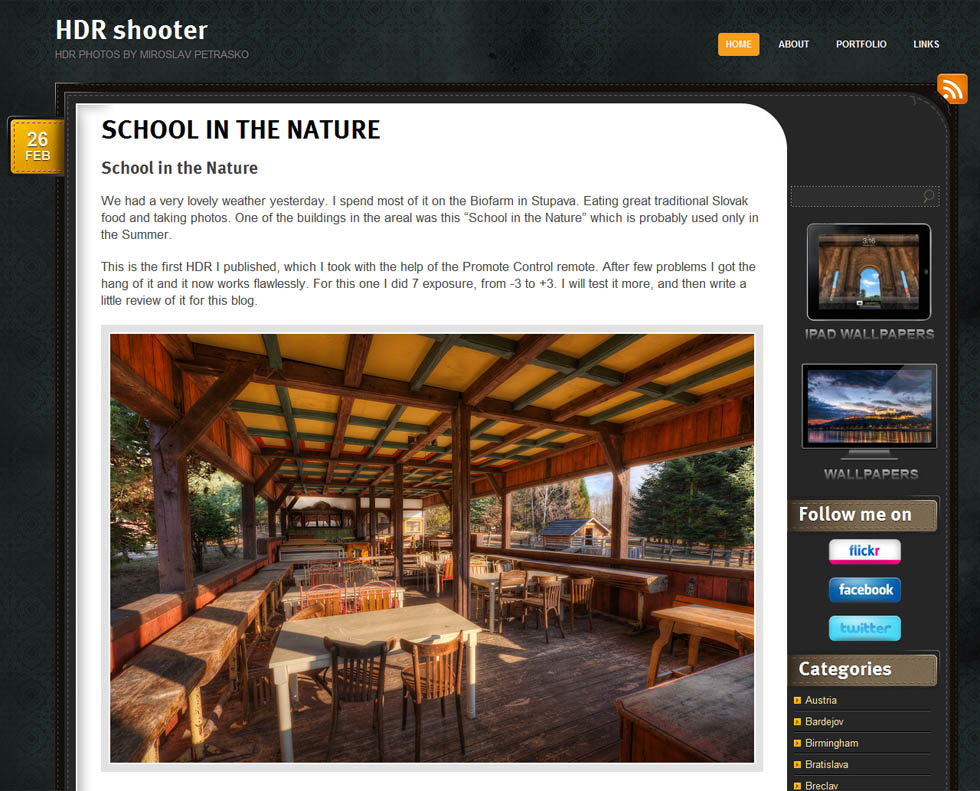
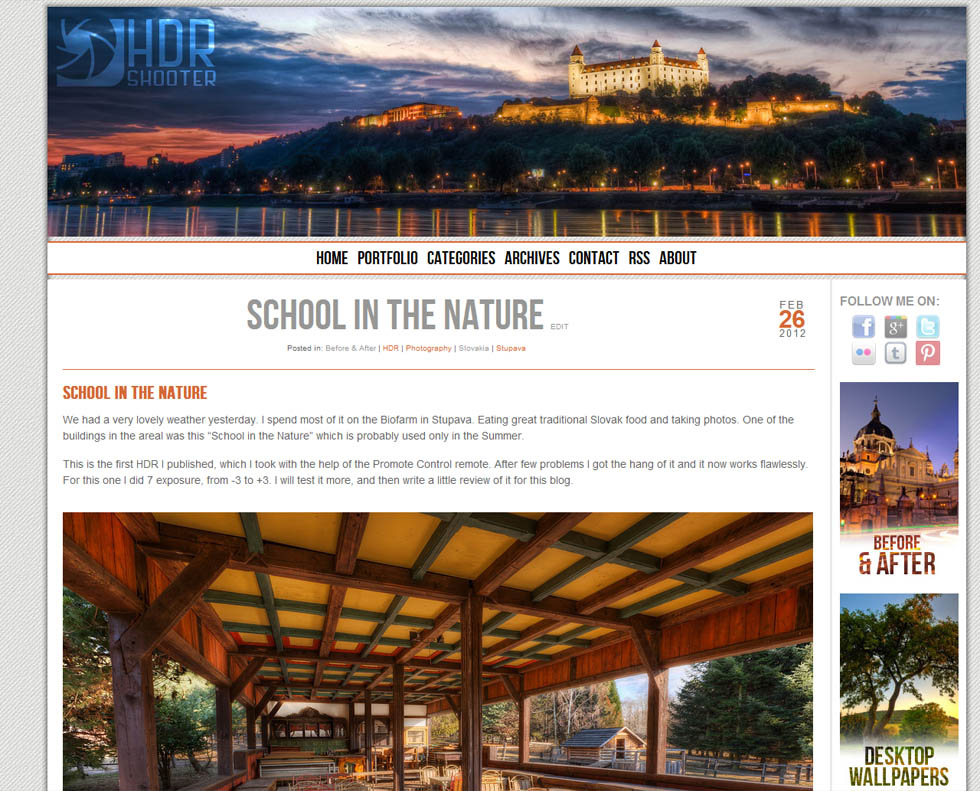
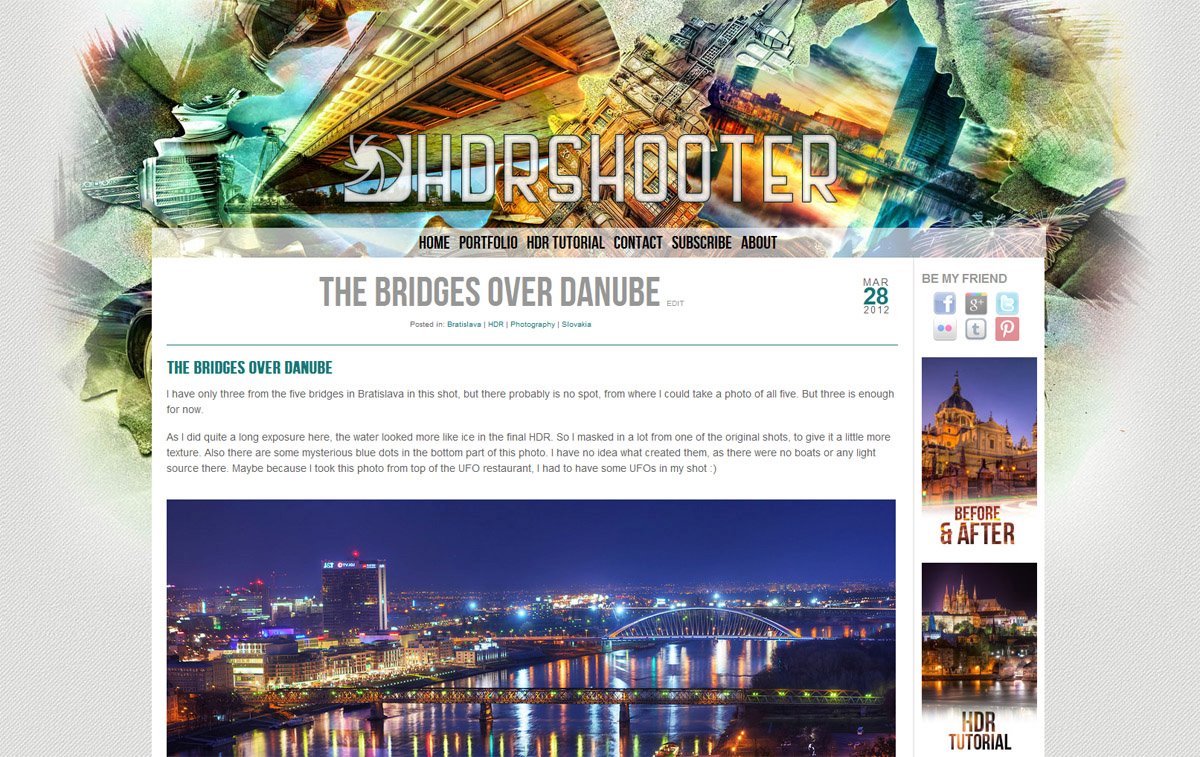
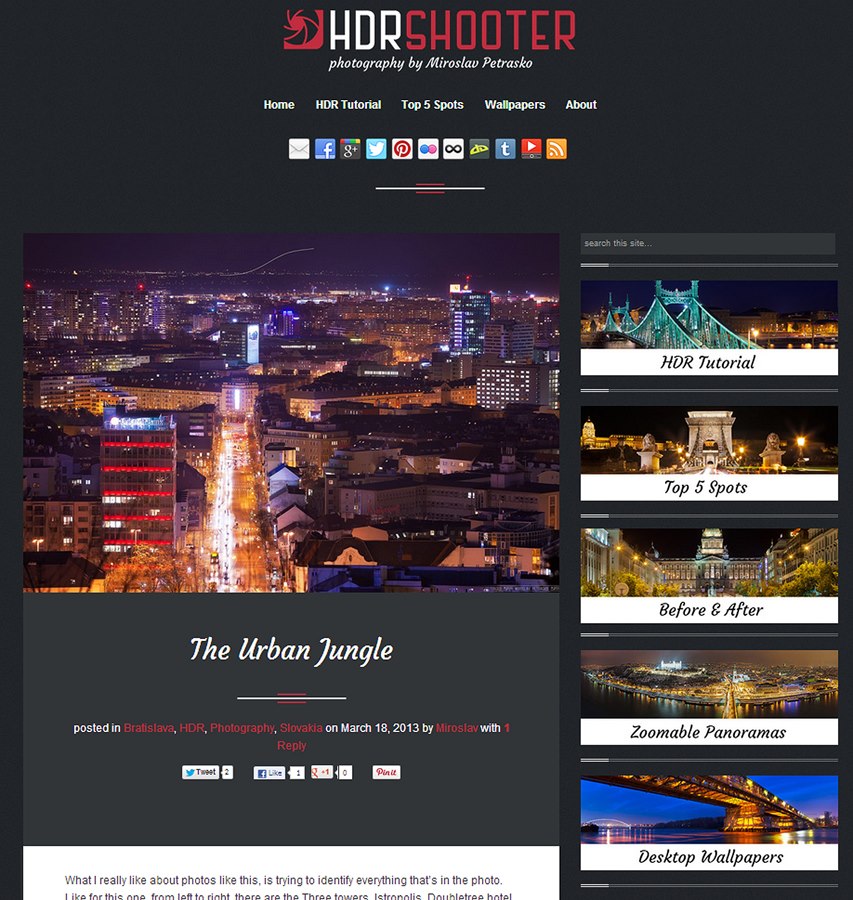
This is a little look at all the versions of my blog, how it looked over the years  :)

First
second
third
forth
pagescreen2013

I tend to use a lot of software and camera gear, so I thought I share with you my thoughts on them. My reviews are short, and I try to show what the software/hardware is good for, how I use it, and how it may be useful in your workflow. In the case of some of them, I also have discount codes, that you may use, if you decide to buy the product, and you can find them at the end of the review.

I hope you find them useful.

Programs & Plugins:

Hardware:

Various gear:

Online Services:

  • Smugmug – place to create you own portfolio website
  • Moo cards – a service to create your own business cards


To see what software and gear I use, please visit the My Gear page
Behind the camera Just a shot of my camera :)

Last night in Madrid

HDR tutorial (ver. 1.0)

I have split this HDR tutorial into multiple parts. Now I’m adding the third part, with the others coming later. So at the end there will be all this:

What is HDR?

Let’s make it as simple as possible. HDR is a way you combine multiple shots, so you have no overexposed areas and detail in dark areas. That’s all you really need to know.

A lot of people think about HDR’s as these overdone, unnatural photos, which have nothing to do with reality. I call those photos with a “HDR look”. They can be created from any photo, and have really nothing much to do with HDR. I have seen good ones, and bad ones, it’s a lot about the viewers´ taste and preference. Also some of the HDR results, can be created without using the HDR technique. It’s again the photographers decision what he uses (like he can use a Canon or a Nikon camera, but the result is still a photo :) )

There is a certain aversion against HDR photos. But everyone should understand, that HDR is a technique, a part of the final photo. And it depend’s on the photographer, how the final photo looks. HDR on it’s own does not make a good or a bad photo.

I get quite a lot of questions, if my photos really are HDR’s. That’s because people expect that the HDR mentioned look from them. But that’s not my goal. My goal is to find the sweet spot, between artistic and realistic photos, so I like them.

Old Bridge

Why HDR?

Again, this is very simple. You can’t always set up your light sources. Especially when you only light source is the sun. HDR gives you the option, to capture all the available light and then expose all parts of the photo as you like.

It removes some limitations all current cameras have, and gives you more to work with in post-processing.

At the end it’s your decision. Same as with all photography techniques, starting with HDR is easy, creating a good looking HDR photo is quite hard. So don’t be discouraged, if you can’t get the results you want. It take time and practice.

Feel free to ask any questions and if you find some errors or problems with my HDR tutorial, please let me know.

So lets start with how to take your photos for HDR

And here are few examples of finished HDR photos:
The stunning view
St. Martin's Cathedral at night
Inside the Matthias Church
The blue sunset in Prague
Relaxx and enjoy the sunset

Licensing

All rights reserved license applies to all the photos. Please do not use photos shown here for any commercial use without prior permission/license.

Feel free to share the images non-commercial on your blog, Facebook, Pinterest and similar but link to www.hdrshooter.com and give credit to me, Miroslav Petrasko, as the author.

All commercial uses will incur a licensing fee. My fee is based on the number of photos used and what are they used for. The exact fee is based on the final agreement between both parties.

For any licensing inquiries, please contact me under miroslav.petrasko@hdrshooter.com  Thank you.

And here are few of my photos, just so this page looks better :) 

Night in Madrid


The gear you use has only a partial effect on the resulting photos you take. I get a lot of questions about what gear I used to take my photos, so this is a complete list of everything I use.

All together in action

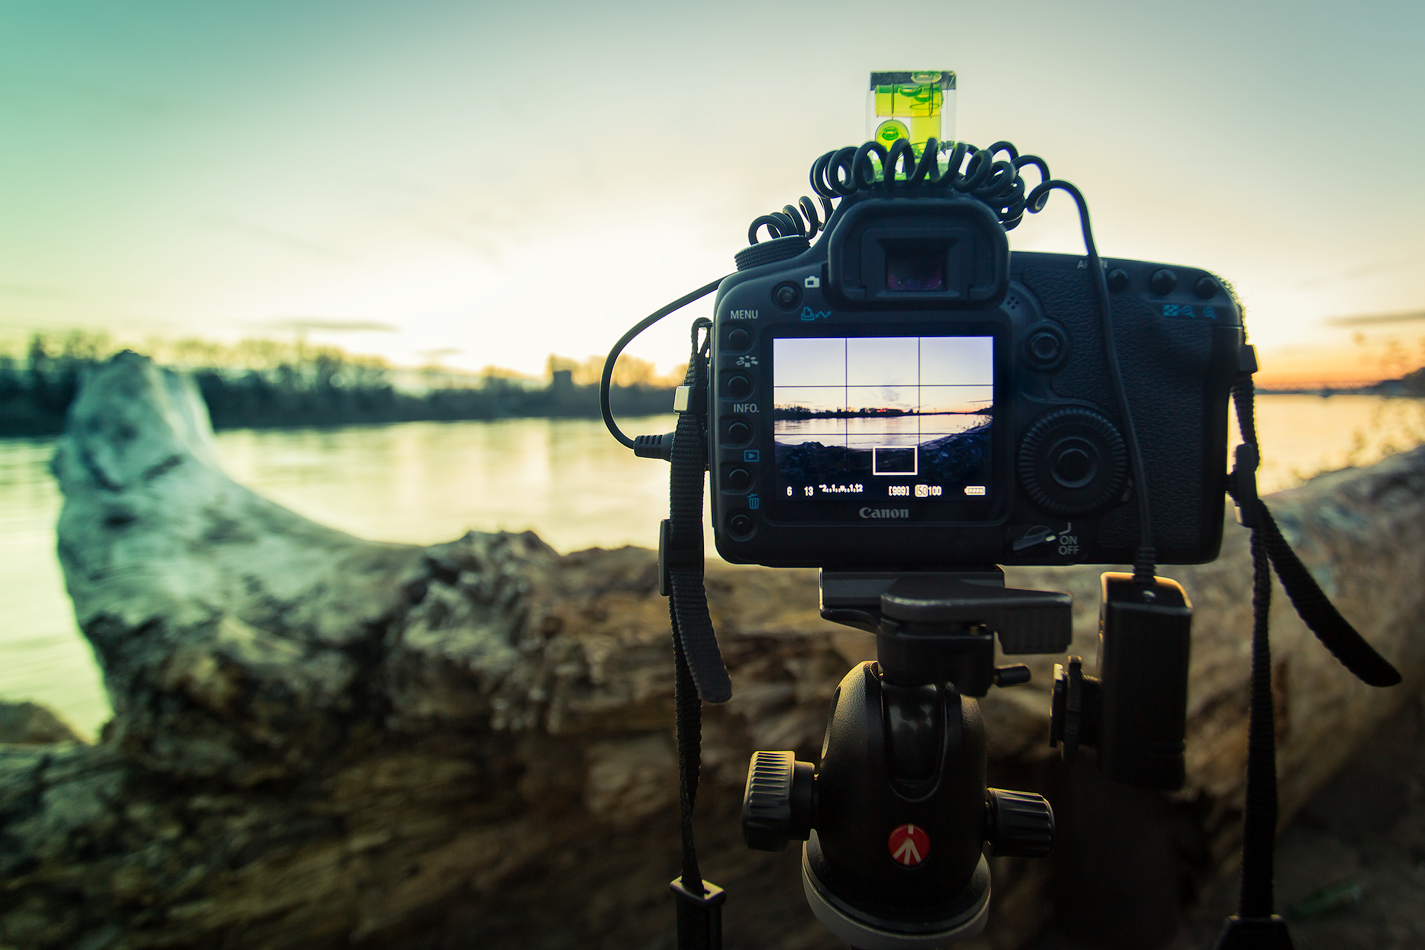
So first, few photos taken of the camera in action, during photoshoots :)

thirds
thirds

And now to the list of all the stuff :)

A huge list of stuff

Sony a7R

Recently I upgraded to the Sony a7R as my main camera. The 36Mpix, the huge dynamic range and the possibility to still use the Canon lenses I already own, were the biggest features I chose if for.

Metabones Canon EF Lens to Sony NEX Smart Adapter (Mark IV)

Of course for the ability to use the Canon lenses on the Sony a7R, I needed an adapter. And from searching, the best one I found, was the one from Metabones, which is currently on it’s 4th revision. It does work very nicely, and even allows for auto focus to be used (even if quite slow).

Canon 8-14mm F4 fish-eye

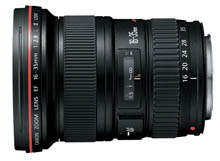
Canon 16-35mm F2.8

Canon 16-35mm F2.8 II USM lens

This is probably my most used lens. As a landscape & architecture photographer, I love wide angle views. And for a Canon camera, this one is the best lens. You can of course get a 14mm prime, but what I seen from trying it, the 16-35mm is much usefull. Also there is currently a new version, a 16-35mm F4, which might be better if one shoots mostly from a tripod.

or for the newer model

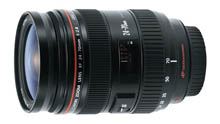
Canon 24-70mm F2.8

Canon 24-70mm F2.8 USM lens

This is one great all around lens. If I only take one, this is mostly it. It’s a little heavier, but build like a tank. It’s still wide enough for normal shots, and great for people photos. There is a newer version of it available now, and that also improves on what is already is a great lens.

or for the newer model

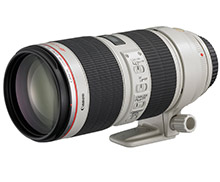
70200

Canon 70-200mm F2.8 IS II lens

This is the sharpest lens I currently have. It’s just wonderful. Also when taking portraits, the shallow depth of field and the bokeh this lens creates is just wonderful. It’s not the cheapest lens and not the lightest, but it in a league of its own. Also for long exposure, one needs a really sturdy tripod. But that’s quite normal with such a long focal length. Of course there is also a much cheaper option with a f4 apperture.

or for the cheaper model

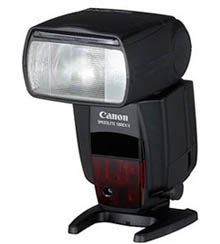
Canon Speedlite 580EX II

Canon Speedlite 580EX II flash

As a landscape photographer I don’t use a flash that much. But as I also sometime take photos at parties, I needed a flash that was strong enough, had a very fast recharge rate, and was able to take many photos quickly one after another. And the 580EX works great for me. Of course after few hours of use the flash get hot and it’s good to let it cool for a while, but that’s the only problem I ever had with it.

This model is not that much available anymore, but there is a replacement for it available, which is also already more powerful than this on.

  • Check the price of Canon Speedlite 580EX II on Amazon Store

or for the newer model

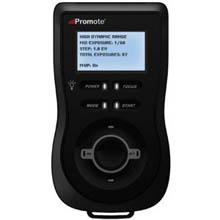
Promote Control remote

Promote Control remote

Promote Control remote is a very versatile remote that add a lot of functionality to a camera. More HDR bracket, focus stacking, time-lapse, bulb ramping and more. It something like a mini PC attached to your camera. Some of the functions can be replaced by the Magic lantern firmware (like HDR bracketing, time-lapse functions, long exposure photos), but if your camera is not supported by that, this is the only other option.

It’s not the cheapest remote, but for those who have a use for some of the functions on a regular basis, it’s really worth it. You can find my review of it here.


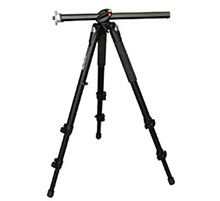
gear-tripManfrotto 190XproB tripod

I’ve been using this tripod for so long now. Few times I though I have already broken it and it always survived. It’s already so scratched all over, but the only problem I had in years with it was, that I had to tighten the screws from time to time, as they got loose.

It’s long time overdue that I get a new one, so hopefully soon. This one isn’t even being sold anymore, as there is an updated version for a long time.

or the newer model

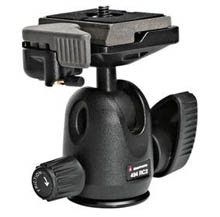
Manfrotto 496cr2 Ball head

Manfrotto 496rc2 Compact Ball Head

I got this head together with the tripod, and same as with the tripod I have been using it for a very long time. It’s a great, quite cheap, head and in the years I never had a single problem with it.

I would just not suggest it for very big lenses (but I presume if you got a big lens, you already got a much bigger tripod head :))

It’s missing some things, like a panoramic rotation, but I think this is a great ball head for a beginner. For me it’s sometime not enough, so it’s another piece of equipment I plan to replace.

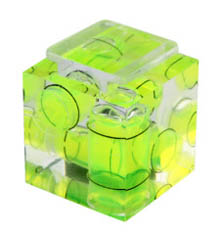
Bubble Level

Bubble Level for Camera – 3 Axis

I get so many questions what this is. Every time I post a photo of the camera :). Of course this is a 3-axis bubble level, that fits into the flash hot-shoe on the camera. It really helps when one does not have a build in leveler in the camera, and wants to have the horizon leveled.

This is a very cheap piece of equipment, and it really helps to get better photos. Especially if one shoots wide or fishey photos, which are really hard to level properly. Mine almost never leave the top of my camera. But to tell the truth, I lost mine few months ago, and had to buy a new one :)

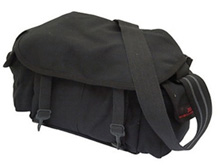
Domke F2 Original camera bag

This is currently my backup camera bag. It’s great for shorter city trips, with only few lenses and not so much equipment. It can hold really a lot of gear, but full it’s just too uncomfortable to carry around.

The build quality of this bag is just superb. The canvas material is thick and heavy, really strong. One does not have to fear that the bag will get damaged easily. It’s not really that padded, so if you throw a full bag around too much, this is not for you :)

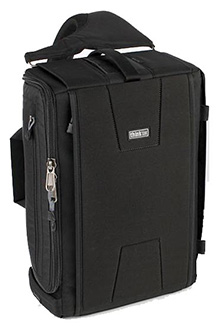
think-gear

Think Tank Slign-O-Matic 30

Currently my main camera bag. The Sling-O-Matic takes a while to get used to, but it’s just great. The best thing about it, is that you don’t have to take it down to take out your gear. You just sling it around to the front of the body and open it. It also hold a lot off -stuff and even the 5D with a 70-200 lens fits perfectly.

It’s not great for really long hikes, but perfect for city trips. The only real problem is an absence of smaller compartments, as it’s mostly one open space inside, only divided by dividers. But that also makes for a big freedom of what you can fit inside. Think Tank also provides much more dividers that one ever needs :)

There are also smaller variants, but I prefer the  30 series, as it also has padded space for a notebook. It happened to me few times, that I had a tablet in that compartment, and I completely forgot about it, as I haven’t felt at all that it’s there.

You can find my review of it here.

gear-clamp

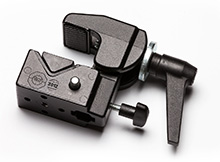
Manfrotto 035 Clamp

This is a great way to have a stable camera for places where tripods are not allowed. The clamp is very sturdy and once its attached to something, it’s almost imoposible to move it all without loosening it.

You can see my full review of the clamp here.

Of course on its own you can’t attach a camera to it, as one needs either a stud or a special head that fits into the clamp.

gear-tilt

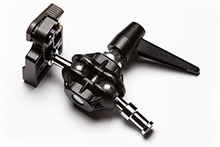
Manfrotto Tilt-top head

On it’s own this Tilt-top head is quite useless, but in the combination with the 035 Clamp, it creates one great kit. It almost whole from metal, very sturdy, even if its a little heavier and harder to position (one loosens the both balls at once).

There are also different heads/arms for the Manfrotto 035 clamp, but this one is the smallest and fits the best into a bag :)

gear-table

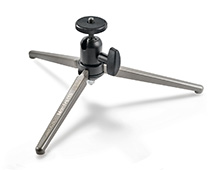
Manfrotto tabletop tripod MTT2-P02

Another help for places where you can’t use a full size tripod. This tabletop tripod is made for compact camera, but it’s weight rating is enough even for DSLRs with smaller lenses. I used it with a 5D and the 16-35mm lens without bigger problem. One just has to place the lens above one of the legs, so it’s more stable.

The only problem is when one tries to take a vertical shot, as for that the tripod is just too low, and the camera touches the ground when you rotate it.


gear-nodalNodal Ninja 4 Panoramatic head

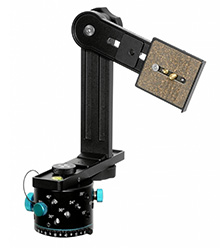
The Nodal Nijna is a very nice Panoramatic head, special for shooting panoramas. Together with the RD16 rotator, one can set up many different angles for rotation and get some great results. It’s not so great for really huge panoramas, as the vertical rotation is only in 5 degree increments, so you can’t change it in smaller steps.

The build is great, with the whole head being made from metal. It’s very sturdy, but also quite heavy. I only take it with me when I know that I will only be shooting bigger panoramas. For two shot panoramas it’s just not worth the extra weight.

Also the Nodal Ninja on its own is not suitable for vertoramas. One either has to do a multi-row panorama or have an L-bracket on the camera.

  • Check the price of Nodal Ninja 4 head on B&H Photo


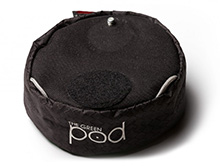
gear-podThe Green pod

The last tripod replacement, for places where tripods are not allowed. Compared to a tabletop tripod, this one can be placed on surfaces, where you would be scared to damage them with a tripod. Like for instance on a car hood. The camera is stable enough to get even a few second shots, I would just not use it for any crazy long exposures. The beans inside can sag a little over time.

Check my complete review for more information about it.


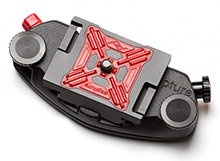
gear-captPeak design Capture Pro

The Capture pro is a very nice way to attach a camera to a belt or a backpack strap. It’s a way to quickly connect the camera so one does not have to always carry it in a hand. It’s also has a POV kit attachment, for using it as a holder for the GoPro camera.

You can check out my complete review of in for more details.


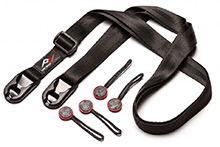
gear-leachPeak design Leash

The classic camera strap has it’s problems, and the biggest one is that it can’t be easily removed. It’s in the way so often, that I stopped using it completely. But the Leash by Peak design corrects this problem, with this very nice attaching system. And the way it’s done, you can attach the Leach to any of you equipment, as long as there is a way to attach one of the anchor points. And there usually is :)

The material and build quality is very nice and it’s a great replacement to the standard strap. You can check out my complete review for more information.


gear-radianRadian motion device

Radian is a step motor for your camera, that can be used to add rotating motion to timelapse videos. It is set up by a mobile app, to rotate a certain number of degrees in a specified time. It also connects to the camera to trigger the shutter and take a photo after a predefined number of seconds. You can check out my complete review of it.
I bought the Radian through a Kickstarter campaign, and it’s currently only possible to order it through their website.


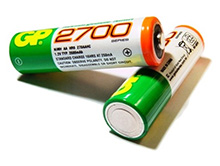
gear-bateriesGP 2700 AA rechargable bateries

I’m mentioning this batteries here, because I found these to be the best one for my flash. I can go through few hours of continous shooting with just one set of these and they give enough power to charge the flash very quickly. Each time I tried some normal batteries, I was very disappointed, as the flash charged so slow, that it wasn’t even usable.


gear-cardKingston CF memory card

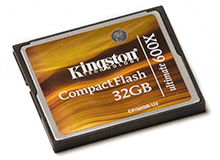
There are many different makers of memory cards, but I usually stick to Kingston. There are not the fastest, but they are enough for landscape photography. Also the price/performance ratio is much better than by some of the faster, but much pricier cards. I own a bunch of there and I never had any problems with them. More in my review here.

or a faster version


Older gear

Before I bought a full frame camera I used a different one, with a complete different set of lenses. As I think those are great for beginners, I will also list those here.
Canon 5D mark II

Canon 5D mark II

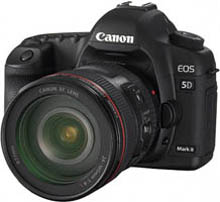
No longer my main camera. Been using it for over two years now, and I am very satisfied with it. It may no longer be the best camera on the marked, but it still is a power house. The full frame sensor really helps with noise, and as a landscape photographer, it is a must.

Of course if I was buying a camera now, I would go for a newer model.

or for the newer model

Canon 450D

Canon 450D

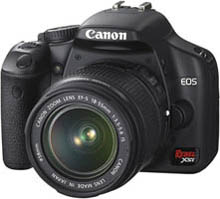
Surpisingly, the Canon 450D was the first camera I bought. I never owned any other camera before it. I actually bought it before a trip to Egypt, so I can take some photos there :). It was a great starting camera. The price was acceptable and the range of functions is great for beginners who want to learn more about photography. With a good starting lens (not the bundled ones from Canon) one can make stunning photos. Of course one can still buy it on the cheap, but I would suggest just to take the newest one from the range.

or for the newer model

Sigma 10-20mm F3.5

Sigma 10-20mm F3.5 lens

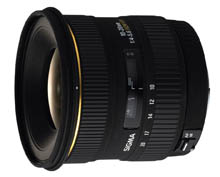
This was my first wide-angle lens, and I still love it. One of the best wide-angle lenses for a crop sensor. It not that pricey, very small and light, and the image quality is acceptable. I tried it on the 450D and also on a 7D and both time I was very satisfied. The angle is very good (a little less than with a 16mm on a full frame, but still acceptable) so you can cover a lot of ground on the cheap :)

There is also a version with smaller aperture, but I prefer this one, for the constant aperture is much nicer.

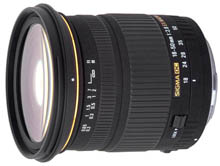
Sigma 18-50 F2.8 Macro

Sigma 18-50mm F2.8 MACRO lens

I’m not completely sure why I bout this lens, but there are situations where it performs very nicely. Especially in portraits, it can create very nice results, due to it’s 2.8 aperture and that you can stand quite close to your subject due to that it’s a macro lens.

Also it’s quite small and light, so handy when you don’t want you camera to be very heavy. It’s a nice alternative to a 50mm prime.

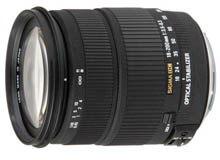
Sigma 18-200mm F3.5-6.3 OS

Sigma 18-200 F3.5-6.3 OS lens

This was the first lens I bought, and I still think that this is a wonderful beginners lens. If you are buying only one lens with a new camera, this is much better than the kit lenses, gives a great focal range and also has OS for handheld shots. I went a long time with just this lens and I was very happy with it. Of course you can’t expect the best performance, nothing compared to Canon L lenses, but as I said, it’s just great for a beginner. There is now a new version available, that also has a HSM motor.

  • Check the price of Sigma 18-200 F3.5-6.3 OS on Amazon Store

or the newer model


All the stuff in one pile

And to be complete, here is a photo of what I usually carry in my bag :) (but mostly not all at once)

Page 1 of 212
FREE EBOOK!!!
Subscribe to my newsletter and get a free Capturing fireworks ebook. 
Subscribe