Today I tried focus blending for the fist time (even if I took this photo few months earlier :)). For those who don’t know what focus blending is, its a process, where you take multiple photo with each of them focused on a different part of the scene. Then you combine the sharp parts from these photos so you have one photo which is completely in focus. Here I took two 5 bracket series, one focused at the rock near the camera and one at the hills in the distance. At the end I used only 3 photos, two for the foreground and one for the background. The dynamic range was not that high, so I had no need for the other photos. I still could have done a better job, by taking another series for the rocks closes to the camera, as they are still a little out of focus, but maybe next time.

This is a manual blend form 3 shots, taken by Derwent Water near Keswick in United Kingdom.
Derwent Water

I stopped by the Louvre while I was in Paris, but during the day, there were too many people for my style of photos (I don’t like having people in my photos :)). So I planed to return there later in the evening. And so I did. But between the bad weather and the whole area being closed off for filming, it wasn’t really a lucky day for me. So I got few photos, but nothing that spectacular. And here is one of them.

This is a manual blend from 4 shots.
The Bronze pyramid

Today I have for you another photo process post. Today it’s a nice panorama from Paris
The Epic sunset
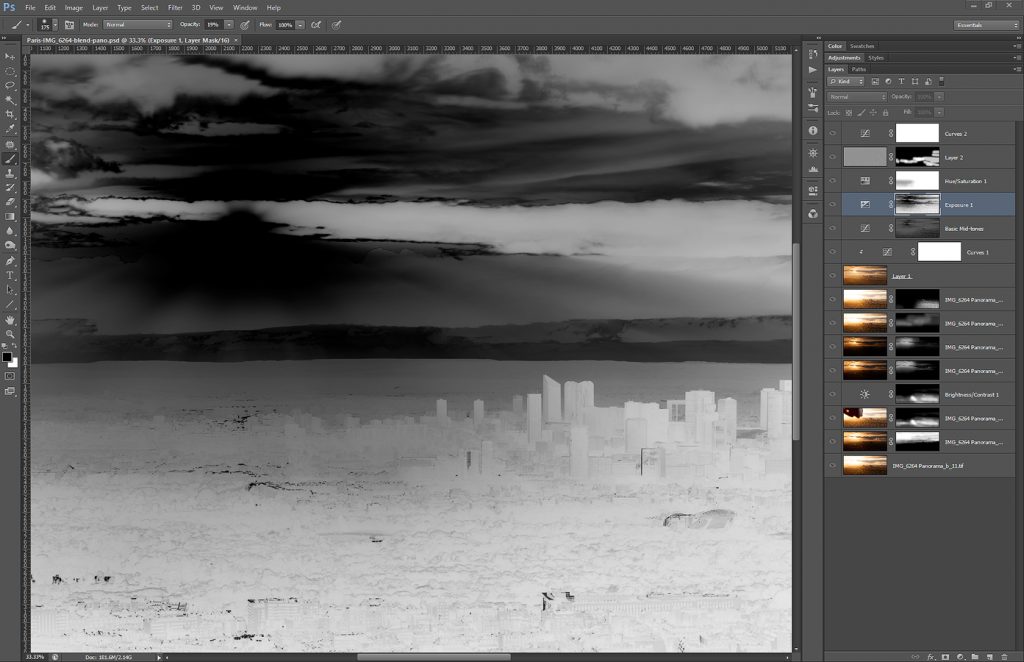
The luminescence masks can looks quite interesting sometimes. So I inluded a Photoshop screenshot of a luminance mask, that also shows what editing steps I made after combining the shots into panorama (you can see how I combine shots here: https://www.hdrshooter.com/guides/combining-photos-for-hdr-panoramas/). As you can see, I used only few layers and no plugins. All done in Photoshop. Recently I tend to go the route of fewer modifications as possible

But to the screenshots. The layers are (from bottom up):
1: 0EV exposure as start
2: -2EV exposure for the sky
3 and 4: 0EV exposure from a second series where I held my hand in front of the sun, so I get no flares and I can blend that photo with the normal one + brightness modification for that layer
5 to 8: other exposures, to darken the sun and brighten the foreground, mostly manually painted masks
9 and 10: glow layer
11: added contrast to basic mid-tones
12: little bit of exposure to the dark’s
13: little bit of added saturation
14: high pass layer for more detail in the shot
15: a little bit of overall contrast

Not much sharpening here, as I do that after I re-size the photo.
Screenshot
Continue to the full post to see the original photos I used.

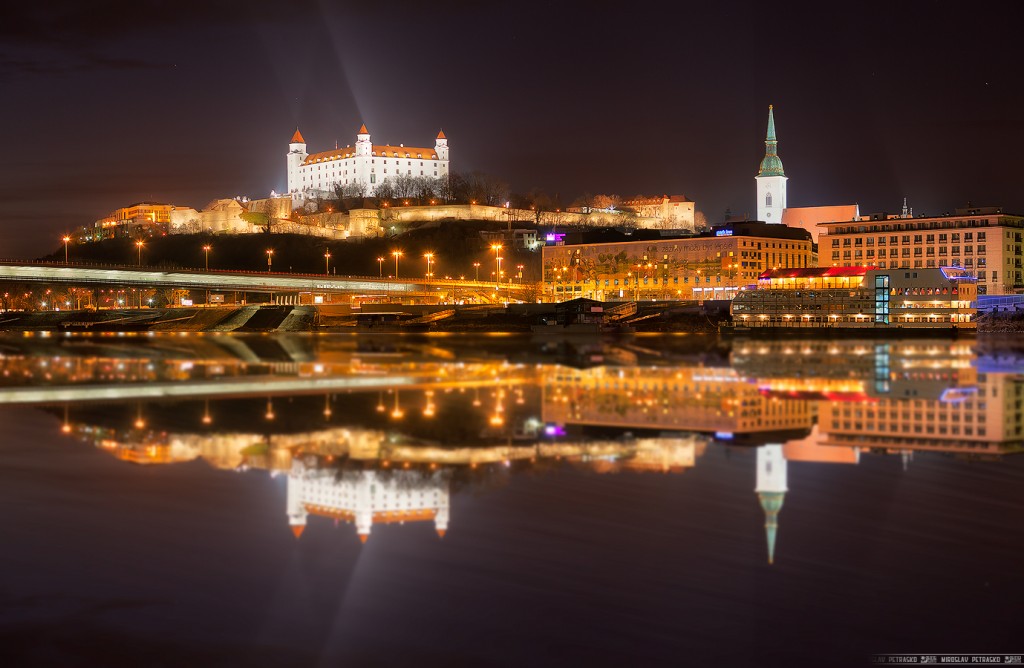
Today I have for you two photos. Better said, a photo and it’s variant. While I was editing this cityscape shot from Bratislava, it reminded me of this reflection tutorial by Jimmy McIntire http://www.throughstrangelenses.com/2013/06/23/cityscape-photoshop-tutorial/ so I just tried out how it looked like. And here is the photo and also the fake reflection variant. It does not even look that bad :)

This is a manual blend from 7 photos.
Light reflection

This is an edit of the above photo in Photoshop.
Reflection

A little more colorful photo today. I went with more saturation and glow for this one, to get the feel I wanted. But it depends a lot on the screen you are viewing the photo on. It looks completely different on my screen, my tablet or my phone (I have to say, the amoled on my phone looks just incredible :)). And it also looks different based on the light conditions and on what you were looking before on (if you look on something saturated before and then look at it, it will look really washed out :)). So having the exact color I want is really not that simple, or even possible.

This is a manual blend form 3 shots, taken next to the Bojnice castle in Bojnice.
Colorful spring morning

Page 3 of 7« First ...2345... Last »
FREE EBOOK!!!
Subscribe to my newsletter and get a free Capturing fireworks ebook. 
Subscribe