Today another process post. These look to be quite popular, so I’m thinking of making Monday the process post day. What do you think? :)
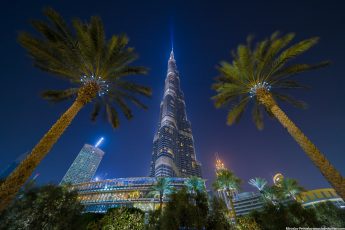
Today it’s another shot from London. This was created using manual blending in photoshop and I used Color efex pro and Tony Keuper actions here.
I did the following. First I corrected the white balance in Lightroom and also toned down the highlights on the darkest exposure. Then I loaded all the files in Photoshop and continued as follows (layers numbered from bottom up):
1. 0EV exposure
2+3. +1EV exposure darkened by one stop and used to remove people from the stairs
4+5. +2EV exposure darkened by two stops and used to remove people standing by the railing
6+7. -1EV and -2EV exposures used to darken the lights
8. +1EV once again to brighten the dark areas
9. on this layer I retouched out the crane in the background
10. added contrast to the basic mid-tones
11. Color effex pro contrast to give more pop to the image
12+13. added glow using a blurred layer and brightened it using curves
14. added more saturation to the sky
15. TK actions vibrance mask to add more saturation to some parts of the image
16. brightened the image by changing the exposure


Leave a Comment