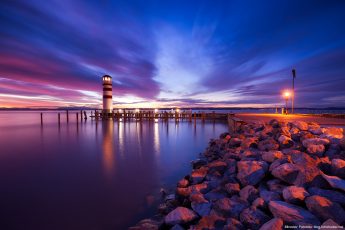
Another week just passed, and again I’m getting to another process post. So as always I will show you how I edited one of my recent photos. For today I chosen this photo from Austria, from this stunning sunset at the Neusidler see. So to get to this final photo, I did the following

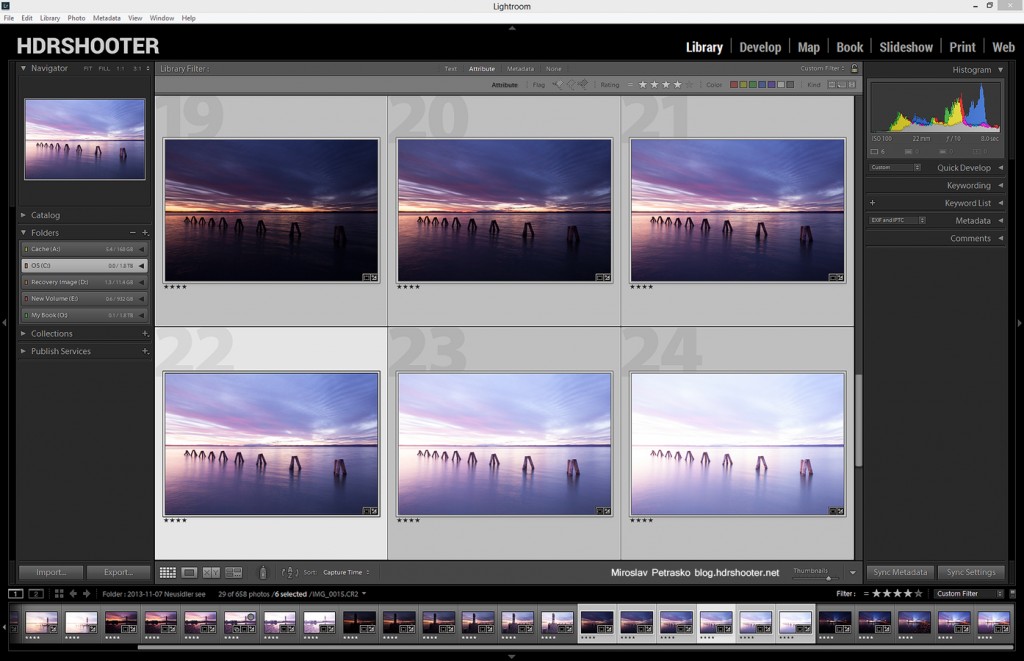
As always I started in Lightroom, where I corrected the lens distortion and removed Chromatic aberrations. After that I exported all the files as 16bit Tiff files.
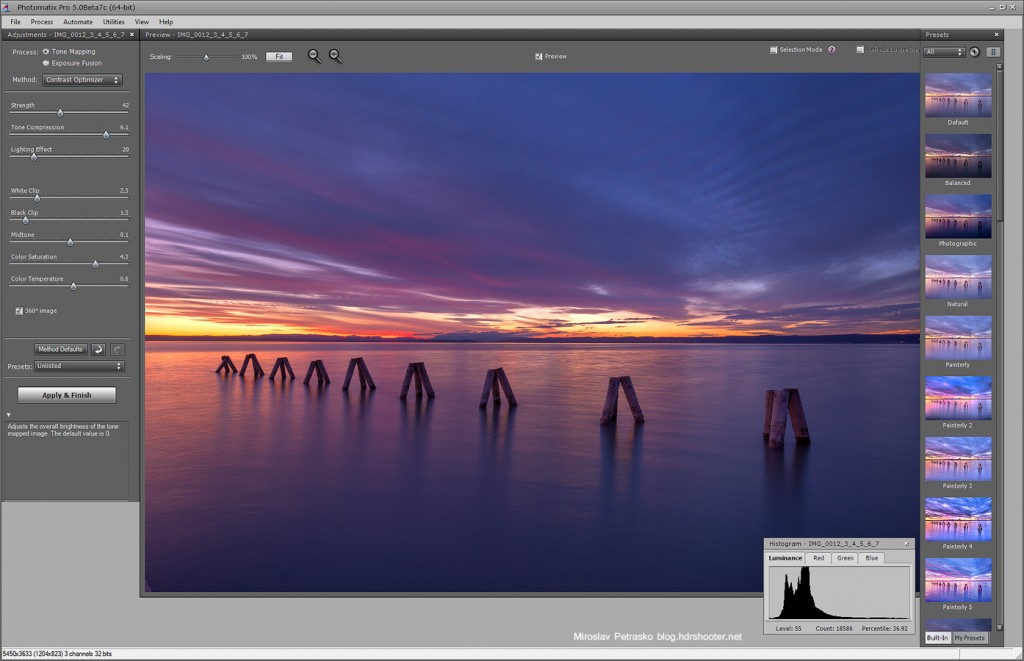
Then I took them and loaded in Photomatix Pro 5. I used the Contrast Optimizer to get a nice even image, a good start for additional blending.
After that I loaded the Photomatix result together with the original exposures into layers in Photoshop, and continues as follows (layers numbered from bottom up):
1. Photomatix result
2. recovered detail in the water from the 0EV exposure
3. recovered detail in the sky from the -1EV exposure
4. brightened the pillars from the +2EV exposure
5. used Color Efex Pro Contrast to add more color and contrast to the photo
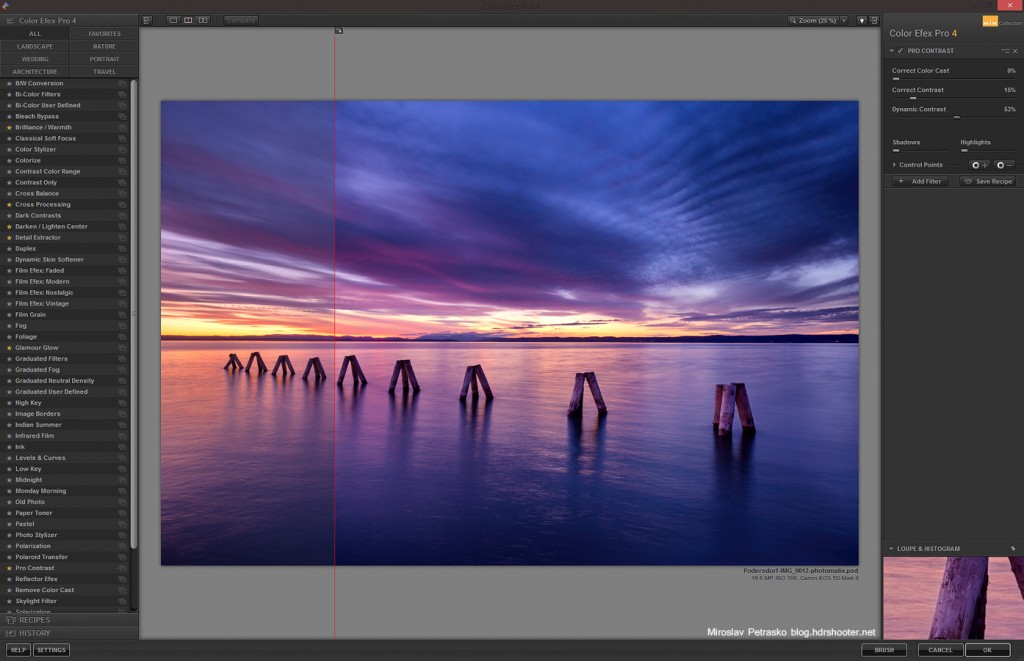
6+7. added glow (view my glow tutorial for details)
8. color balance to make the photo a little warmer
9. used Color Efex Glamour glow to soften the colors a little
10. used Color Efex Detail extractor, to get more detail in the sky and water
11. used Color Efex Darken/Lighten Center to add a vignette. This should have been the last point, but in the end I did few more edits on the photo.
12. curves to add more contrast
13. a little more Color Efex Pro contrast, as I felt the photo needed more local contrast
14. noise reduction using Imagenomic Noiseware
15. added more color to the sunset
16. finished with a little more contrast
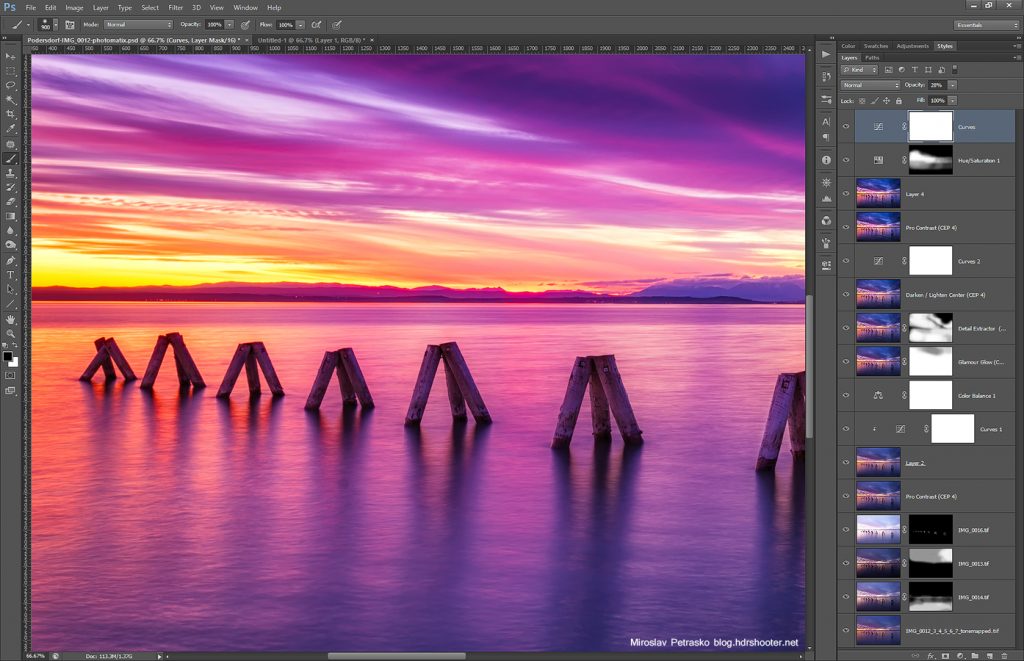
Not maybe the nicest use of layers, but it got me to the finished photo. Please continue to the full post to see the original 0EV shot and the Photomatix result.
This is the 0EV file

and this is the Photomatix result




Leave a Comment