And we have Tuesday again, so it’s time for another process post. As every week I have for you one photo, where I will go through the editing process from start to finish. Btw. I still don’t know what to call these posts. Processing Tuesdays? Edit of the week? Andy suggestions? :)
So for today, I chosen this manual blend of a nice aerial view of Bratislava.

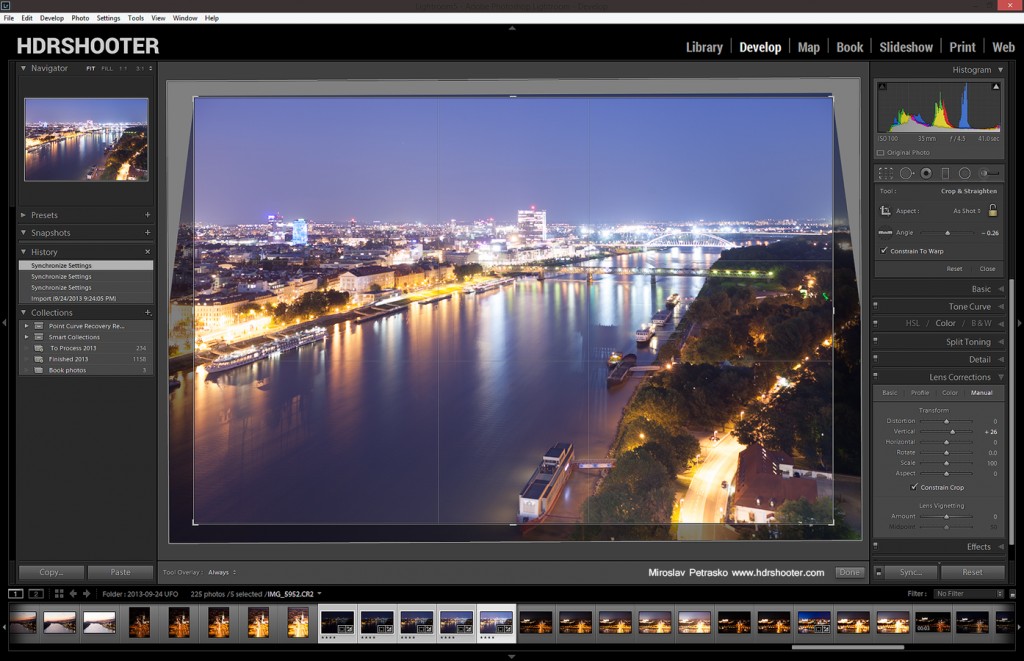
As always I started with Lightroom. For this one, I had to correct the white ballance, and do some perspective corrections, as I was pointing my camera down when I took this. In retrospect when looking at this photo, I could have done a better job cropping, as I haven’t noticed the ship in the bottom right at all before today.
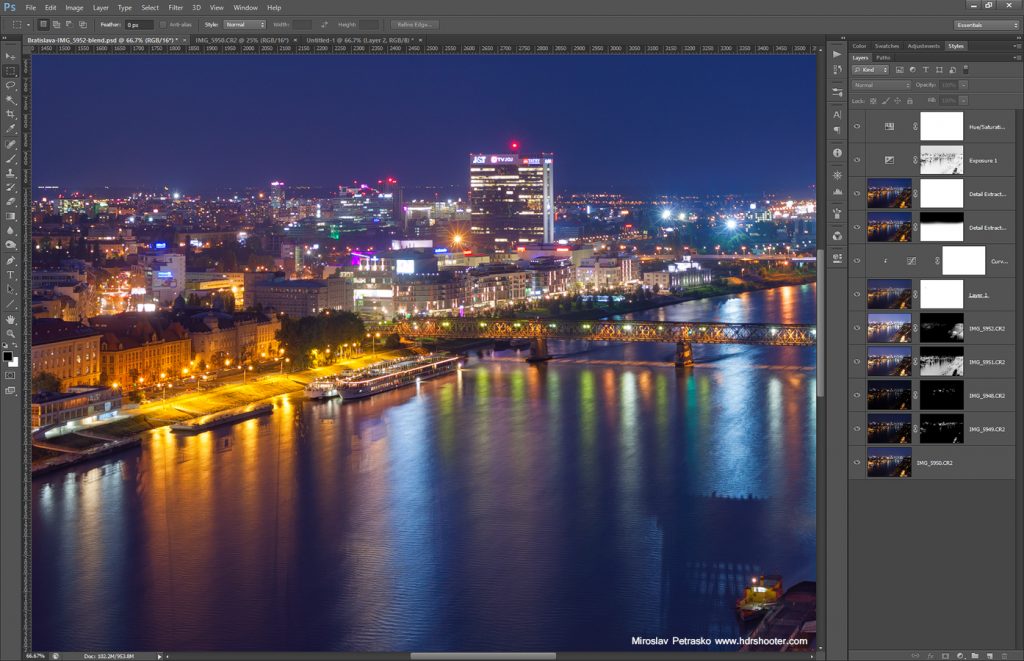
After that I loaded all the exposures into Photoshop. There I did the following edits (numbered from bottom up):
1. 0EV exposureI
2+3. -1EV and -2EV to darken the lights of the city
4+5. +1EV and +2EV to brighten the shadows, mostly in the bottom right
6+7. added glow to the photo, this recovers some lost contrast and also boosts the colors (view my glow tutorial for details)
8+9. this is something I don’t do often but it helps in certain situations. I used the Color Efex Detail Extractor to add more detail and color to the photo. But as I liked the color on the whole image, but the detail only on part, I did the following. I duplicated the layer, set one to Luminosity (so it only affects the detail) and used masks to limit what it affects. Then I set the second one to color for the whole picture.
10. Added 0.5 exposure to the darkest parts of the image
11. Added a little saturation to the whole image
And that was all. Here you can see the original 0EV exposure, and to see the camera settings, please visit the original post here.





Leave a Comment