How to use Magic Lantern

While on the video topic, I also did a second video, specially about Magic lantern. It’s all about how I use it, and how I set it up.

For those unfamiliar, Magic lantern is a custom firmware for specific Canon cameras that give additional features. For me of course the most important is, that it allows for more than 3 brackets. You can find out more in my review of it.

10k and 100k

Recently I have been more active on my 500px account and today I reached my first milestone there. Or better said two of them. Today I got 10 000 affection (thats a metric that combines all likes and favorites there) and secondly I reached my first 100 000 views there. Many thanks to all of you who visit and vote for my photos there :)
100k500px


Soft color of the cold evening

Not really sure why I left a little softer colors in this one. I even left a little yellow color cast here. Maybe because while I was editing I was listening to great music (Beatles, Queen, Abba, New order and similar :)) that I got in a particular mood. Still, I like the result very much, and I hope you will too.

This is of course the Apollo bridge in Bratislava, and one of my favorite spots there. This is a HDR from 5 exposures created in Oloneo Photoengine and then blended with two of the original exposures in Photoshop.
Soft color of the cold evening

As every photographer, I use many memory cards. And I need to relay on them, so they don’t loose any of the files. File corruption is not something you want to encounter after a photo-shoot.

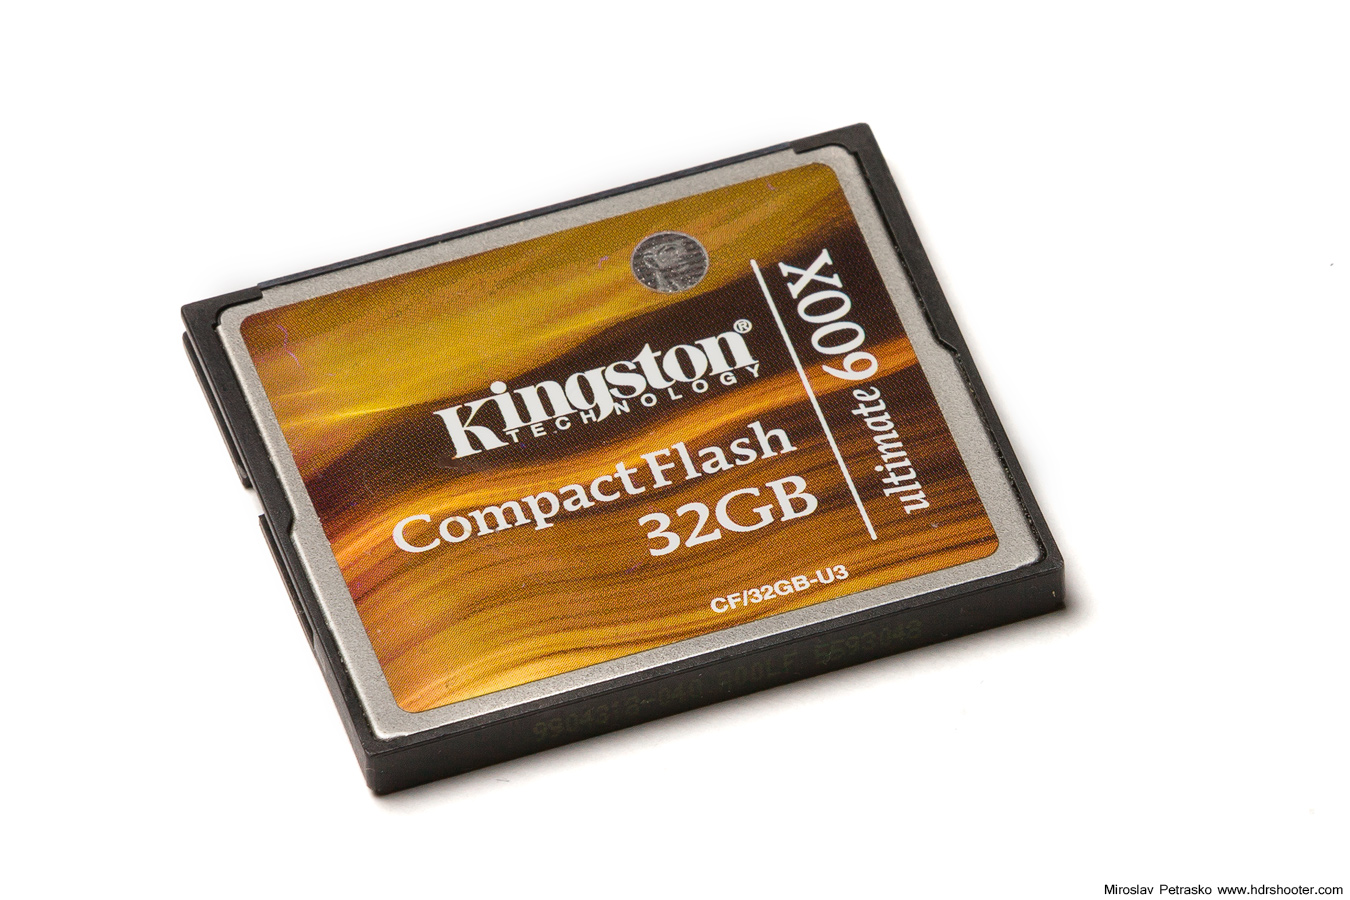
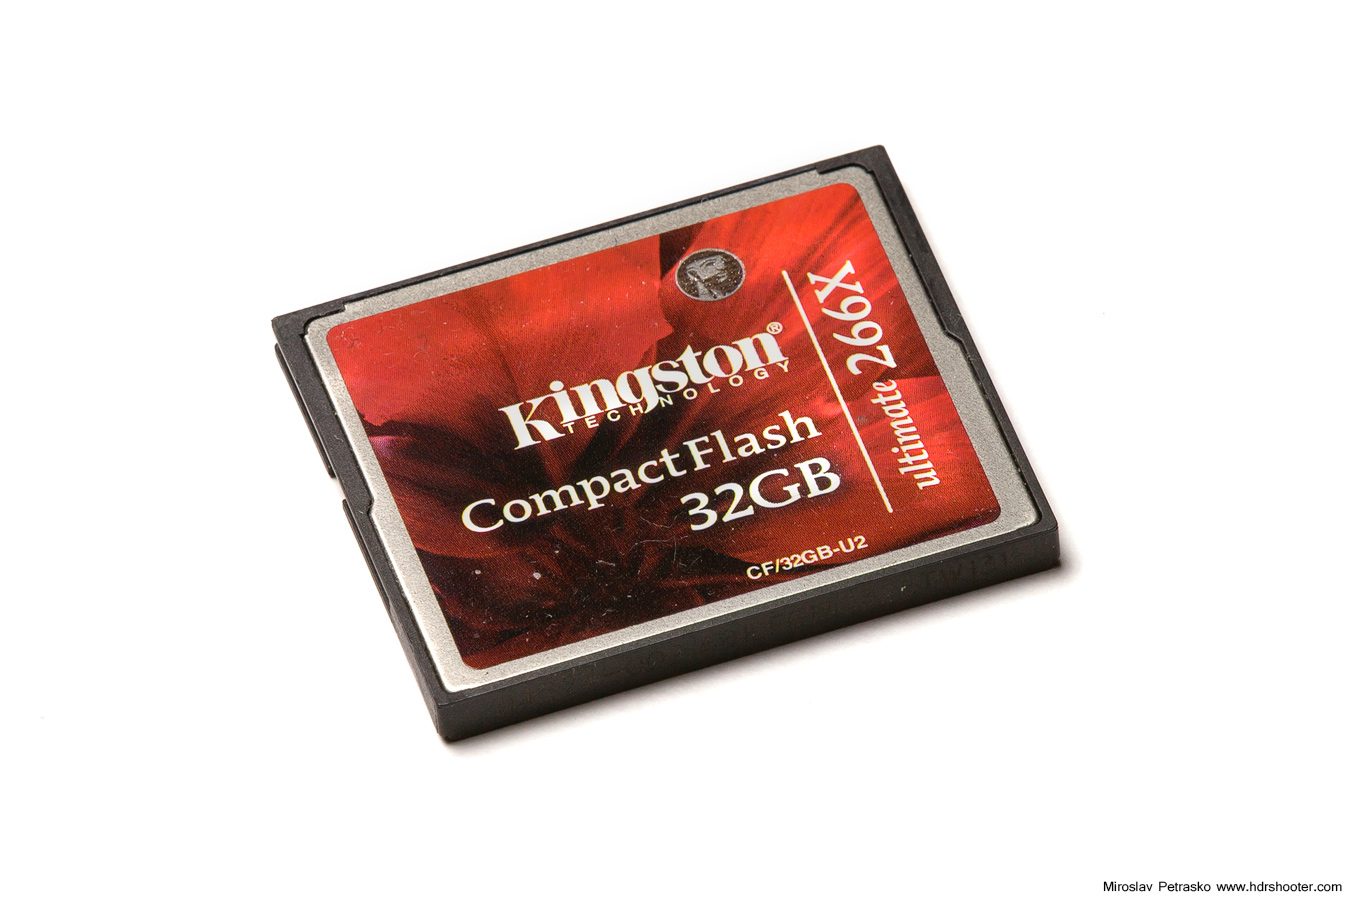
So in my opinion a good memory card, is the one you can’t say nothing about. It should just work, without you having to think about it. I’ve been using Kingston cards for a few years now (some of my cards are few years old). The thing I can say about them, is that they work. I never had any problems with them.
cf02
I don’t even use the fastest cards. I have no need for that. As a landscape photographer, I almost never do a quick series of shot in a row. They are also quite cheaper than the fastest ones on market and so I can have more of them. Most of my cards are also of the slower type, the 266x, the only one I have of 600x I bought for when I shoot at events, but I never noticed any difference either. Really I don’t care what the transfer rate is. The buffer of the camera can handle a 9 bracket exposure, and until you set for another one, it safely saved to the card.

cf01
cf03

Overall I’m very satisfied with my Kingston CF cards. All of them have been formatted hundreds of times, and also filled to maximum. And with the price being 30-50% of a comparable Sandisk card, it’s hard to suggest a different one.

View all my other reviews here.

The last item I got from the Kickstarter campaign of Peak Design was the POV kit. But as I had no use for it, I had no way to test it out. But recently I got the GoPro camera, so it immediately became useful. The POV kit is a addition to the Capture clip from Peak design. On it’s own it can’t be used. The purpose is to attach a GoPro camera or a compact camera to the capture clip.

povkit01

You get a lot of small parts in the POV kit. Some are specific for the use with a GoPro, some for the use with a compact camera. For the GoPro you can also choose to use the arm to attach it, or attach it dirrectly to the quick release plate.

povkit11
povkit12

You will also get a small pad, that should be used if you want to have additional padding and stability, when you attach the Capture Clip to a backpack strap. You also get a second set of longer screws for the Capture clip (needed when you use the pad).

povkit02
povkit03

Here you can see the setup for a GoPro and a setup for a compact camera. I like the one with the arm more, and that’s how I’ve been using it all the time. It easier to move the camera when connected to it.

povkit04

It’s a shame that there was no second screw included, as a setup where you use the arm for a compact camera, is not possible. I put it together only because I had additional screw from the GoPro package.

povkit05
povkit06

Connecting a GoPro is very easy, and after a few days of use, I liked to used the POV kit more, than the default mounts of the GoPro. The quick release on the Capture clip is just much more versatile (you can put it in any orientation) and is much more easier to release with one hand, than the GoPro releases.

povkit09
povkit10

Also attaching the Capture clip to a backpack strap, and so having the camera right there for a nice POV view, is very easy. I just wished that they would include an option, where you could rotate the arm in the quick release. My backpack has only one strap and it goes across my chest, so if I connect the Capture clip on it, the camera is not leveled. I have to put it on crooked, to level up the camera, but it’s not the best solution.

povkit07
povkit08

Overall this does exactly what it’s supposed to do. It’s a simple addition, but if you use the Capture clip and the GoPro camera, this can combine these two very nicely.

For more information, please visit the Peak design site.

View all my other reviews here.

FREE EBOOK!!!
Subscribe to my newsletter and get a free Capturing fireworks ebook. 
Subscribe