For today’s process post, I chosen one of my new year’s fireworks shots. But before I start, just a little reminder, that if you would like a free eBook about how I shoot and edit fireworks shots, you just need to subscribe to my newsletter.
But let’s start, this is the photo will be looking at:

This was a single RAW edit, and the photo looke like this from the camera:

I started as always in Lightroom. As this was a single RAW edit, I did much more than I usually do. I corrected the lens distortion, toned down the higlights, added a lot of contrast and vibrance. I also corrected the horizon and cropped the image. After the edits it looked like this:

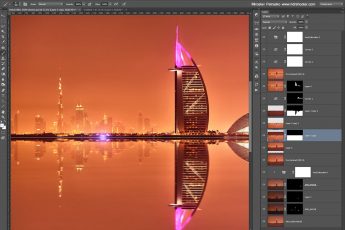
I then continued to export three versions of it. One normal, one underexposed and one overexposed. I loaded them all into Photoshop and continued with the blending. My main goal was to add more contrast and detail into the image, and to brighten the foreground. So I did the following (layers numbered from bottom up):
1. normal exposure as start
2. overexposed version to brighten the foreground
3. added contrast to the basic mid-tones (the photo was very flat)
4. Color efex Pro contrast to get more local contrast to the image
5. darkened down the dark’s of the image, to still add more contrast
6. underexposed version to darken the highlights of the image (castle and fireworks)
7. little bit of contrast, just on the fireworks
8. the overexposed version once more, as the foreground got to dark due to the edits
9. more contrast overall
10. desaturated a little the oversaturated colors (mask created using TK actions)
11. still more darkening of the dark areas
12. Color efex Tonal contrast to get more definition into the sky
And that was all. As you can see, most of the edits were just to get the contrast right.


Leave a Comment