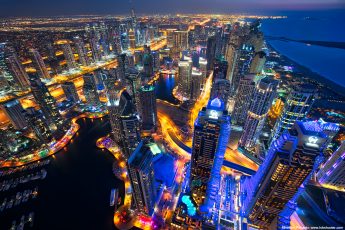
Let’s look at another photo, and how I edited it. Again I chosen one from Dubai, so here goes.
This photo was taken in the Dubai Marina, very late at night (sometime around 1am).

I did only 4 exposures here, as the +1ev was bright enough. It usually is when one take photos of a strongly lit up city. As always I loaded all the brackets into Lightroom, where I corrected the lens distortion and white balance.

Here you can see the original 0EV exposure:

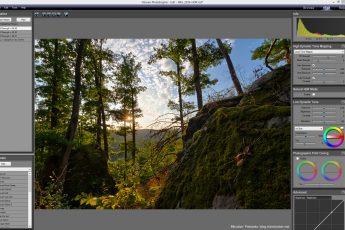
After that I exported all as 16-bit tiff files, and loaded into Oloneo Photoengine. Only tweaked the strength and contrast. The result from it looked like this. (you can see there is a small part of the corner missing, this is due to the lens correction, I didn’t crop it, as I could easily fill it in Photoshop)

Continuing I loaded all the files into Photoshop, starting with the Oloneo Photoengine result. There I did the following edits (numbered from bottom up)
1. Oloneo Photoengine result
2. Blended in the foreground from the +1ev exposure
3. Blended in the highlights from the -2ev exposure
4. Merged exposure and corrected the corner and cleaned the dust spots
5. Removed the broken piece of railing that was in the shot. I didn’t notice it while shooting (it was dark) and it was too distracting there
6. Cleaned out the retouch a little more
7. Added contrast to the dark areas of the photo
8. Corrected few lights on the Cayan tower (the spiral one, they are moving, which created ghosting)
9. Color efex Skylight filter, to add more color to the photo
10. Added more contrast to few buildings
11. Removed a little bit of a glow above some of the buildings
12. Removed the glow completely. It was on few buildings in the center, which looked strange.
And that’s all I did with this image. To find out more on how I edit, check out the guides and before after categories on this blog, or check out my video tutorial series here:


Leave a Comment