Let’s look at another photo, and how I put it together. For today’s photo I used 56 different exposures, that were all combined in a different way. This was my first experiment with shooting star trails in the middle of the city, and I was quite happy with the result. So let’s go :)
I started with 48 exposures for the stars.

Each one looking like this (you can’t really see the stars, but that’s normal :))

I edited them all in Lightroom, to remove lens distortion, chromatic aberrations and vignetting. I then exported all into layers in photos. The exported images all looked like this one:

I can’t show you the Photoshop file for the stars, as I forgot to save it, but what I did was to change all except the first layer to the blend mode lighten. I also played with contrast and levels, to make the stars more visible. In the end I ended with this result.

With this the first part of the photo was finished, not for the bridge part. I took additional 8 images as a HDR series.

I applied the same corrections to them in Lightroom as with the star shots, to make the blend easier. I then exported them all as 16-bit Tiff files and loaded into Oloneo Photoengine. There I changed the strength and contrast to get this result:

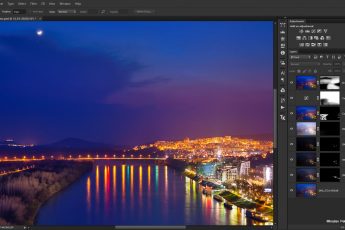
From here I continued into Photoshop. I loaded the HDR and the stars images into layers, and blended them together by using a selection of the sky and manually painting few areas. I then also applied Color effex detail extractor onto the image, to get more detail on the bridge and make the stars even more visible. I ended by applying more contrast and making the stars more whiter by using levels.
And that’s all I did with this image. To find out more on how I edit, check out the guides and before after categories on this blog, or check out my video tutorial series here:


Leave a Comment