And were reached another Monday, and as every (almost) Monday, it’s time for another process post. For today I chosen to show you this rainy photo from my last years visit to Paris, so let’g get to it.
Let first take a look at the finished photo and the original 0EV exposure. As you see, the original is too bright, lacks detail and contrast, and has completely boring color. All that needs to be fixed.
I started with 5 exposures in Lightroom. I corrected the lens distortions, chromatic abberations, white balance and the horizon line. Here you can see all the 5 exposures and the middle one already corrected.
I then exported all the files as 16-bit tiffs and loaded into Oloneo Photoengine. Actually I loaded them twice. First time only the first 4, to create a darker version, second time all 5 to create a brighter version. In both versions I used the same settings. Quite often I leave the brightest version out of Photoengine, as it can create a too bright result. Same here, but I still used the too bright result later in Photoshop. I could have done the same with one of the original exposures, but the Photoengine result has a better contrast and detail already, so lees work later on is needed.
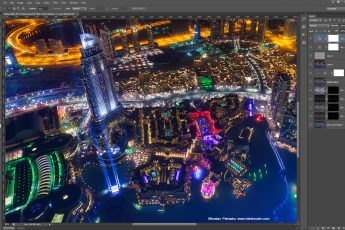
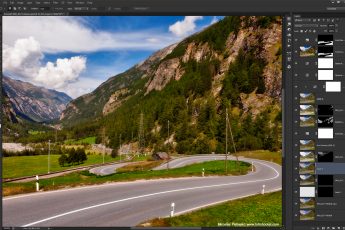
After this I loaded both results and the original exposures into Photoshop and continued from there (layers numbered from bottom up):
1. the darker Oloneo Photoengine result
2. the lighter Oloneo Photoengine result, used to brighten the darkest areas
3. used the -1ev exposure, to town down the lights (there were just too saturated in the HDR) and to correct ghosting from moving cars and ship
4. few more bright spots darkened using the -2EV shot
5. Color Efex Pro contrast filter to add more detail to the sky, the water and the building on the right
6. Tk Actions saturation mask, to tone down the yellow lights even more
7+8. Color balance adjustment to get a different color feel to the photo. They are both the same, just the second one has a smaller opacity, with which I tweaked the look.
9. merged layer with noise reduction
10. little desaturation on the blue color channel
11. added overall contrast. Almost every photo I edit, ends with a little overall contrast added. This is because the sharpening for web after the re-sizing, removes a little contrast.

And that’s all I did with this image. To find out more on how I edit, check out the guides and before after categories on this blog, or check out my video tutorial series here:


Leave a Comment