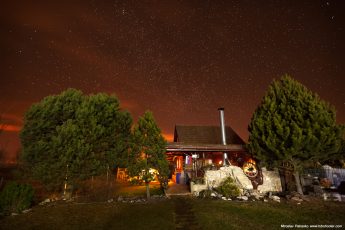
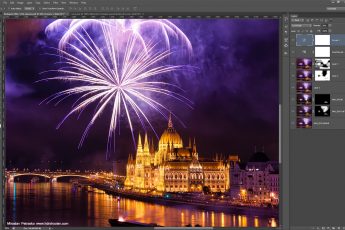
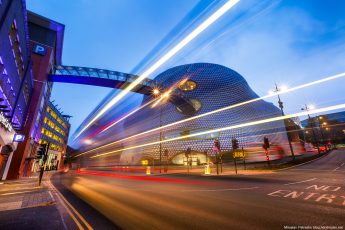
Even after years of it’s being used, HDR is still not properly known and understood between photographers. So to make it at least easier for some of you, in this post I will be going exactly what it is and why it is used. I will also go through few additional questions, that are close to the subject.
I will avoid being too technical, and try to explain things as simple as possible.
What is HDR?
HDR stands for Hight Dynamic Range. It’s used to describe photos, where different techniques have been used, to expand the dynamic range ,to cover the whole available range of the scene.
For instance in photos like these two:
What is Dynamic range?
In simplest terms, the dynamic range is the difference between the brightest and the darkest point. In a scene, it’s the difference between the brightest light and the darkest shadow. In a camera, it the difference it can capture in a single photo.
When you look at something, your eye moves rapidly, and adopts to all light sources very quickly. Like that you can see a very high dynamic range, as you don’t see it all at once. In comparison, a camera has to get the whole range in one shot.
What is DRI and EDR?
DRI stands for Dynamic Range Increase and EDR stands for Extended Dynamic Range. Both have the same goal than HDR to increase the dynamic range of a photo, but the names are commonly used when using different techniques than tone-mapping software. Mostly when using luminance masks, one talks about DRI or EDR.
Why is HDR used?
Again, in simplest terms, it’s because a camera cannot capture the whole dynamic range of a scene in one photo. But to get a better understanding, let’s look at an example.
Here are two photos from scenes with different dynamic ranges. The first one has a very small dynamic range (the difference between the dark and bright spot is very small), the second one has a big dynamic range (the difference is huge).
To visualize this, lets look at the dynamic ranges as bars, going from the darkest to brightest point. The sizes are just as illustration, so the proportions are not exact.
Like this you can visualize, what everything one needs to capture in a photo. As the one with the small difference is easy to capture in one photo, lets continue only with the second one.
Now let’s compares what we get when capturing the scene with a dynamic range of a 8-bit jpeg and with a RAW file, which is usually 14-bit. You can see, that the dynamic range of the scene can be much bigger. Even with the bigger range of the RAW, you loose a lot of information. Everything that is cut off, on the sides, turns to complete black or white.
If we looked at a JPEG photo and a RAW photo in comparison, it looks like this (the dark parts in the RAW photo have been brightened, the bright parts darkened, so it can be shown on an 8-bit screen)
So how to capture the whole dynamic range of a scene? This is where bracketing comes in. One takes multiple exposures, each one capturing a part of the full scene. It can be visualized like this:

The brackets are overlapping, and each one covers a different part of the dynamic range of the scene. It can even extend more, but that parts will contain no information.
These photos can then be put together into a 32-bit HDR file, that can contain this whole range at once. This file is used only as a step in photo editing, as it can’t be correctly displayed on a screen. It’s mostly used only in 3D modeling.
What can be normally shown on a screen is a 8-bit file (there are 16-bit screens, but there are not commonly used). Most JPG files are 8-bit. So what is needed, is to use a any of the available techniques, to compress the dynamic range in the 32-bit file, until it fits into a 8-bit one (or a 16-bit one as a middle step). This can be visualized as this:
So what is used to do this? Any number of techniques. Manual blending, HDR tonemapping, just brightening the dark parts and darkening the bright parts and many more. Once this is finished, the dynamic range in the photo is the same of the one that can be shown on a screen.
The goal of all this is to get from a scene with a very high dynamic range, to a photo that can be shown on a normal screen.
Is this the same HDR as available in most phones and modern cameras?
Well, yes it is. All the cameras take multiple exposures, to get the whole dynamic range, and combine them into one shot. Especially mobile phone cameras have a horrible dynamic range, and this can help a lot. Of course the biggest difference between this and doing this on your own, is that this process is fully automated and you have very little or no control of it.
What is HDR look/style?
HDR look, or we can also call it HDR style, is a certain look of a photo, that is quite often mistaken for HDR. It’s usually characterized by very saturated color and very strongly defined details, so called grunge look. But don’t be mistaken. This looks has nothing to do with the photo being a High dynamic range image. It can be done with any image, and is often just created using post-processing filters like Color Efex or Topaz Adjust.
It depends all on the photographer, if he wants to go with his editing style into this area or wants to go more towards realistic results.
Here are two of my photos, one with a more stylized HDR style, one with a more natural style. Both are HDRs, and as you can see, the final look has almost nothing to do with it. It’s all depended on the style one wants to create.
And that’s all for this post. Feel free to ask if you have any questions, and to find out more how to create HDR photos, check out my HDR tutorial and my video tutorial series Master Exposure Blending.


nice and understandable article.
I don’t agree that 8bit needs to have lower dynamic range than 14/16/32 bit. The number of bits do not mean the range size. They mean range density or range detail.
It can contain the same dynamic range, once it’s compresses. That’s exactly what tonemapping or blending does. But it can never contain all the information.