As every Monday, today’s post will be again about one of my photos, and how it was edited. For today I chosen a photo from the Grand Mosque in Abu Dhabi, so let’s take a look at it.
First here you have the final and the original photo. As you can see the difference between the bright and the dark areas in this one, was just huge.
So for this one, I had to take a little more exposures. As you can see I took 7, but I managed to take them a little more to the darker side than I wanted. But still I got enough information to work with. First I loaded them all into Lightroom, where I corrected the distortion, white balance and removed the chromatic aberrations.
From there I exported all the files as 16-bitt tiff files and combined them in Oloneo Photoengine. As it usually is, with white walls and very high dynamic range, the result was not the best, so it needed to be edited a lot more in Photoshop. So I loaded all the original exposures and the Photoengine result into Photoshop and continued from there. (Layers numbered from bottom up)
1. Oloneo Photoengine result
2. +2EV exposure, set to Lighten mode and 37% opacity, to recover the white parts of the image
3. 0EV exposure, set to Lighten, to brighten few more spots.
4. +2EV again, with a hand painted mask, to remove the ghosting from the reflection in the water. As the water was not completely still, there was a little movement between photos.
5. Merged layer, to remove few spots from the photo.
6. +1Ev exposure, with a hand painted mask, to recover parts of the center (they lost some contrast in the HDR merge)
7. Color Efex pro contrast, to get more detail in the photo
8-9. Added glow to the photo, to make the bright areas shine more
10. Color balance to make the photo a little warmer
11. A little more contrast to the shadow areas, to make them a little darker, as the photo looked too artificial.
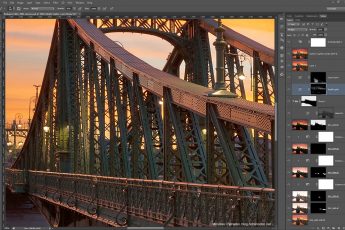
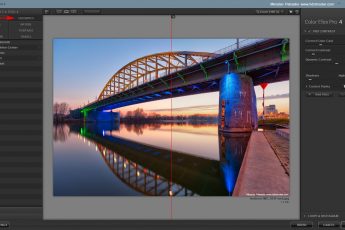
And here you can see the Oloneo Photoengine result and a screenshot from Photoshop.
And that’s all I did with this image. To find out more on how I edit, check out the guides and before after categories on this blog, or check out my video tutorial series here:


Leave a Comment