Today, I will show you how I edited this late night photo from Dubai. This is of course the Burj Khalifa, as seen with a long lens from the Palm Jumeirah. So let’s start.
Here you have the final photo and the original 0EV exposure. As you can see, it was really missing a lot of contrast. I also wanted to get more detail, make the buildings in the background more visible, and mostly, tweak the color, so it fit more with the strong neon color of the top of the Burj Khalifa.
As always I started in Lightroom. I removed lens distortion, vignetting, and tweaked the tint, so it’s more purple. Then I exported all the exposures as 16-bit tiff files.
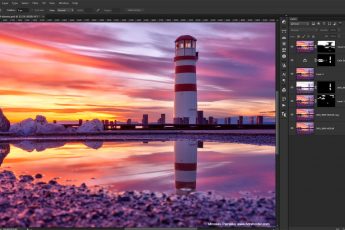
After that, I loaded all the exposures into Oloneo Photoengine, and added strength and contrast. I then loaded the result into Photoshop together with all the original exposures. The edits I did there were the following (layers numbered from bottom up)
1. Oloneo Photoengine result
2. Color efex pro contrast, but only on the buildings, as I wanted more local contrast just there.
3. A little overall contrast
4+5. More contrast to the brightest areas. I put the layer in a group with its own layer mask, as I wanted the effect just in few areas.
6. During the edit I decided that I want the whole photo purple, so I blended few parts from the -2EV exposure to change few lights.
7. Just a merged copy I forgot to remove :)
8. Color efex Darken/lighten center, to add a vignette back.
9. TK Actions vibrance mask, to tone down the most saturated colors
10. A little more overall contrast
And that’s all I did with this image. To find out more on how I edit, check out the guides and before after categories on this blog, or check out my video tutorial series here:


Leave a Comment