And we arrived at another Monday, and you know what that means :) Another process post. For today I chosen this manually blended night photo from Dubai, so let’s get to it.
As you can see, the most edits were to correct the color and brightness of the photo. There were also few changing lights, that I wanted to capture in the shot. I took 7 exposures here, just to be sure. I did not know how dark I have to go to get a good looking moon in the photo, and in the end I haven’t used them all anyway.
I started in Lightroom. As I wanted to do very few edits, as I wanted to avoid color banding as much as possible, I did quite a few edits already in Lightroom. I opened the shadows, darkened the highlights, added contrast and exposure. I also corrected the horizon line and changed the white balance. From there I loaded the exposures into Photoshop and continued from there (layers numbered from bottom up)
1. -1EV exposure, from which I started
2. Complete sky replaced from the -2EV exposure
3. -3EV from where I darkened few bright lights
4. 0EV to get back some of the highlights
5. Merged copy, as I wanted to retouch out the wheel on the right side
6. Little recovery, of the rotating wheel on the right, as I didn’t like the blended version
7. More contrast to the top part of the image
8. More contrast to the whole image
9. Little more overall saturation
10. And a little bit more contrast once more
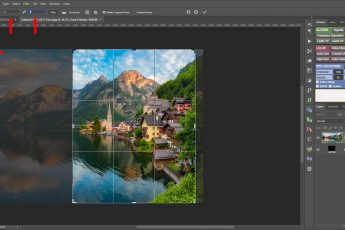
Here you can see the screen shot from Photoshop, and you will notice a huge amount of color banding in it. But if you read my post Dealing with color banding few days ago, you know why it is so. Once I merged the layers, the banding disappeared :)

And that’s all I did with this image. To find out more on how I edit, check out the guides and before after categories on this blog, or check out my video tutorial series here:


Leave a Comment