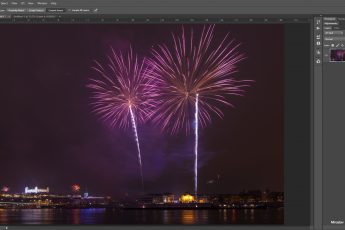
Let’s look today on one of my recent photos and how it was edited. This time it’s this late night panorama taken in Prague by the Charles bridge. This was a two tile panorama which I took without the help of a panorama head. Actually a lot of my panoramas are done this way. If you are far enough from the subject, and you are using a longer focal length, you don’t really need a panorama head. The stitching software is intelligent enough to work with the small amount of paralax effect you will get.
Here you can see bigger versions of the middle exposures I used.
Overall I used 10 exposure, I went from -2 to +2EV, as there were some quite dark areas, and also few very bright lights.

I started in Lightroom, where I only removed the chromatic aberrations, lens distortions and vignetting and corrected a little the white balance (it was too much towards red). From there I exported everything as 16-bit tiffs and loaded them into PTgui. For a detailed process how I combine shots there, check out the specific tutorial on creating HDR panoramas.

I continued in Oloneo Photoengine. As always, I just added a bit of strength, until I get a nice even exposure, from which I could start with. Setting of around 50 works the best usually. Same here. To continue I loaded everything into Photoshop and continued with the following edits (layers numbered from bottom up):
1. Oloneo Photoengine result
2. Painted in the +1EV into the water, to remove the blend of the moving lights
3. Merged copy, where I filled in few areas around the corners, that were empty form the panorama blend
4. Darkened the bright lights from the -1EV exposure.
5. Brightened part of the reflection, to make it more visible
6. Retouched out all the people on the bridge
7. Corrected a stray light on the bridge
8. Few more bright spots corrected from the -2EV
9. The tower in the back lost all the contrast in the blend, so I recovered it from the 0EV exposure
10. Color Efex tonal contrast, with settings 10, 15, 10 and 10. These are my most used settings for this plugin
11+12. Curves and color balance, to correct the uneven brightness and color of the photo. I made the right part darker and more saturated.
And that’s all I did with this image. To find out more on how I edit, check out the guides and before after categories on this blog, or check out my video tutorial series here:


Nice work – thanks for the steps!
Your welcome :)