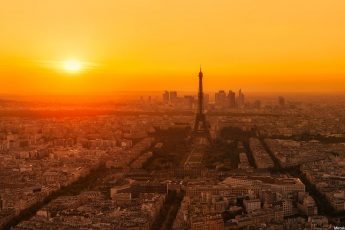
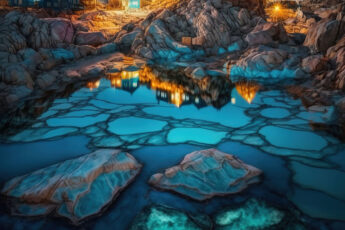
One of the rules in composition, which I think one should follow, is to let the subject space to breath. In that I mean, that if you have your subject, don’t let it touch the edge of the photo. Rather zoom out or move a little back, and leave a little space around the subject.
Especially, if you do landscapes as I do, it’s easy to have the subject (bridge, building) touching the edge of the photo, just because you don’t have a wide enough lens, or you just can’t move further back. It most often happens on top, as when you shoot, and don’t want to have a perspective distortion, you just can’t tilt you camera up.
But thanks to Photoshop, you can correct this very easily and very quickly. And since I used this on the photo I posted yesterday, today I will show you how to do it in few steps.
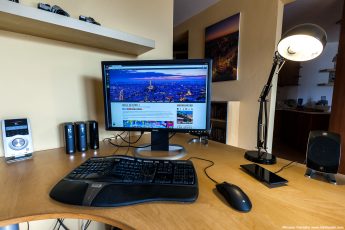
1. So let’s look at this photo. I liked the composition, but the top part was very tight, with the lamp almost touching the edge. And this is what needs to be corrected.
2. To start, we need to expand the canvas of the photo first. Choose the crop tool, with no ratio entered, than click on the top center of the border, and drag it up. When you have enough, let go and confirm with Enter.
3. Now choose the wand tool, and select the new created area.
4. As we want the fill, we will add here to blend nicely, we need to expand the selection a little, so it overlaps the photo. Choose Select/Modify/Expand and choose a value of around 1-3 pixels. This will grow the selection.
5. Now we need to fill this area. Hit Shift + Backspace to open the Fill dialog. Here chose the Content-Aware fill and hit OK. After few seconds (can be minutes on slower systems) the area will be filled with the sky.
6. And thats it. This small change makes the photo better, with the subject no longer being suffocated by the photos border.
This of course works best if you are just filling in a clear blue or black sky. But the Content aware fill can crate also very nice clouds and other objects, so you can experiment even on photos that are not as easy as this one.
You can also think about this already when taking the photo. Instead of trying to include more sky, just include more of the scenery, and just add the sky later in Photoshop. I will looks almost exactly the same as if you would capture it in the camera.


Leave a Comment