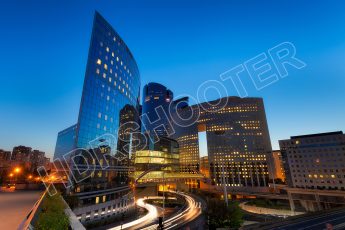
Let’s have a look today on one of my recent photos and how it was edited. This time I chosen this very early morning shot from the Bir-Hakeim bridge in Paris. So lets start :)
When you compare the final and the starting shot, the biggest thing I needed to correct was how crooked the photo was, the color, and tone down on the sky, and brighten the shadow places.
I started with Lightroom, where I removed the chromatic aberrations, toned down the highlights, and corrected the crooked horizon. I also needed to correct the perspective distortion a bit. From there I exported all the files and loaded them into Oloneo Photoengine. Not much work there, as just by changing the TM strength, I got almost all I needed. I also moved the hue a bit toward purple, as the picture was a little too green.
From here I loaded the Photoengine result and the original 0Ev exposure into Photoshop. The 0EV was a second export from lightroom, where I opened the shadows, toned down the highlights and tweaked the hue, so it blends more nicely with the HDR.
In Photoshop I did the following steps (numbered from bottom up):
1. Oloneo Photoengine result
2. The 0EV exposure, to get rid of the moving car that passed while I took this photo
3. Merged layer, on which I removed the dust spots, and the crane on the right side
4. Color Efex Pro Contrast, to get a bit more local contrast into the photo
5. Color Efex Polarization to darken the sky
6. A bit of correction to the left side, as there was another crane visible :)
7. Noise reduction using Imagenomic noiseware, but I removed it from the trees, and it destroyed all the detail.
8. Another merged layer, on which I removed all the white outlines. Here I’m including a before/after shots, to see what I mean. This outlines are a result of the HDR process, where two areas with very different brightness come together. If you want to see exactly how I got rid of them, check out the tutorial I made about this. Btw. you can still see them a little in the final photo, but that’s due to the sharpening process. If I printed the full resolution file, there would be none :)
And that’s all I did with this image. To find out more on how I edit, check out the guides and before after categories on this blog, or check out my video tutorial series here:


Leave a Comment