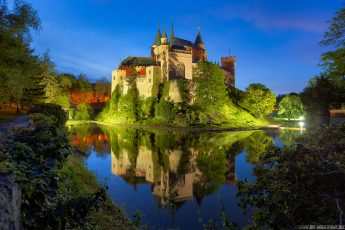
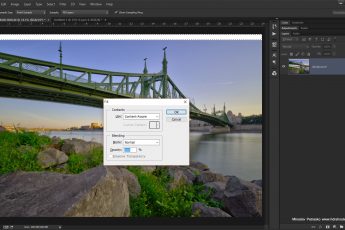
Today, I will show you how I edited this sunset shot taken under the SNP bridge in Bratislava. If you are also curious about the exif data, you can find it in the original post here..
So let’s get started. If you look at the original photos, you see quite a few problems. First, the biggest is the wrong white balance, then overexposed sky, the bridge is too dark, and there are quite a few dust spots and objects that need to be removed.
I started as always in Lightrom with these 5 exposures. I corrected white balance, removed chromatic aberrations and corrected the perspective a little bit. From there I exported all the files as 16-bit tiffs, and loaded them into Oloneo PhotoEngine. There I adjusted strength, contrast and tweaked white balance a little more.
With that done, I continued in Photoshop. There I did the following edits (layers numbered from bottom up)
1. Photoengine result.
2. -2EV exposure, to darken the sky a little under the bridge
3. 0EV exposure, to recover the cloud there a little, as I did not like the result from HDR tonemapping
4. Removed all the trash from the grass and the rocks
5. Removed the blurry people from the top of the bridge :)
6. Color Efex pro Polarization filter, to get more color into the sky, and the sunset. I toned it down on the highlights, as it was too strong there.
7. -2EV exposure again, as the previous edit brightened the sky too much
8. added contrast to the sky and the water
9+10. at first I thought they would not bother me, but after a while they did. So on these two layers I removed the cable in the bottom of the photo and the single ray of light going through the bridge.
11. More overall contrast
12. Toned down the warmth of the photo a little, as it was a bit too red for me
13. Brightened the shadows, while also adding contrast to them (aren’t curves great? :)).
And that’s all I did with this image. To find out more on how I edit, check out the guides and before after categories on this blog, or check out my video tutorial series here:


Leave a Comment