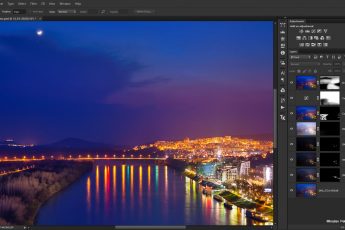
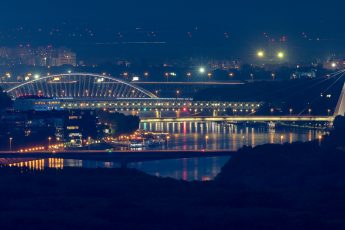
For today, I will show you how this photo from the back side of the Hungarian parliament was edited. So let’s get to it :)
This shot was taken by placing the camera around 1-2cm above the new fountain that is right behind the parliament. I had to wait a moment, as the water stream is not always the same, and it only creates a nice reflection when it slows down. Also I had to wait until the military patrol passes by, so I don’t have them in the shot (felt a little like a game there :)).
So when you compare the final and the original photo, you will see what needed to be corrected. The scene had quite a huge dynamic range, as night shots usually have. I wanted to tone down the lights, and get some color into the sky. I also wanted to remove some of the distractions from the shot, like flares and the tent on the right.
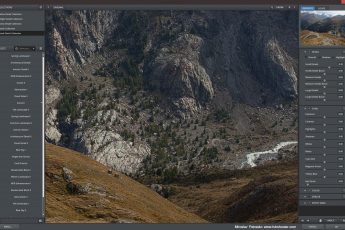
I started as always in Lightroom. Here I removed the chromatic aberrations and applied lens corrections. From there I continued in Oloneo Photoengine. Here it did wonderful job combining the shots, but the colors got a bit too strong. So I used the Natural HDR mode to tone them down, but also saved the more colorful version, to use in Photoshop to add color partially.
From here I continued in Photoshop with following edits (layers numbered from bottom up):
1. Oloneo Photoengine result in Natural HDR mode
2. The more colorful result, but set to 30% opacity, to get more color.
3+4+5. Retouched out a light trail on the left and a moving flag. Also removed lens flares on the right.
6+7. -1EV and +2EV to remove ghosting from moving flags.
8. Darkened the bright lights from the -2EV exposure
9+10+11. Selected a part from the left size, flipped it and transformed to fit the right side, over the tent. Then used the clone stamp, to create more of the floor in front of it.
12. Color efex pro contrast to get a bit more detail in the sky, and more local contrast.
13. More overall contrast using curves.
14. I felt the bright areas became a bit too dark after all the edits, so I used the original HDR result to brighten them back up.
15. A bit more exposure on the sky, to make it brighter.
16. And to finish a bit more exposure overall using curves.

And that’s all I did with this image. To find out more on how I edit, check out the guides and before after categories on this blog, or check out my video tutorial series here:


Leave a Comment