One of the issues when creating a Panorama, are the missing areas around the sides, due to how the images have to be warped to fit each other. To correct this, one needed to either cut off the areas, fill them in or try to war the image to get rid of them. With the newest update to Lightroom and Adobe Camera RAW, there is now one more option, called Boundary warp.
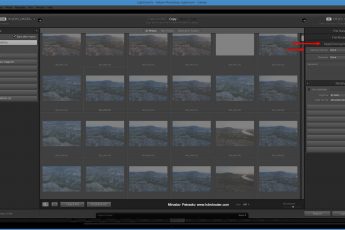
Here I’m showing it to you in Lightroom, but it works exactly the same in Camera RAW. To be able to use it, you have to first merge a panorama in Lightroom. To do so, just select all the files of the panorama, right click one of them and choose Photo merge/Panorama, or go from the top menu Photo/Photo Merge/Panorama, or even faster, hit Ctrl+M.
Once you get the popup window, you will see the merged panorama. If you have Auto Crop on, you have to turn it off first, to be able to see the whole photo, including the missing areas. Now here you also see the Boundary warp slider. Move it to the right, to see how the photo will start warping to fill in all the missing areas. It will also try to straighten the image while doing that.
Here are three different situations, and how it worked out. I this first one, a scenery landscape, it worked out perfectly. The sky looks great and even the road was straightened perfectly.
In this second example, it was not that perfect. This is the biggest weakness of Boundary warp. If you have straight lines close to the warped borders, Boundary warp can distort and bend them. You can see it here on the right, where the bridge is just not straight. In this case, one would have to either crop this away, try to warp it back in Photoshop, or tone down boundary warp, to a lover setting, where this is not so visible. Either way, more work is needed.
In this last example, here again are straight lines close to the edge. But since the needed warp is much smaller, there is no visible distortion in the final image.
Boundary ward is a really nice addition from Adobe. It will make some quite challenging panorama corrections that much easier. And it even leave the result in RAW DNG format, which makes it even better.


Leave a Comment