Today I will show you how I edited this photo, even if it’s not a HDR. Maybe even that will be interesting to some of you :)
So let’s start with comparison of the final and original photos. As you can see, as it’s a fog shot, the photo is very low contrast, and quite bland.
I did quite a few edits in Lightroom. Bumped up the contrast a lot, toned down the highlights of the bridge, opened up the shadows, added a bit of clarity and vibrance. From there I opened the photo in Photoshop.

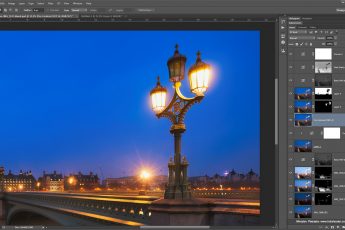
In Photoshop I did the following edits (layers numbered from bottom up):
1. The Lightroom result
2. A copy on which I cleaned up the dust spots
3. Another copy, on which I removed few of the lights in the distance, and a partially visible ship on the right. They bothered me in the composition, as I wanted to focus only on the bridge (I like to do bigger edits on new layers, to not do have to start from the beginning in case of any mistakes)
4. Bit more contrast added using curves
5. Added a little overall saturation, to make the colors more dominant.
6. Added noise to the sky and the water, to prevent color banding from creating.
7. Color Efex Tonal contrast, set to blend mode color at smaller opacity.
8. Color Efex Tonal contrast, set to blend mode luminosity. This is the same as the previous layers, I just duplicated it and changed the blend modes, so I can choose where the effect and where the color is applied. I used the color with smaller opacity, and the detail with a custom painted mask, so it’s just on the bridge and the shadow.
9. To finish up, I bumped up the saturation again by a little (+2, so very tiny adjustment)
And that’s all I did with this photo, check out the Process category, to see all other process posts I posted on the blog before.


Leave a Comment