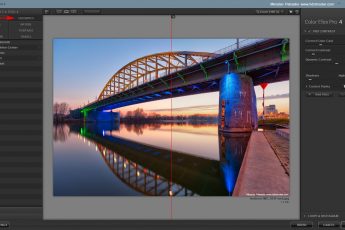
Today I will show you how I edited this photo of the new Old bridge in Bratislava. So let’s get started :)
As you can see from the comparison of the final and starting photos, my main goal here was to brighten the shadow areas, to get at least some detail in them, and to darken the middle part around the horizon.
I started with correcting the chromatic aerations in Lightroom and not much else there. I exported all the files and loaded them into Oloneo Photoengine. The result I got here, was really close to what I wanted, but there were still few more tweaks needed. All I did in Photoengine was to move the strength slider until I got an even lit image.
From there I loaded all the files into PHotoshop, and did the following edits (layers numbered from bottom up):
1. Photoengine result
2. -2EV exposure, to darken few light in the distance.
3+4. -1EV and 0EV exposures, from which I painted in few parts of the water. HDR usually removes makes the water very soft when combining the images, and I wanted a bit of detail there.
5. On a merged layer, I removed any dust spots and also removed the white outlines from the bridge (check out this tutorial for more about this)
6. To add more detail and contrast into the water, I used Color Efex Pro Tonal Contrast, and painted in using a mask just into the water.
7. Added a little saturation into the sunset colors around the horizon.
8. To brighten the rocks in front, and few parts of the bridge, I went back to Lightroom, and exported a version of the +1EV exposure, which I exposed by a stop. Then I loaded it as a new layer, and used luminance masking to apply it to few spots.
9. At the end, I found a few ghosted cars far in the distance, which I corrected from the -1Ev exposure.

And that’s all I did with to get the final photo :)


Leave a Comment