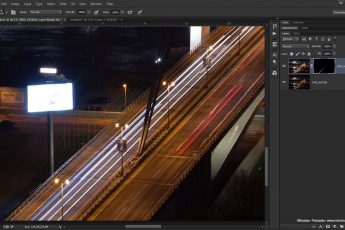
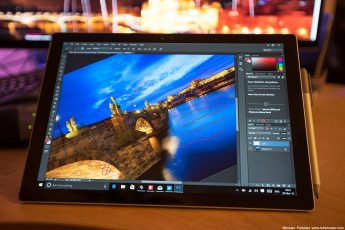
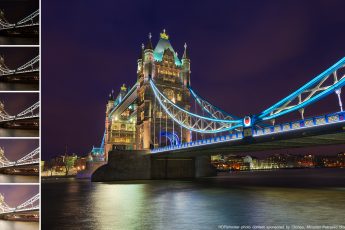
Today Topaz released a new version of their noise removal plug-in Topaz DeNoise 6, and since I already had the ability to try it out, here are my thoughts on it, together with some example photos, so you can see before/after on how it works.
Even if I almost always shoot at ISO 100, there is noise in my photos. Either I had to use a long exposure, which creates noise, or I had to overexpose a part of an image, and that introduced more noise. And this is where a noise reduction plug-in comes in handy.
Interface
The Topaz DeNoise interface is really simple. On one side you have a list of presets, either the generic ones, or the ones specific for a camera and ISO combination. On the other side you can tweak the specific settings manually.
You can choose how you want to view the photo, either full color, luminosity view or by specific channel, and you can even have the preview be automatically brighten, so you can see the noise better.
It all easy and straightforward, and the only thing I could not find is a side by side view of the image, before and after noise reduction.
Noise removal
The results look really good. I found the default settings a bit on the strong side, where they soften the detail too much, but that can be corrected.
Topaz DeNoise 6 has three categories of settings. Noise reduction, detail recovery and Debanding. I like that they offer separate noise reduction based on the brightness (highlights and shadows are separated). Also being able to separately adjust noise in the blue and red channels is nice addition. I ended up turning down the Correct black levels, as it tended to result in overall contrast bump, and so causes the results to be much colorful. The Reduce blur in the Detail recovery really helps to remove the softness I mentioned earlier.
(the images will load bigger that usually, as I did not resize them down, so you can see the noise at 100%)
The debanding is something new for me. The purpose here is to remove noise lines that are created by very high ISO. I tried to create it by using 25600 ISO on my Canon 5D mark II, but I don’t think it was created. So for a view of that, check out the official site.
Conclusion
As you can see from the before/after shots, DeNoise creates quite nice results. One has to play with it a little, as the defaults are on the stronger side, but one can get good results. I compared it also to the plugin I use right now, the Imagenomic Noiseware, and the results are very similar. Better said, there were areas where I liked the DeNoise more and there were some where I liked Noiseware more. And since one can get a trial version for free, it’s easy to try out both, so you can have a look and decide for yourself what you like better :)
You can get a trial version for Topaz Denoise here, and for the next month, you can also use the code NOISEFREE to get 30usd off from teh standard price.


Leave a Comment