Today I’m going to show you how Plotagraph Pro works and what are the steps needed to create an animated photo in this software. So let’s get started.
Choose your photo and load it
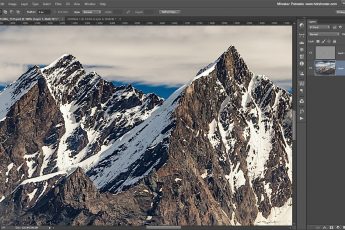
So the first step is to choose your photo and load it into Plotagraph pro. You can choose any photo, the only limitation is that the file size has to be under 20Mb in size. I like to do photos of 4096 pixels across, as then I can export the result as a 4k MP4 file.
Mask your photo
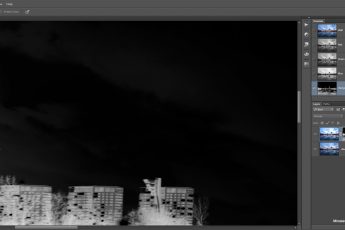
The second step, is to mask out the areas you don’t want to animate. The easies is to start with automated mask tools. Here you choose either Area to Mask or Area to Animate and draw a red (green) line to define the area. Plotagraph Pro will then try to mask the photo based on your selection.
It does a quite nice job, but mostly you will still need to go in, use the mask brush and correct the edges of the selection. I did the same here.
Hide the mask
This is an optional step. You can choose layers and hide the mask and the quick selection. You just don’t need to see them once you done with the masking.

Feather the selection
The next step is to feather the selection. There are two feathers here, the background and the foreground. For the background, the stronger you choose, the further away from the mask is the area from where the program tries to pull from, fill in the mask. This is needed if you try to animate around object, like the roofs and towers here.
The other feather, is the foreground. The stronger you choose here, the softer the transition will be between the masked area and the background. I would not go too high here, as especially with object with hard edge, this will remove all of the edge sharpness and things looks a bit washed out.
Add animation points
Now you can start adding animation points. One can add them and directly drag them to where you want the animation to go, but I prefer a different method. First I turn off the click-and-drag, so I cant directly drag the photos. Then I start adding them to the areas I want to animate. Here I want to animate the water and I want to animate the clouds. So in the water, I will create one line from the points. In the sky, I create multiple lines, as I want to animate the clouds in different speeds.
You can add more points later, but it good to have a good start, to see a good preview of the animation.
Drag the animation points
Now you can choose the selection tool, choose groups of points and then together drag them to where they should animate. Like this the points in the groups will have the same animations. Here I had one group for the water, and few different groups for the sky.

If I tried to animate this right afterwards, I would get a result like this.
(if you are on mobile or use a very old version of a browser, you may not see the animation)
You can easily see that while the overall animation is already there, there are quite a few problems.
Add anchor points
So you see the problems. The animation is pulling in parts of the buildings, even if they are masked out.Here where the animation points come again. If you put a point down and don’t drag on it to make an animation, it will stay as an anchor point. That means that the area under it will not move at all.
You can have Ploatagraph Pro try and create these for you, just by dragging the generate slider. It will add points to areas it thinks are the borders, but you will probably still have to go around the photo, and add even more points right on the borders.
This changed a bit in latest updates. Now you have a separate selection in the menu under Animations points, called Stabilizer/Anchor Points. You still can do it as before, by creating and Animation point and not dragging it, but you can just use a Anchor point instead.
From here you just need to correct all the remaining problems. Play the animation and if you see some, go back into the photo, add more anker points to the area or mask it out. It sometime take a bit of trial and error to get it right. Also, if the problems are close to the corners, adding points outside the area of the photo can help. As the animation can extent also there, having a defined movement outside can give you a better result.
And for this photo, after few more tweaks, few more points and a bit of masking, I got to this result.
(if you are on mobile or use a very old version of a browser, you may not see the animation).


Thanks for the tutorial! When you say anker points, do you mean anchor points?
Yes I did, not sure why I used a different name for them
Hi thanks for this tutorial. Are you able to tell me how you uploaded the finished images to your blog please?
I export them as mp4 video files, compress them using Handbrake, upload to the blog host, and then use this code to embed them into the page:
Your browser does not support the video tag.
It just does not work on mobile.
where can I download this onto my desk top?