While in Linz

Ars Electronica in LinzAs I mentioned yesterday, I did not have much time to take photos while I was in Linz. I got into the city to take photos only for about a hour in total during the whole week. But on the other hand, I visited few nice places there.

One of them was the Ars Electronica museum in the middle of the city. There I saw the Deep Space presentation, which is something like a 3D movie, projected onto the screen, but also on the floor. Seeing a space simulation (something like Google Earth) or a psychedelic 3D animation is quite interesting and worth a visit.

Ars Electronica in Linz

And the photo today is also of the Ars Electronica, during the blue hour. The museum (same as other buildings in the city) light up with bright colorful neon light in the evening. It makes for a nice view, but it’s a bit hard to capture them properly with a camera sensor.

This is a blend of three exposures, done in Photoshop.

Ars Electronica in Linz, Austria

Back from Linz

And I’m back. This one was very busy work week. Sorry for not updating, but I just had no time and energy to do so. But will do now again, for at least until the next trip (which is in a week :)).

Golden sky at the Eiffel tower

Golden sky at the Eiffel tower, before, afterThe photo for today, is one from my archives, taken during one of my visits to Paris. I edited it only few days ago. I think I tried it once before, but I did not like the result. But as the skill advance, so one can get more from photos, one would once find unusable :)

So if you are curious, I’m again including a before/after comparison of this photo. You can see as it was right from the camera, and how it compares to my editing result.

For this photo, I used a single exposure, edited in Photoshop.

Golden sky at the Eiffel tower, Paris, France

Destination Linz

I’m off to Linz in Austria this week. This is more of a business trip, so while I will be taking a lot of photos, nothing that I will be sharing. I will of course try to keep the blog updated every day, but hard to say if I manage. If not, I will be back to updating by the weekend.

Vineyards over Spitz in Austria

And since I am at the topic of Austria, here is a shot I took there about two years ago. This is taken from the vineyards, above the small city of Spitz. It’s a really nice area. You can drive with your car almost right up to this point, and the vineyards are not closed off. So you can go in and take as many photos as you want :)

This was during a very sunny day, which is not the best for photos, but I needed some daytime shots from here, so I took them. I returned here for the sunset, but with no clouds, it was nothing special. I’m again including a before/after screenshots, for those who are curious. If I remember to do so, I will maybe share that with more posts from now on :)

This is a blend of two exposures. A darker one for the base and a brighter one to open up some of the shadows. Edited in Photoshop.

Vineyards over Spitz in Austria

Learning new things

Beginning of the year is always the time, when I find the need to improve my editing skills. So as every year I go through video tutorials from my favorite photographers and then try to implement what I learned. To tell the truth, I often don’t see much new what I haven’t seen before (I been doing this for a while now :)). Still, it’s great for some inspiration.

And if you need some, here is a list of tutorials that I would suggest.

Quickly approaching rain over Paris

For today, I edited a photo I took already few years ago. This one is from the top of the Eiffel tower in Paris. That day, right as the sun went down, it started raining. The rain movied towards us from the direction of the sunset. It really made for a very spectacular view. Good that the 5D mark II I used at that time is a weather-sealed camera. I could just take photos without the need to hide from the rain.

For this photo, I took 10 exposures. 5 normal and 5 with my hand in front of the sun. I needed the second set to get rid of the lens flares (you can learn on how to remove lens flares here). In the end I used I exposure for the base, one for the sky, and two from the ones where my hand shaded the sun.

And if you are curious, I’m including a before after shot to the side. You can see how the 0EV exposure looked like and how the final shot turned out after about 30 layers of tweaks in Photoshop :)

Quickly approaching rain over Paris, France

I have been sharing a lot of plotagraphs recently (not only here, but mostly on my Instagram account) and some long time ago I shared also cinemagraphs here. Since the results are quite similar, I would try to explain what the difference between these two approaches to animated photographs are. Let’s first look at plotagraphs.

Plotagraph

With a plotagraph, you start with a single photo. You take this photo, and by moving parts of it, you create an animation. This can be done in Photoshop, using actions, in video editing programs such as Adobe Premier and similar. But probably the simplest way is to use Plotagraphy Pro service. Like this you will end up with a clip, or a gif. There just the areas you animated will move, with all others being static.

The beauty here is, that at anytime you can go back to your older photos and just add movement to them. This can be done to any photo, even the ones you did not plan to animate at the time of taking them. Like this, if you have already an archive of photos, you can create new animated variations at will.

Cinemagraph

With a cinemagraph, you start with a video. On this video, you choose which areas are moving, and what is a static image. This can be done in Photoshop, or one of the many available applications (it’s more popular in mobile apps). So in the end, you will have the clip repeating in a part of the image, with all the rest just being from a single frame.

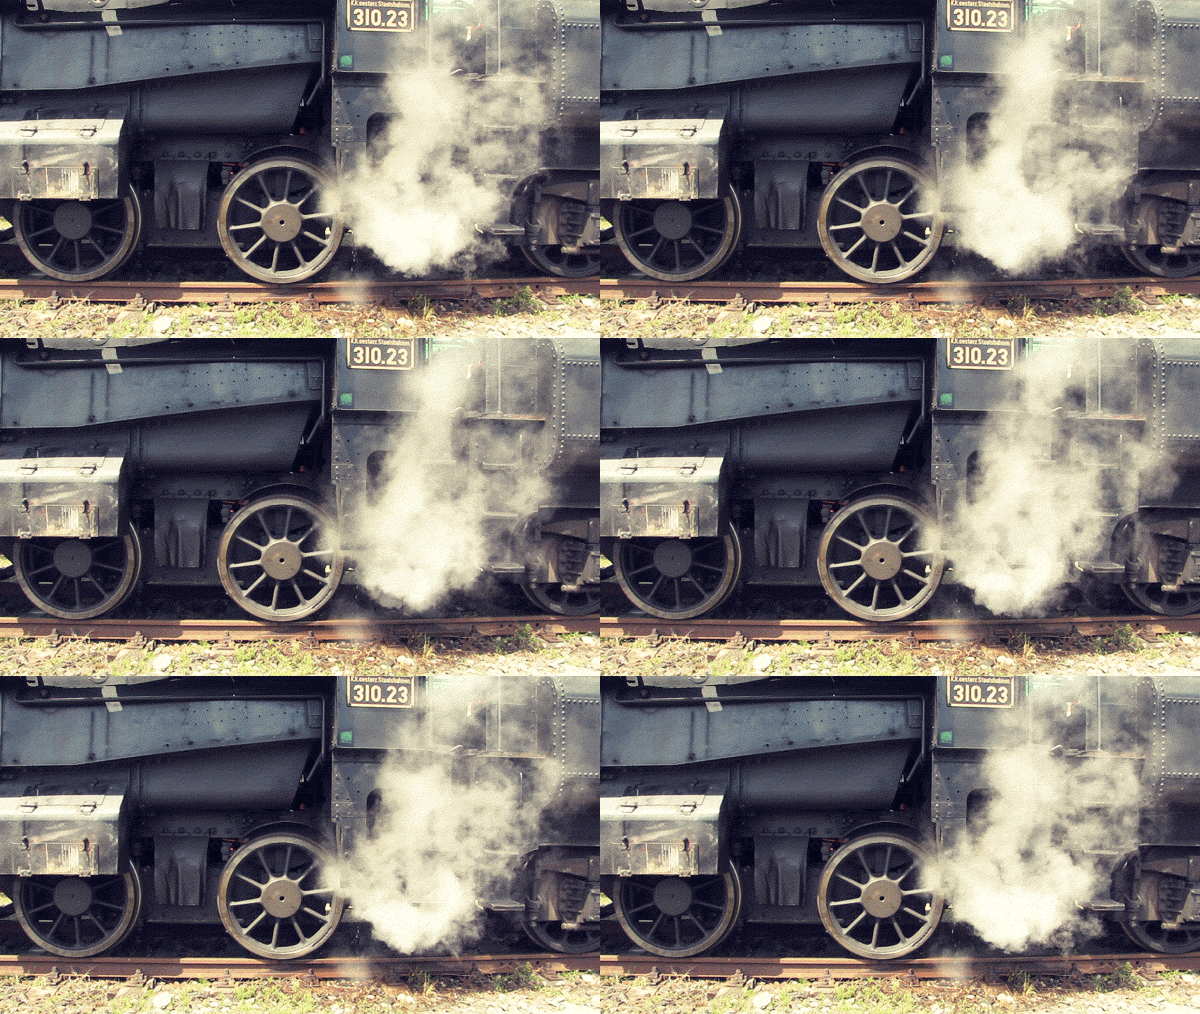
This is one of my older cinemagraphs. (sorry for the lower resolution, I just could not find the original file :/)

Cinemagraphs are harder to do, as you can’t just go back to your old photos and decide to animate them in this way. You already need a video, that was taken very stable (preferably from a tripod) and that has a nice loopable movement in it.

Even if the results are similar, the way they are done is quite different. They work better for different situations, and the results will also wary a lot.

Page 2 of 41234
FREE EBOOK!!!
Subscribe to my newsletter and get a free Capturing fireworks ebook. 
Subscribe