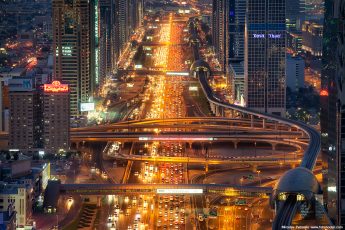
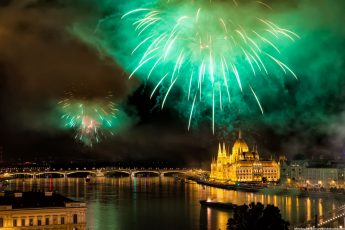
HDR panoramas
I already shown you how to create HDR or blended panoramas (panroamas where you use multiple exposures for each shot) with the help PTgui or with Autopano Giga. But what if you don’t have any of those. So today I will show you how to combine blended exposures into panoramas using just Photoshop.
Btw. if you want to use a HDR software, you can fist merge the exposures into tone-mapped HDRs with the same setting and then do a panorama. Personally I don’t like this approach, as tonemaping can create halos and similar issues, that can prevent a nice panorama blend.
Blended panoramas in Photoshop
When using Photoshop to create blended panoramas, the order of doing it is apposite to the other ones. While before, we would fist create the panorama and then blend the exposures, here we first blend, then create the panorama. This is because if you try to create separate panoramas they will all be different. You can try, that even combining the same images over and over into panoramas, will result in slightly different panoramas. So while programs that support HDR panoramas can work around it, Photoshop can’t.
So as I said, we have to go the other way. First blend images, then combine into panorama. So what do you do?
First load all the images you want to blend into Photoshop. These have to be rasterized, not smart objects. Photoshop can’t use smart objects when creating panoramas. If you did some edits on them before this, make sure that photos with the same exposures have the same edits. So for instance if you darkened the highlights on the darkest exposure in a RAW editor, be sure to do it in every darkest exposure.
Then combine the images into layers, that should be together (grab the layer with the mouse and drag it onto a name of the other opened image, once that shows, hold Shift and let go of the mouse button). You should end up with the number of files open, how many different photos you have for the panorama. In this example, I only used two exposures for every photo, and two photos for the panorama.
Once these are in layers, you have to blend them. You can use different techniques here, but the important thing is you do the same in all the parts. So you blend the first one, and using the same technique you blend the second, and so on. Don’t do any other edits on the photos, no color corrections or anything else. Just the blend. Everything else can be done once you created the panorama.
Now, save all the files. Does not matter where, just save them as PSDs and don’t close them. Once that’s done, choose File/Automate/Photomerge. In the popup window, leave the layout at Auto and then click on Add Open files. This will add all the open files into the Source files list. Click OK afterwards.
Now Photoshop will merge the files into one big panorama. You will loose the layers you had, but since you already done the blend, that should not be a problem.
Now just merge the layers if all looks good, and continue with your edits of the final photo. You don’t need the original files you merged into the panorama anymore.


Leave a Comment