Topaz Labs
Topaz Labs, a well known maker of photography applications and plugins, has been releasing a lot of AI powered software recently. The have the Jpeg to RAW AI, Gigapixel AI, Sharpener AI and Denoise AI. I did take a look at all in the past, and actually been using Gigapixel AI and Denoise AI quite a lot.
Last month, they released their latest AI-powered application, Topaz Adjust AI. And while I had access to a pre-release version, it was right at a time I was very busy, so did not have time to have a look at it. So let’s do it now :)
Topaz Adjust AI
Every Topaz AI application does something different. It resizes, sharpens and similar. Adjust AI does a bit more. It tries to give a nicer, more vibrant or HDR-like look to your photos. So it does not affect only one thing.
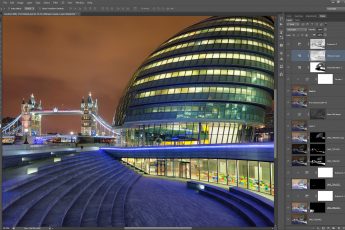
Compared to other applications from Topaz AI, it also offers much more settings. You have the basic selector, where you can turn the Adjust AI effect on to standard or HDR style. But additional to this, you get all the basic and few advanced photo editing tools. You get brightness sliders, color, contrast, detail, and grain sliders. And to top it off, there is split toning included. This is all here so you can tweak the AI results to your liking.
Additionally, you can use the supplied presets or create your own, and use them directly on your photos.
Using Topaz Adjust AI
Using Topaz Adjust AI is very straightforward. It supports a huge list of file formats, including RAW files. It even can save the results as a DNG file, which is just great.
Once you open a file, you either choose a preset or choose one of the AI settings and choose how strong the effect is. Once this is calculated, you can use the additional slider to tweak the result. That’s it.
I tried multiple inputs and the results are a bit all over the place. Some I like, some I did not. This is not a surprise, as they are very dependent on the photo I used.
One strange thing I noticed though, is that when I used RAW files from my camera, the results were very blue. Every single time. If I converted the file first to JPG or TIFF, the problem did not appear.
Look at these three versions of the same photos. First one is RAW on standard Adjust AI style, the second is a TIFF on standard style and the last one TIFF on HDR style. You can easily see the blue tint I mentioned.
Sample results
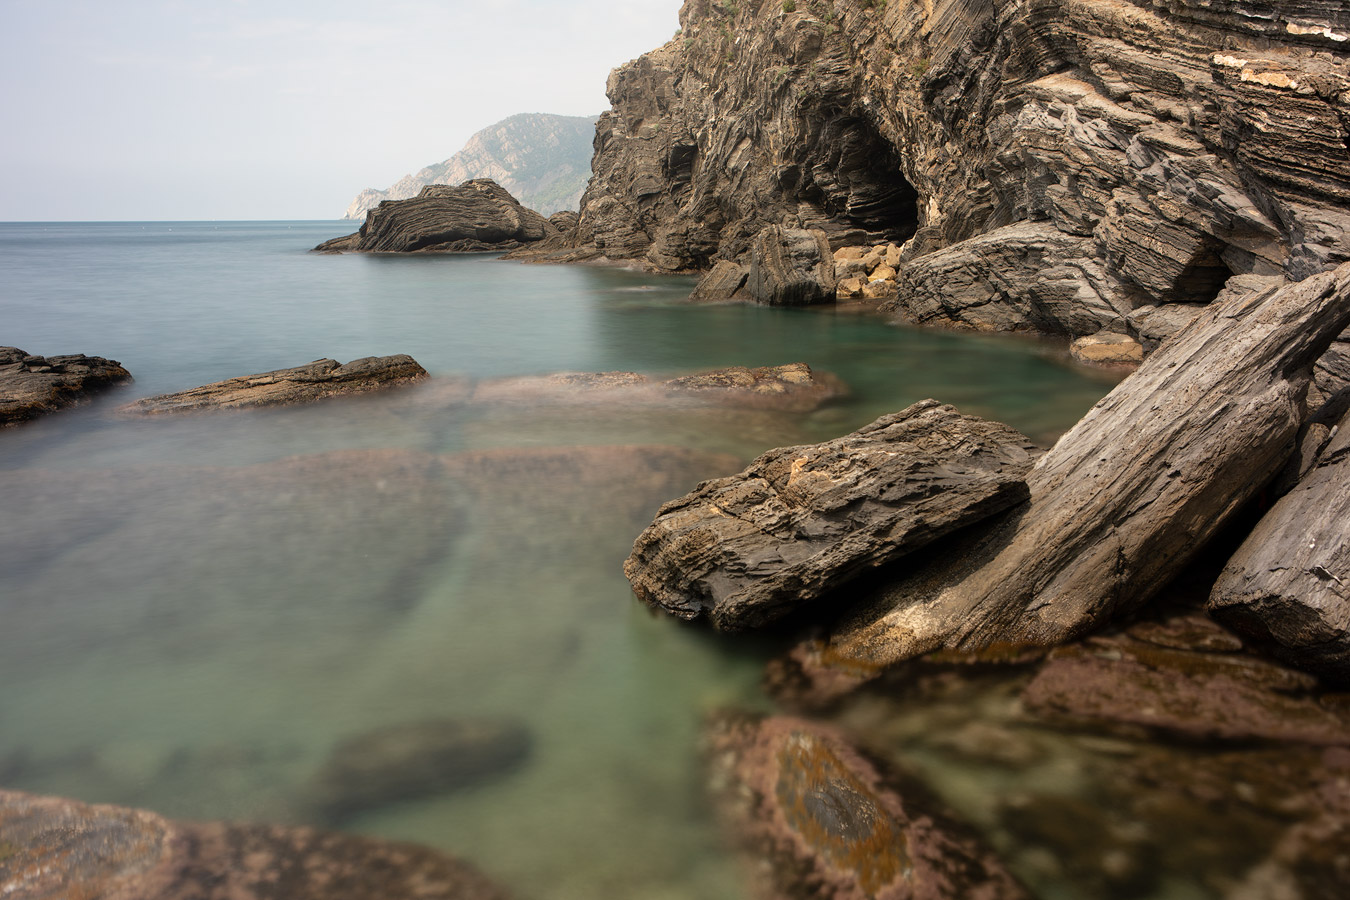
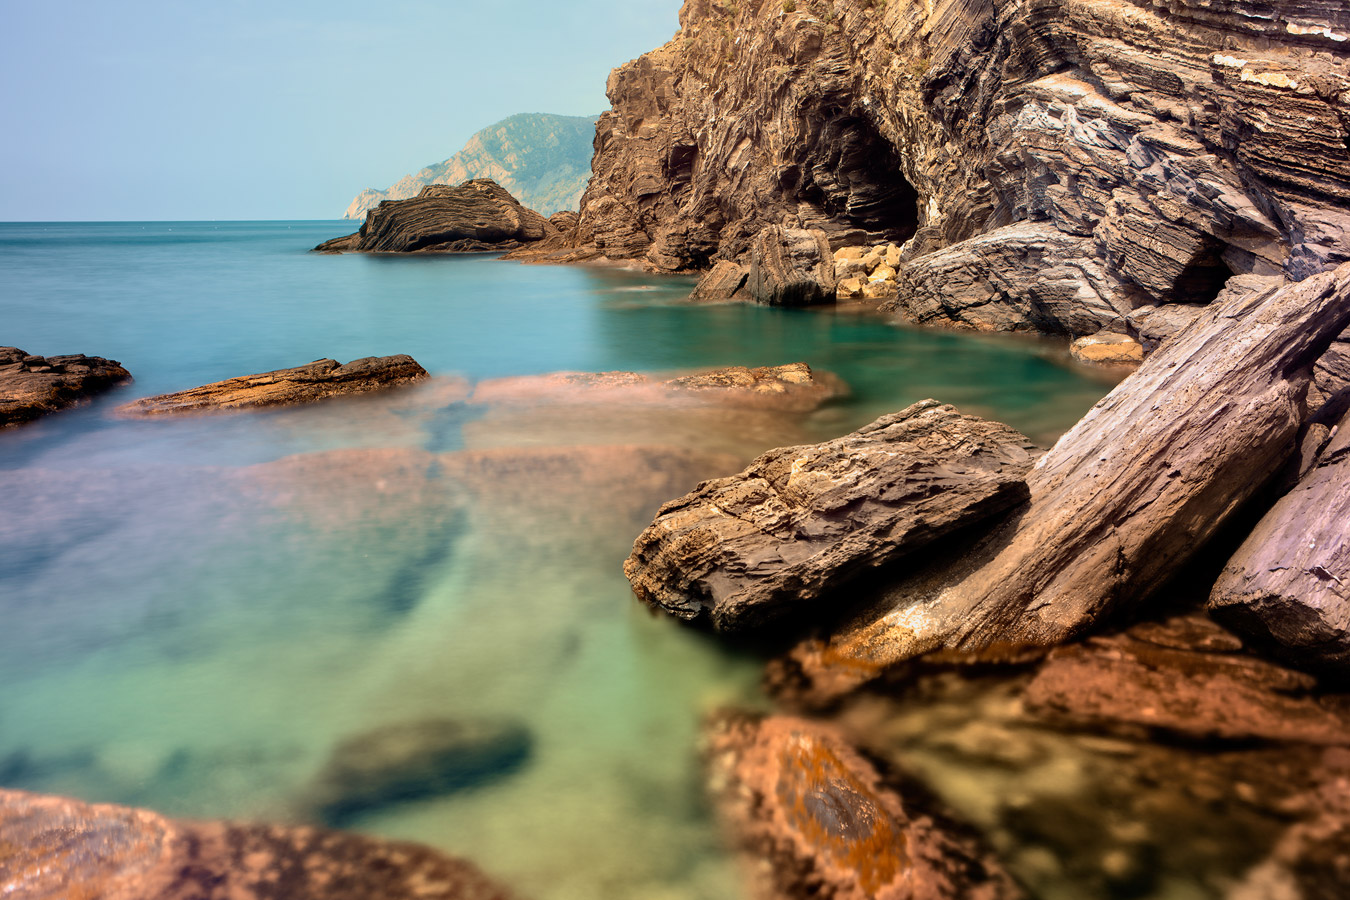
Let’s look at some photos. There are all edited only in Topaz Adjust AI, all from a TIFF file. You can slide the middle point to compare to the original photo. The original is always on the left.
For the first photo, I used the HDR style, changed the temperature to a warmer one and toned down the small detail, as it looked too grainy.


This one is again the HDR style, but I brightened it a bit and added more contrast afterward.
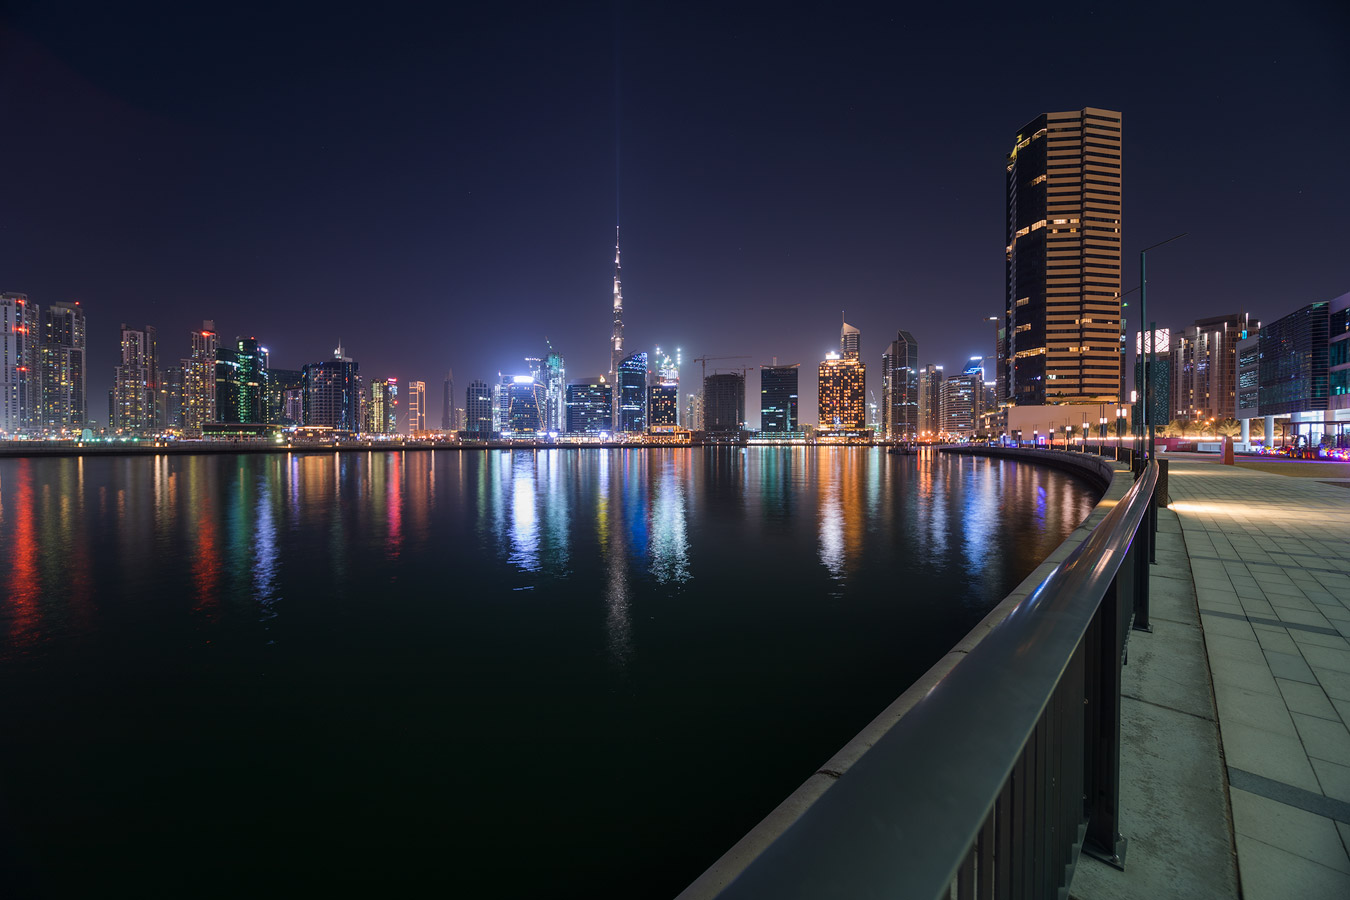
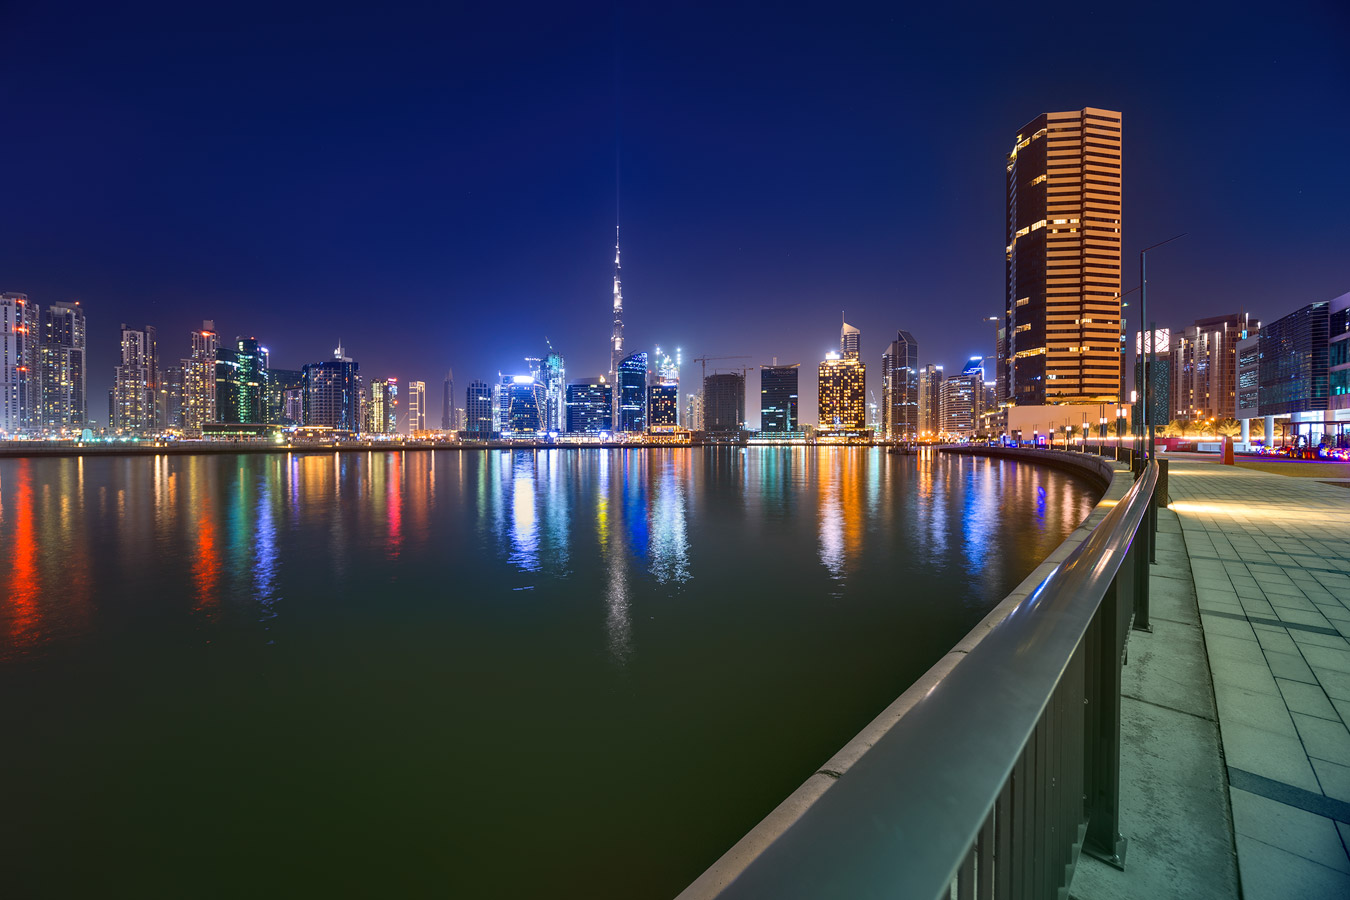
Here I used the HDR style, added a bit of saturation and opened the shadows.


For the last one, I used the standard style, went down with the highlights, added saturation and reduced the small details.
Final thoughts
I like some results, but I don’t think this application is for me. I already have a certain style to my photos, and this will not create the exact look I want. Is this something you will use? If you like the results, you should give it a try. There is a trial version available on the Topaz Labs website here.





Leave a Comment