Peak Design Travel Tripod

If you were thinking of getting the new Travel Tripod from Peak Design, now you can still have a chance to get it for the Kickstarter price. The campaign ends in 7 days, so if you want it, now is the time.

You can find the Kickstarter page here.

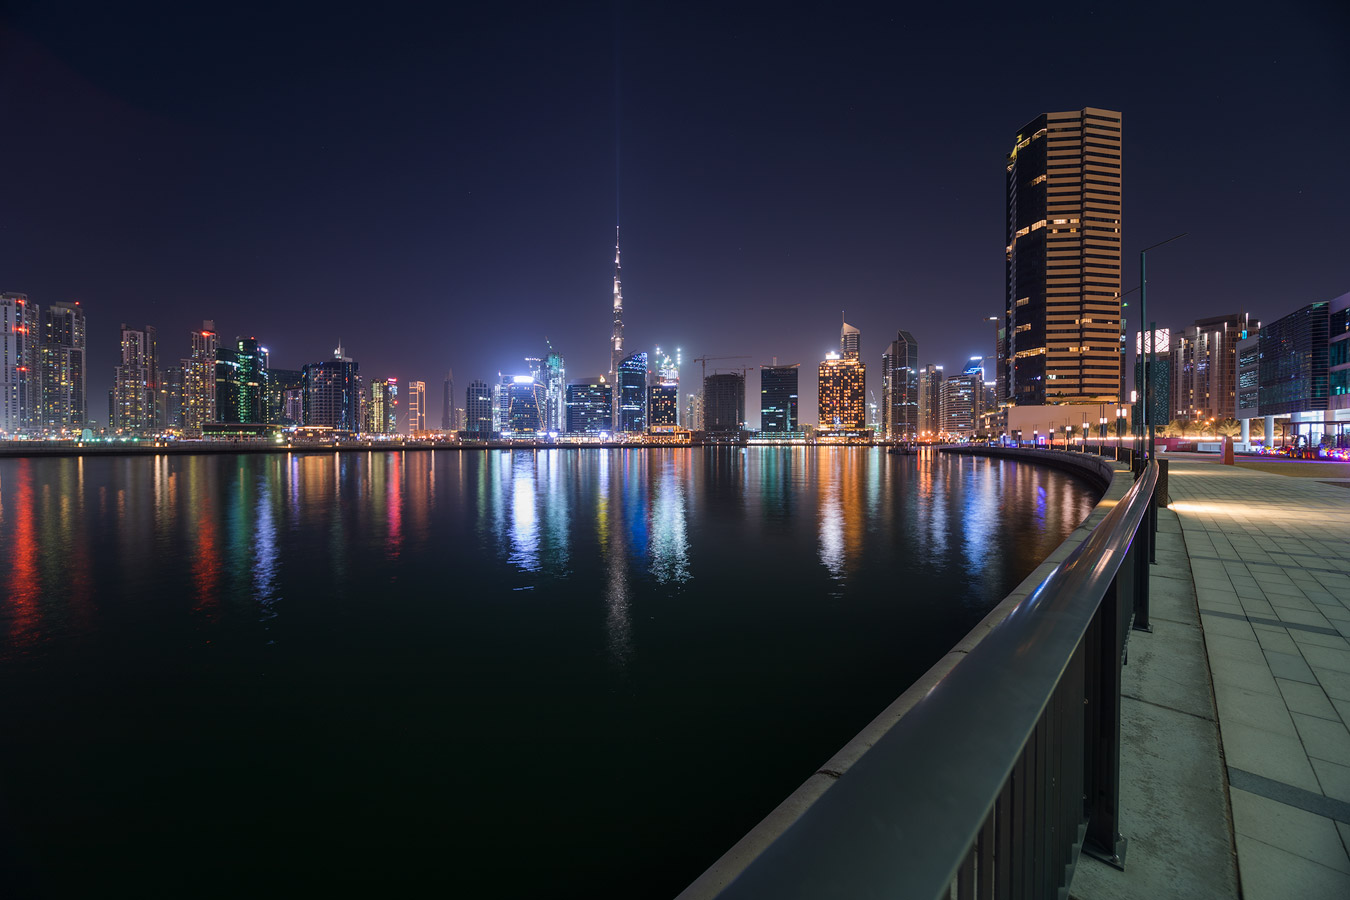
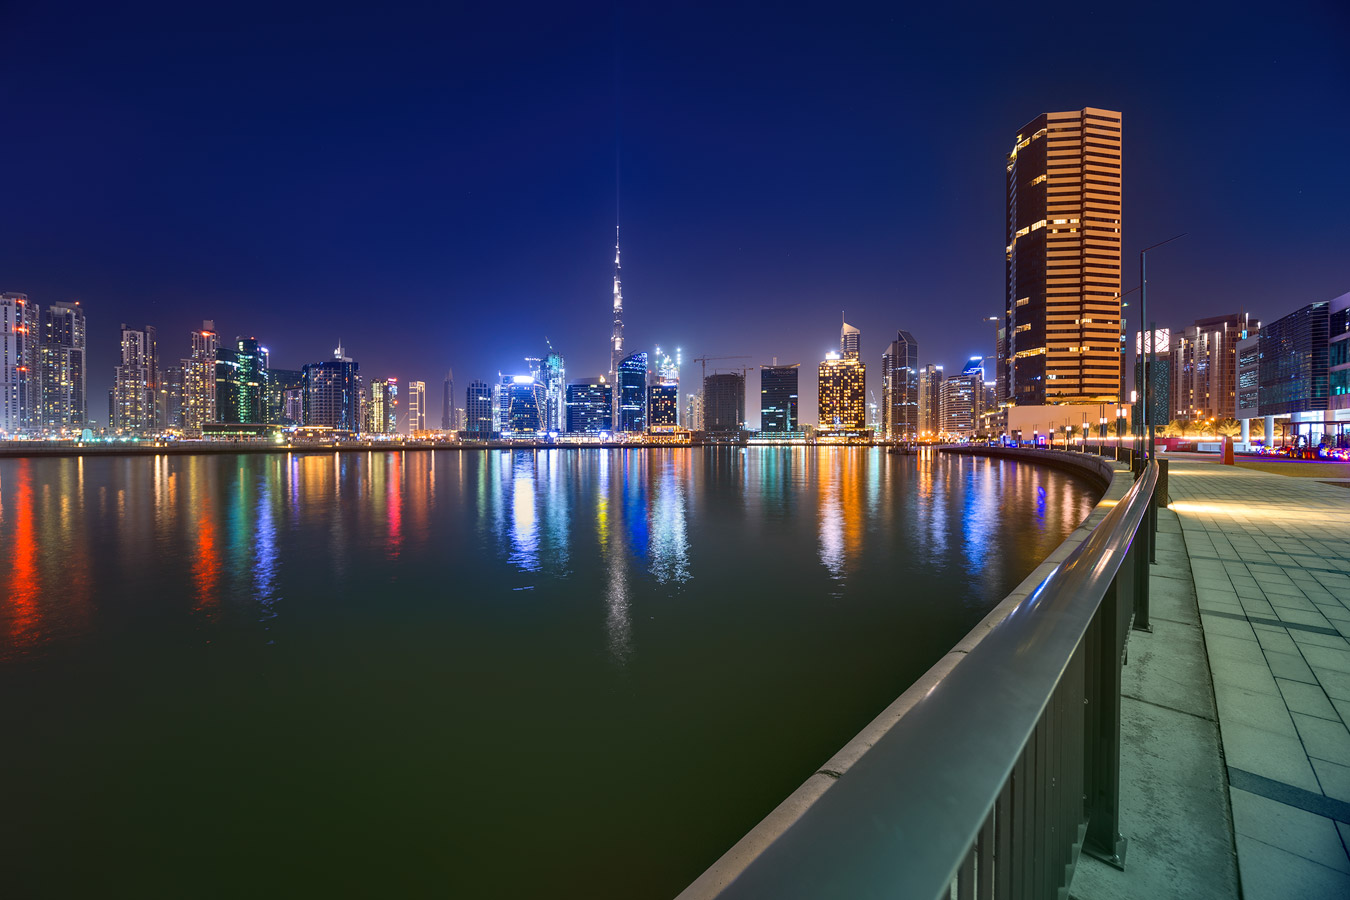
Late evening at the Business Bay in Dubai

Today’s photo is another one from last year’s trip to Dubai. This one was taken one late evening in the Business bay. I really like to include the railing in this area, as it creates a nice curved line that guides your eyes into the photo. It especially looks good with a nice wide angle lens, like the 12mm one I used here.

If you need some tips for spots to take photos in Dubai, check out my Top photography spots in Dubai list.

This is a blend of three exposures, done in Photoshop.

Late evening at the Business bay in Dubai

Topaz Labs

Topaz Labs, a well known maker of photography applications and plugins, has been releasing a lot of AI powered software recently. The have the Jpeg to RAW AI, Gigapixel AI, Sharpener AI and Denoise AI. I did take a look at all in the past, and actually been using Gigapixel AI and Denoise AI quite a lot.

Last month, they released their latest AI-powered application, Topaz Adjust AI. And while I had access to a pre-release version, it was right at a time I was very busy, so did not have time to have a look at it. So let’s do it now :)

Topaz Adjust AI

Every Topaz AI application does something different. It resizes, sharpens and similar. Adjust AI does a bit more. It tries to give a nicer, more vibrant or HDR-like look to your photos. So it does not affect only one thing.

Topaz Adjust AI

Compared to other applications from Topaz AI, it also offers much more settings. You have the basic selector, where you can turn the Adjust AI effect on to standard or HDR style. But additional to this, you get all the basic and few advanced photo editing tools. You get brightness sliders, color, contrast, detail, and grain sliders. And to top it off, there is split toning included. This is all here so you can tweak the AI results to your liking.

Additionally, you can use the supplied presets or create your own, and use them directly on your photos.

Using Topaz Adjust AI

Using Topaz Adjust AI is very straightforward. It supports a huge list of file formats, including RAW files. It even can save the results as a DNG file, which is just great.

Topaz Adjust AI

Once you open a file, you either choose a preset or choose one of the AI settings and choose how strong the effect is. Once this is calculated, you can use the additional slider to tweak the result. That’s it.

I tried multiple inputs and the results are a bit all over the place. Some I like, some I did not. This is not a surprise, as they are very dependent on the photo I used.

One strange thing I noticed though, is that when I used RAW files from my camera, the results were very blue. Every single time. If I converted the file first to JPG or TIFF, the problem did not appear.

Look at these three versions of the same photos. First one is RAW on standard Adjust AI style, the second is a TIFF on standard style and the last one TIFF on HDR style. You can easily see the blue tint I mentioned.

Sample results

Let’s look at some photos. There are all edited only in Topaz Adjust AI, all from a TIFF file. You can slide the middle point to compare to the original photo. The original is always on the left.

For the first photo, I used the HDR style, changed the temperature to a warmer one and toned down the small detail, as it looked too grainy.

This one is again the HDR style, but I brightened it a bit and added more contrast afterward.

Here I used the HDR style, added a bit of saturation and opened the shadows.

For the last one, I used the standard style, went down with the highlights, added saturation and reduced the small details.

Final thoughts

I like some results, but I don’t think this application is for me. I already have a certain style to my photos, and this will not create the exact look I want. Is this something you will use? If you like the results, you should give it a try. There is a trial version available on the Topaz Labs website here.

Overexpose RAW or use higher ISO

A few days ago I had a thought. What results in a cleaner photo? Should one overexpose a darker RAW file or use a higher ISO instead. Which one will have less noise? So I decided to try it out and see.

Let’s compare

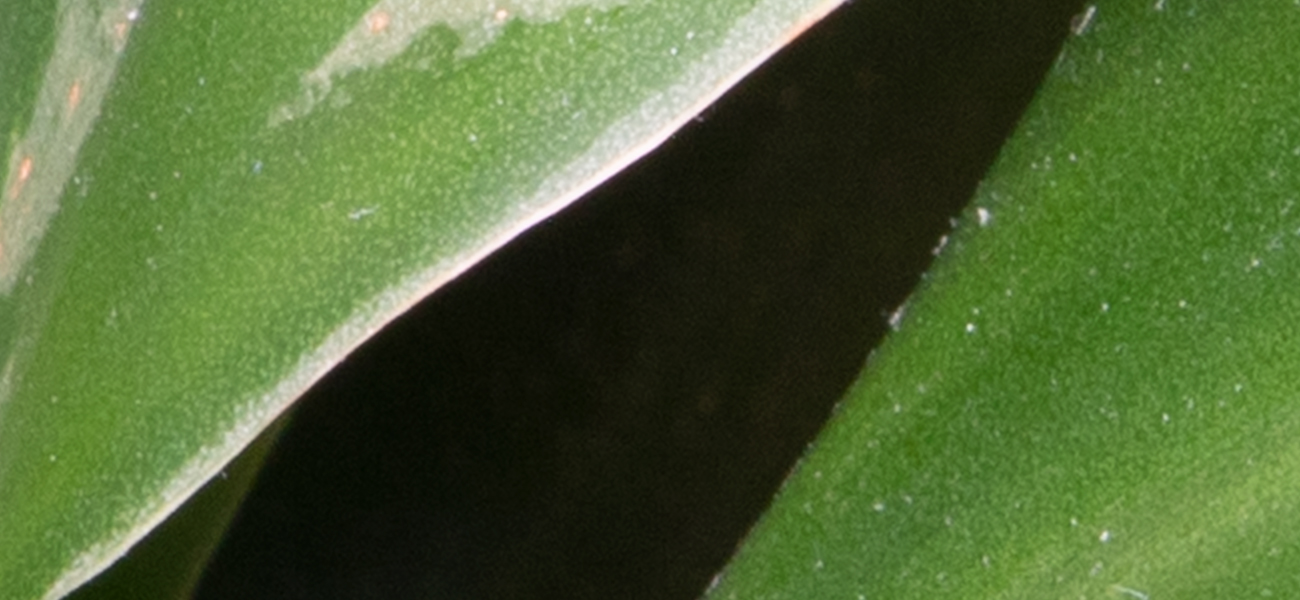
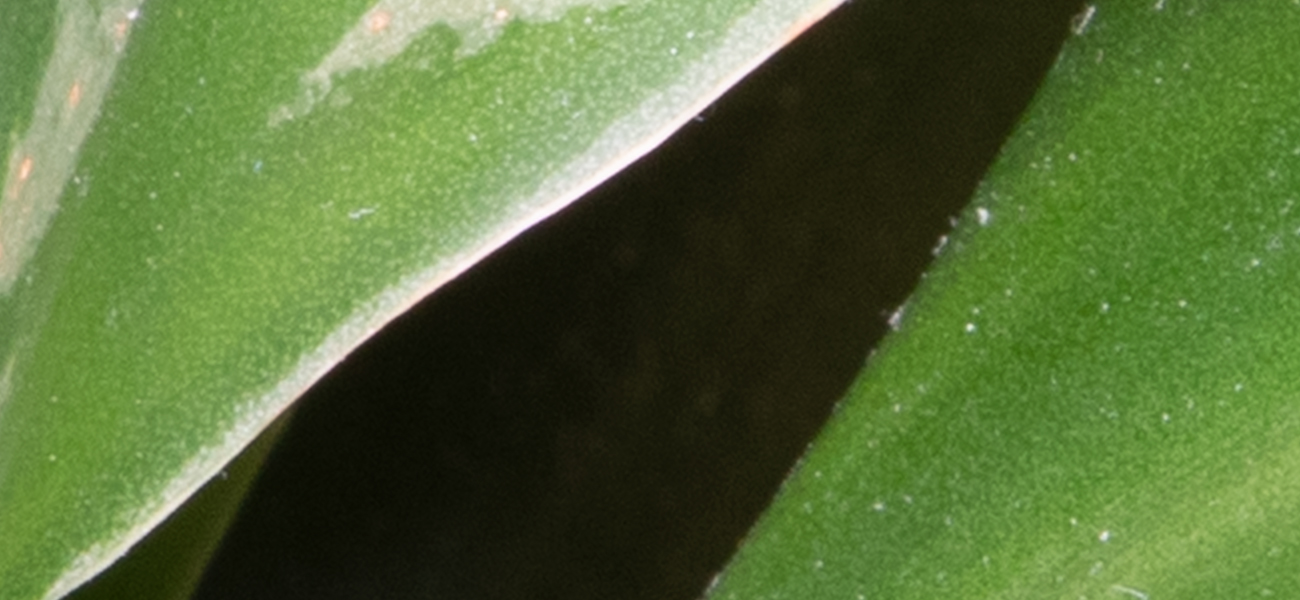
Let’s look at this photo. This is a crop from 100% zoom. Both versions are the same except for the ISO settings. The first one is ISO 100 and overexposed by two stops, second on ISO 400.

It’s really hard to see any difference, except the High ISO one, is a tiny bit brighter. I noticed this on every single photo I tried. Two stops of exposure were never the same in Lightroom as in the camera. Let’s zoom in to 200% to see better how it looks.

Still, hard to see much difference, except the brightness. Maybe the overexposed has a tiny bit more noise, but hard to say for sure.

Let’s look at a different image. This one with more even areas, that will show the noise better. Again, both taken at the same settings except the ISO. First one at ISO 100 and overexposed by 2 stops, the second one at ISO400

Really hard to see any difference at 100%. It looks almost the same. Let’s zoom in to 200% to a single color area.

Here you already can see a bit of difference, the noise is a tiny bit stronger in the overexposed image.

How is it?

I tried more comparisons, and every time I got to the same result. The overexposed shot is a bit darker and has a bit more noise. But in most cases, I was not able to even see a difference. Even when going up by 3 exposures, it was the same. Not sure if this would be same on all the cameras, but it worked like this on the 5D Mark IV. So it looks like it does not really matter and both work fine.

The biggest difference was actually the overexposed areas. When you overexpose a shot, you get better exposure in those areas. But of course the underexposed will be darker, so you get less detail there.

I tried the same comparison where instead of changing the ISO I changed the exposure time, but in that case, the overexposed one was much noisier in every case. This is, of course, to be expected.

In front of the Bratislava Castle

While I hoped to get some photos while in Zagrab in Croatia yesterday, I had no luck. It rained most of the day, and not just a drizzle. So time to go back to my photo archive for a another photo.

This one was taken from the area right in front of the Bratislava castle. It’s actually not a single photo, but a panorama from 4 taken with the tilt-shift lens. I took a photo of the middle part, then shifted the lens left and right to get the sides. To finish up, I shifted the lens up to get the top of the castle into the shot. That left empty corners, but since that area is just the sky, it was easy to fix in Photoshop.

In front of the Bratislava Castle, Slovakia

Morning reflection at the Eiffel tower

Do you like to take portrait-oriented photos? I don’t. Which is funny, as I quite like vertoramas. But those are a combination of landscape photos anyway. Strange. This is one I took in 2015 in Paris. If I did the same photo today, I would probably make a vertorama, to get more of the bridge on the side. Funny how ones taste in composition changes over time.

This is a three exposure blend, done in Photoshop.
Morning reflection at the Eiffel tower
Page 5 of 6« First ...3456
FREE EBOOK!!!
Subscribe to my newsletter and get a free Capturing fireworks ebook. 
Subscribe