Luminosity masking
When I finished my series on luminosity masking, in the last one I mentioned a technique called exposure matching. And today, I will try to explain what it is and how it is done. I will presume here, that you have already seen my luminosity masking series as I will use techniques from it, and not explain them here.
Exposure matching
The idea behind exposure matching is to first blend two RAW images together using luminosity masking and then once this is done, go back into the RAW files, and edit them to look more similar. This will result in a photo blend, where all parts are used from the photo that is properly exposed, and also the transitions are clean and not visible.
This is done in Photoshop only, as one needs to use smart objects, to be able to return into the RAW files and edit them. Let’s look at this example on how this would be done with these two photos.
Example blend
1. Open the images in Photoshop as smart objects
You start with the RAW files. Select them and drop them inside photos. Adobe Camera RAW will open, and you can do some initial tweaks, like removing chromatic aberration and lens distortions. Make sure you have all the files selected on the left when doing so, that all the files have the same edits. Once done, click on the open objects button.
Photoshop will open the RAWs in separate files, so drag the layer from one file into the other file, so you have both in the same Photoshop file. You can then close the other one.
2. Blend them together
For this photo, we want to blend the sky from the darker exposure into the brighter one. So arrange the layers, so the darker is on the top. Hide it, add a black mask to it, select a Bright 2 mask, and paint in the parts where the sky is. Detailed explanation on how this is done, can be found in Blending photos using luminosity selections article here.
This is how the file looked once this was done, and how the mask looked like.
3. Edit the RAW files to make them similar
The blending looks fine, but you will quickly notice that the area around the blend lost contrast and it’s a bit grey. This is because when you blend together a dark and bright area, they will average into a medium grey one. So to fix this, we need to make the bright photo darker and the dark photo brighter.
What we don’t want to do, is to affect the areas of the photo, that we are using for the final photo. Let’s first look at the darker exposure, that was used for the sky. For this exposure, I opened the shadows completely. Since that was not enough, I also added a bit of exposure, and then toned down the highlights. This made the shadows even brighter, but had almost no effect on the sky. Now the photo looks much more similar to the blend we want to achieve.
Now we can look at the bright exposure. Here we do the complete opposite. Tone down highlights completely, and then lower exposure and open the shadows a bit. Again, we had very little effect on the dark areas, but we completely recovered the bright ones. Once this is done, we again have a photo similar to the result we want.
Before and after matching
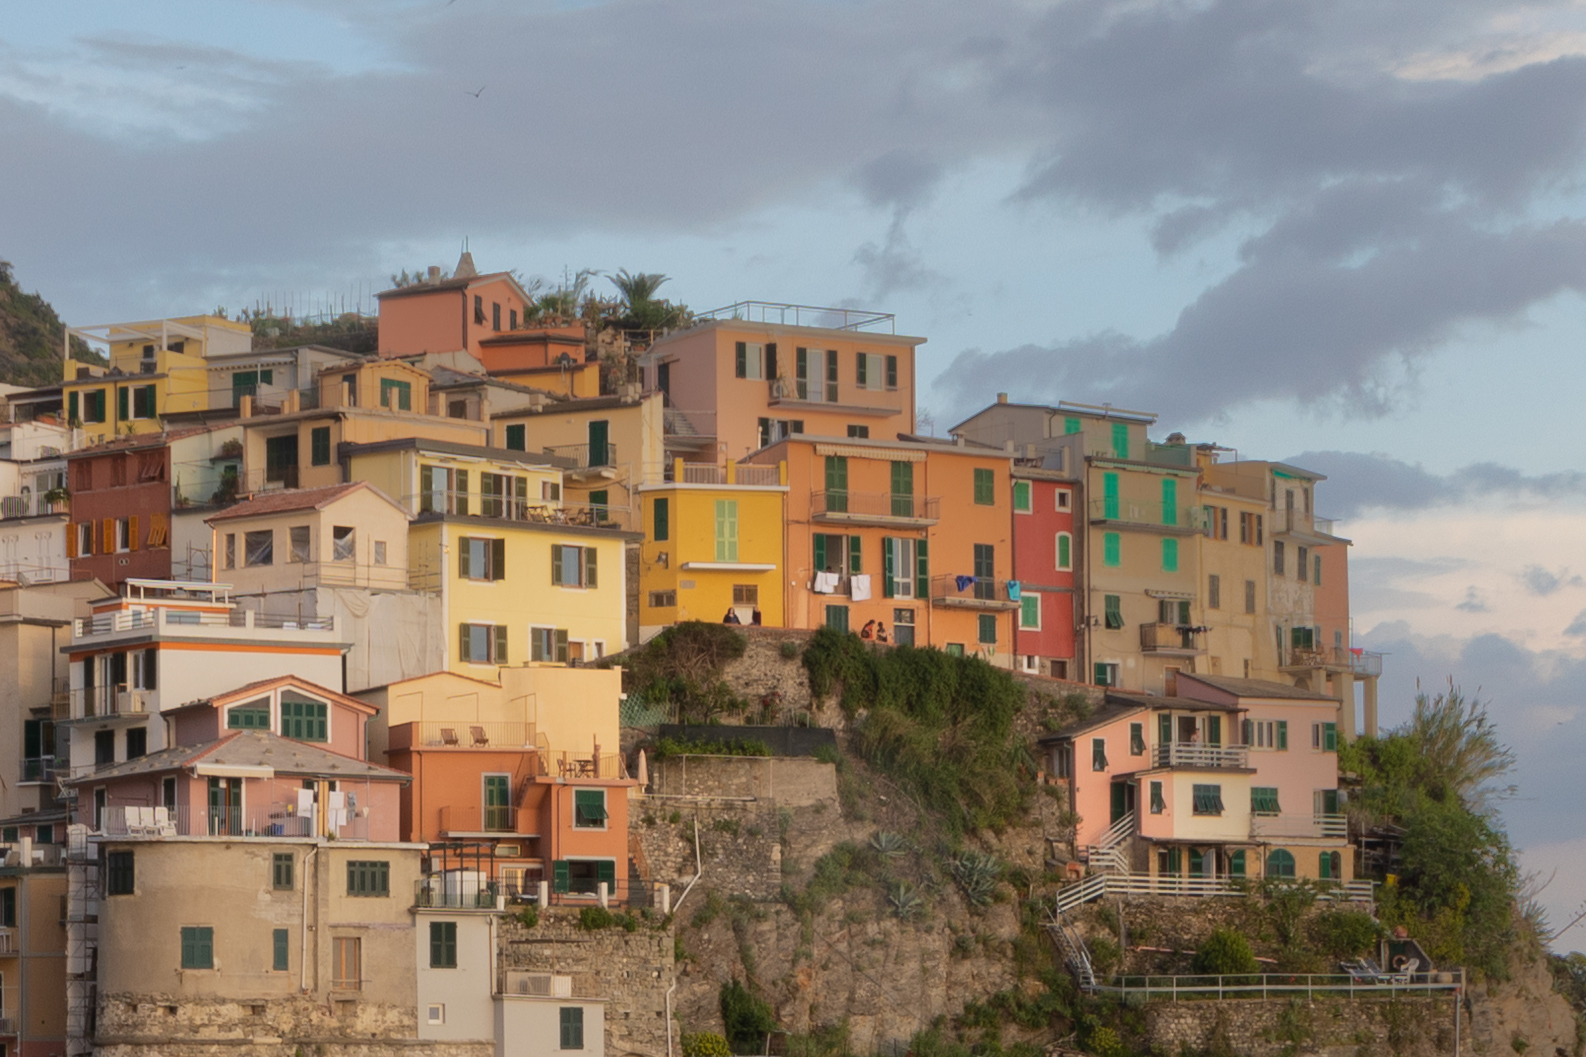
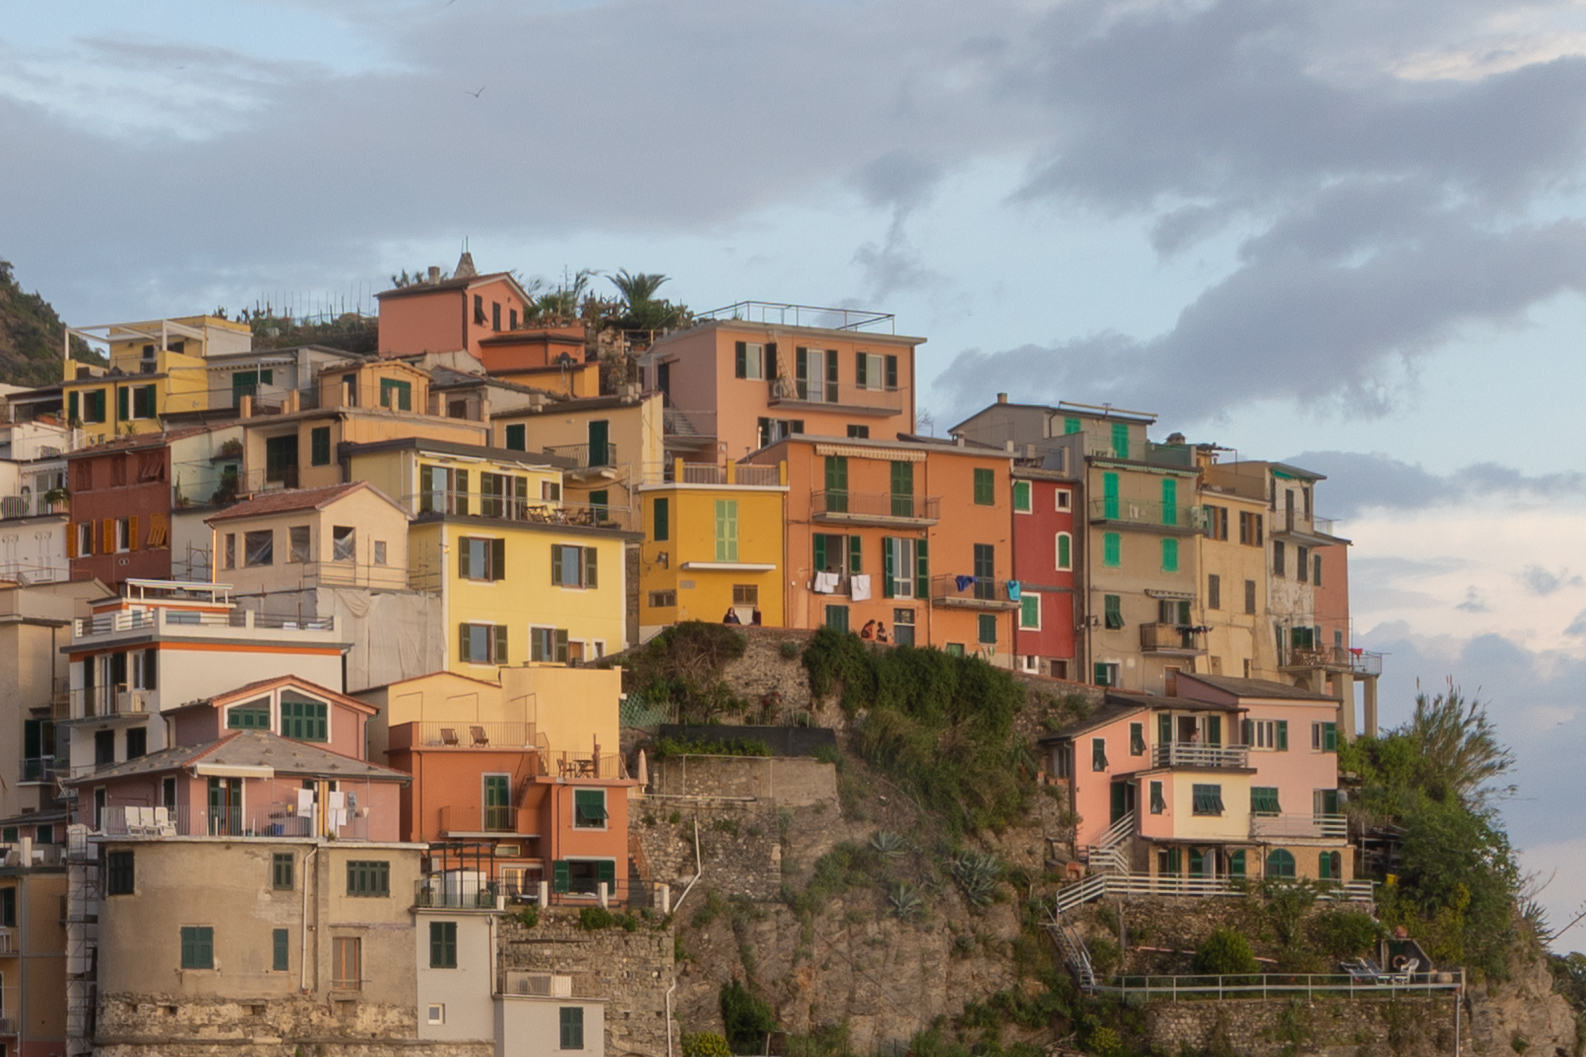
Now let’s look at what the difference is here. This is the final photo before and after matching is applied.
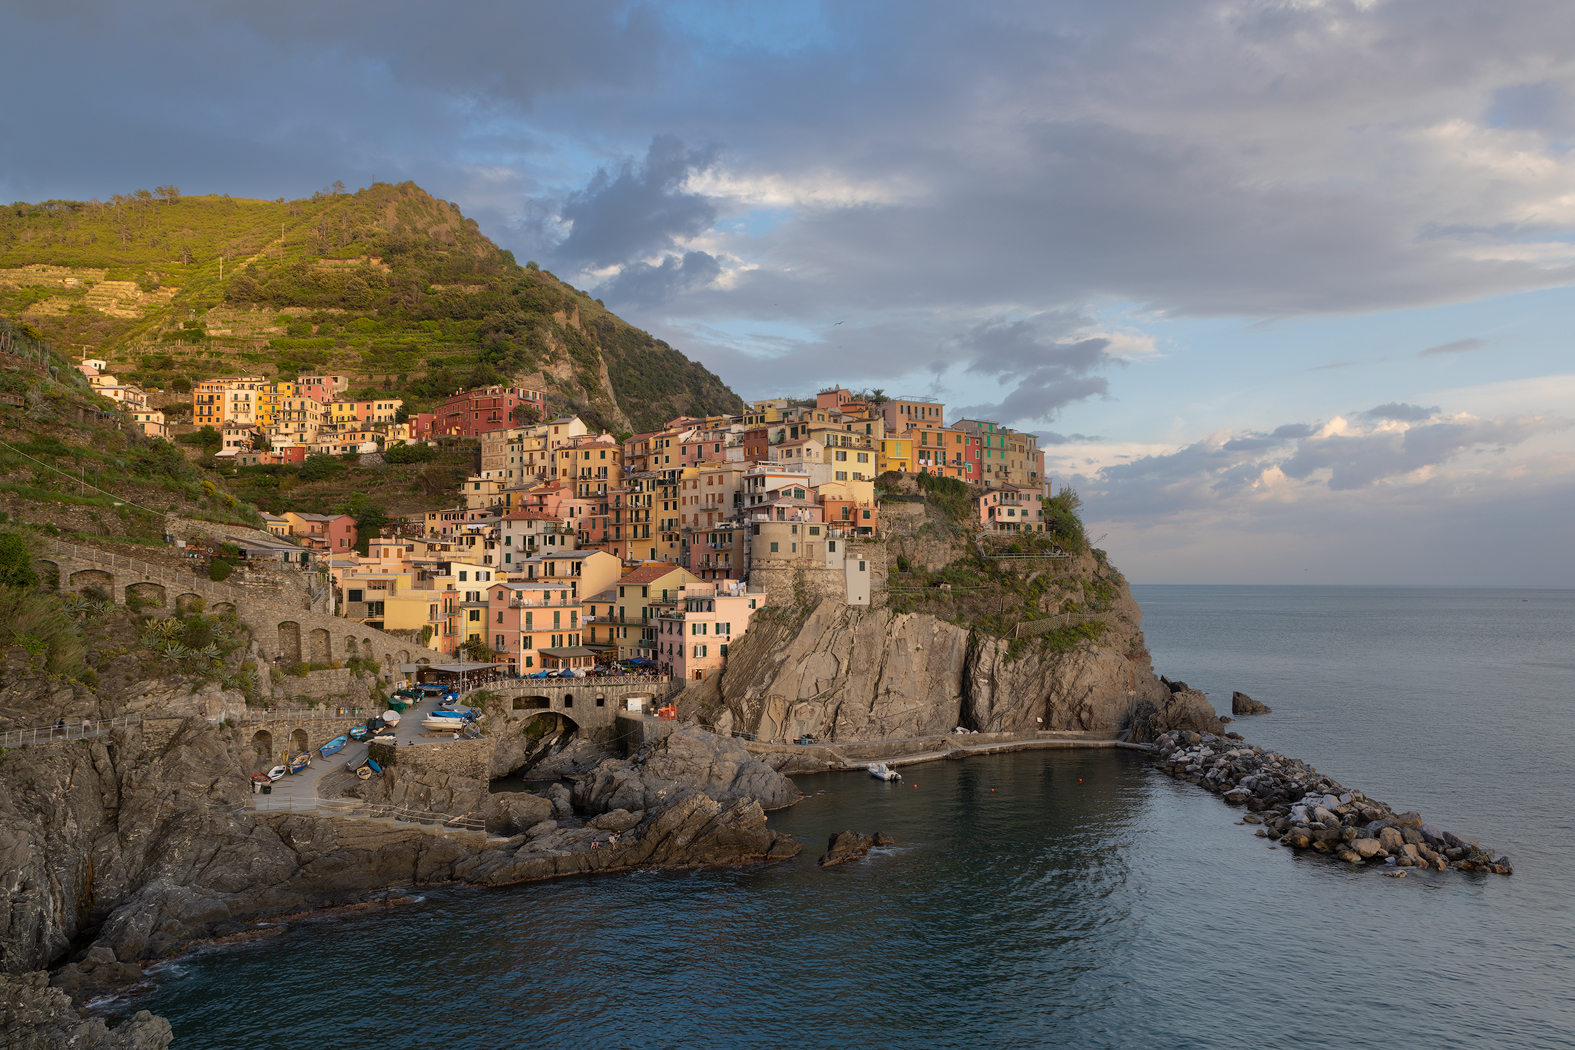
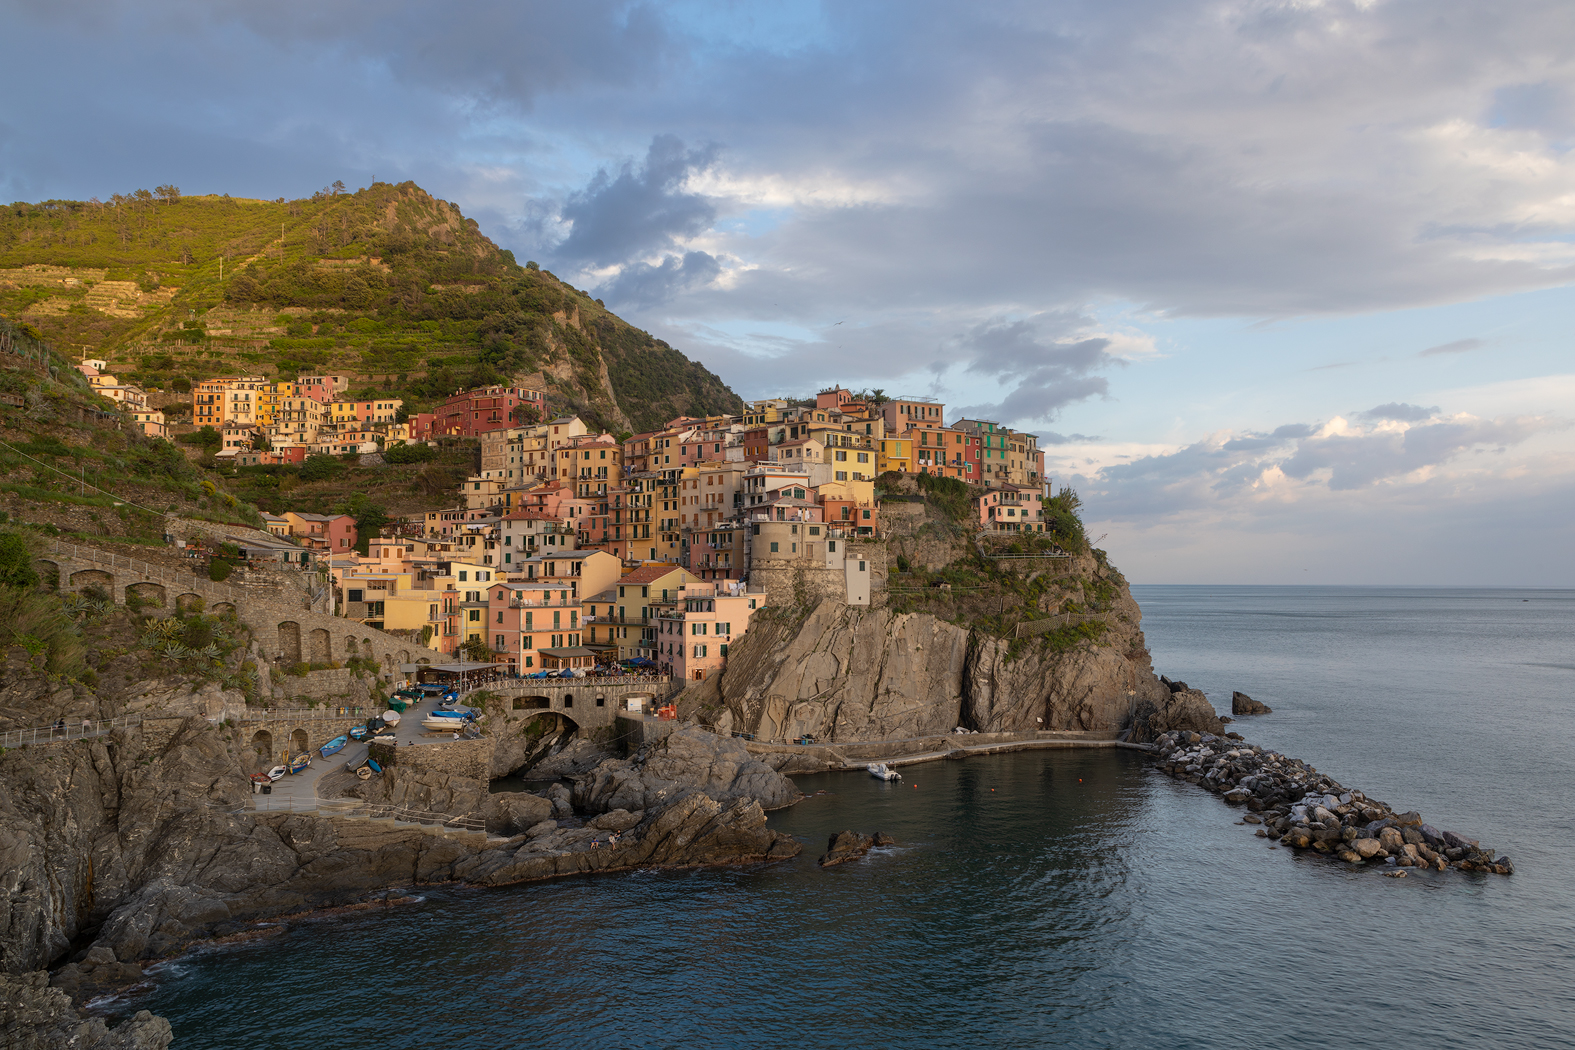
Not much difference on first look, but let’s zoom in a bit.
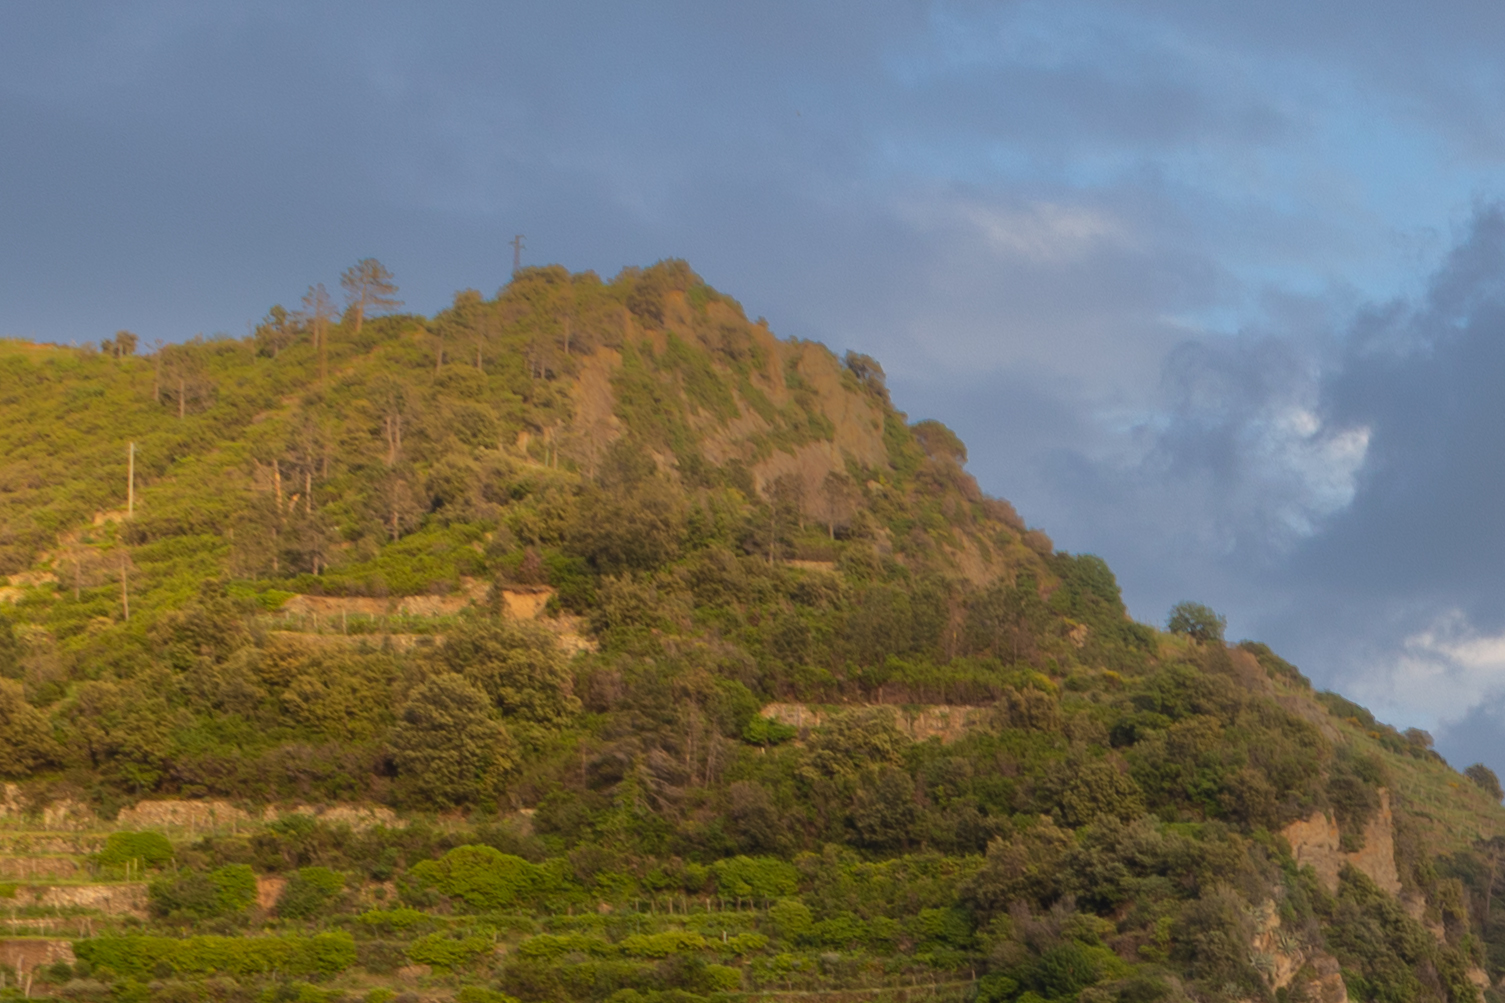
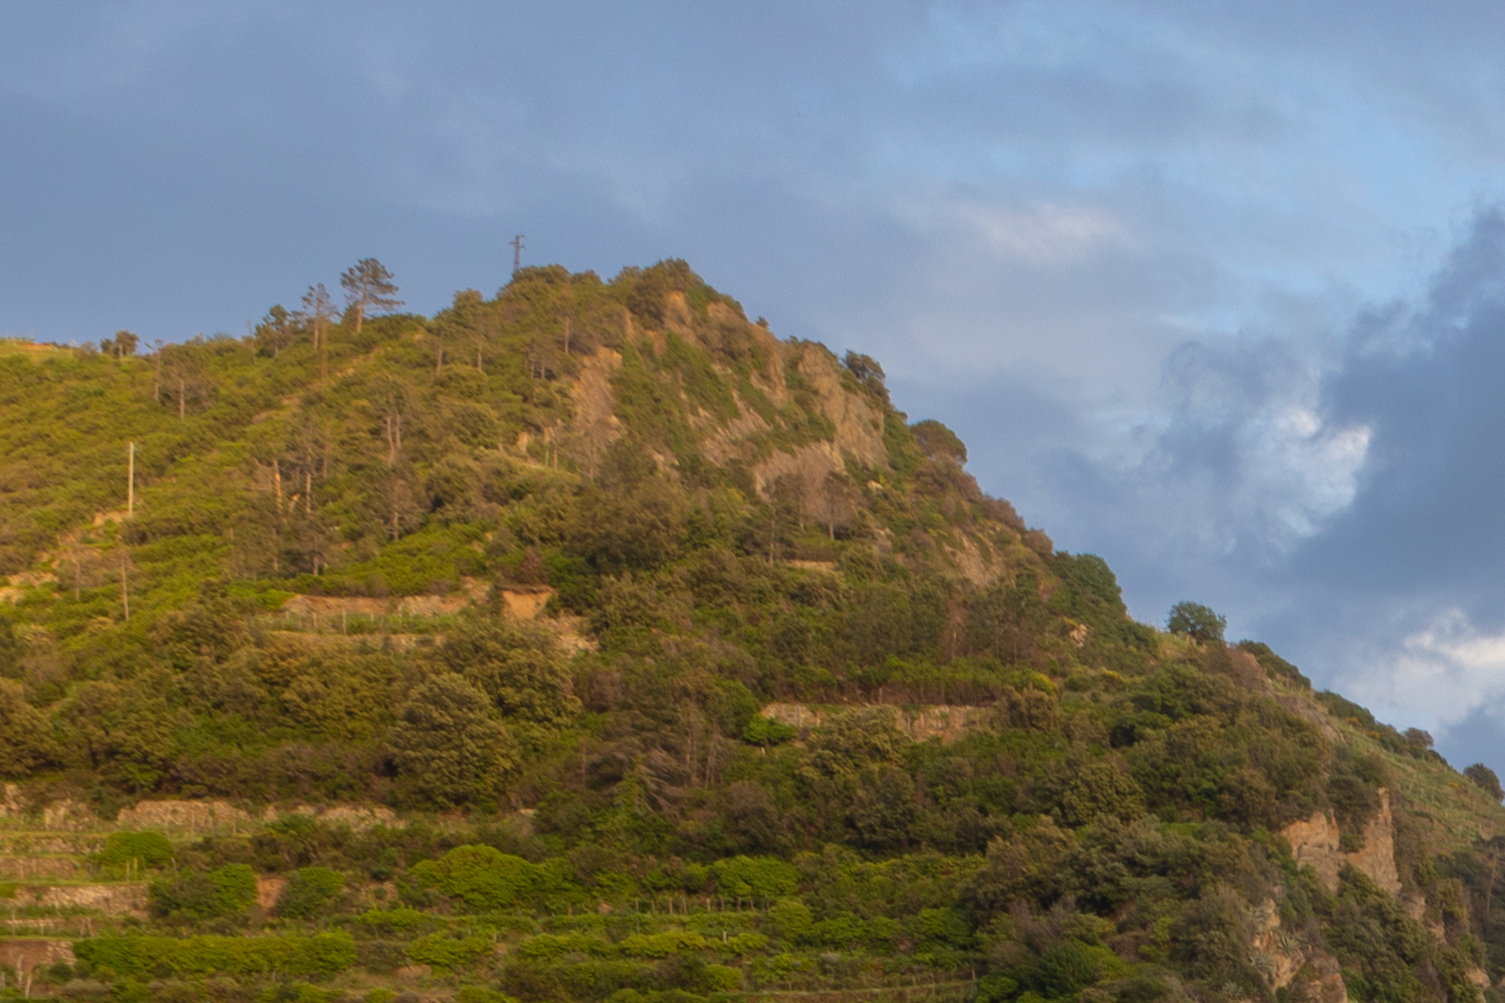
Now you can see the change. The blend is much better and more natural. There are no grey areas, and the local contrast is restored. Now the photo is ready for additional edits.
Why use this?
You may wonder, why this is better than just recovering the shadows or highlights from a single photo. There are two reasons here. Firstly, you can’t recover them in every photo. Secondly, a sky that was properly exposed from the beginning, will look better and cleaner than a sky that was recovered. Same with shadows or any other part of a photo. A properly exposed area will always look better than one that was recovered.


