Generative Fill

I wrote about the new Generative Fill in Photoshop yesterday, and today I’m sharing a photo where I used it. And I used it a lot, as there were many people standing around the Eiffel Tower, which is why I never shared this photo before. With Generative Fill I was able to remove them, even though not perfectly.

The little police car under the Eiffel Tower

I took this photo around 6 years ago now. You can actually tell that it’s an older photo, as there is no glass wall in front of the tower. While I was taking photos there that evening, a police car stopped right in my way, so I just used it for composition here. It looked tiny, a bit funny, in front of the huge Eiffel Tower.

This is a vertorama from 3 photos, blended in Photoshop. No HDR bracketing here. I used around 20 Generative Fill layers to get rid of people standing around the area.

The little police car under the Eiffel Tower

Photoshop Beta with Generative Fill

Recently Photoshop released a new Beta version, that now also includes Generative Fill. This is an evolution of the content-aware tool that was there for a long time, but this time it uses AI image generation to create the fill.

I have been playing with it since it was released and today will take a look at the most prominent uses, for me as a photographer. So it will be the removal of objects, canvas expansion, and object generation.

Photoshop Beta

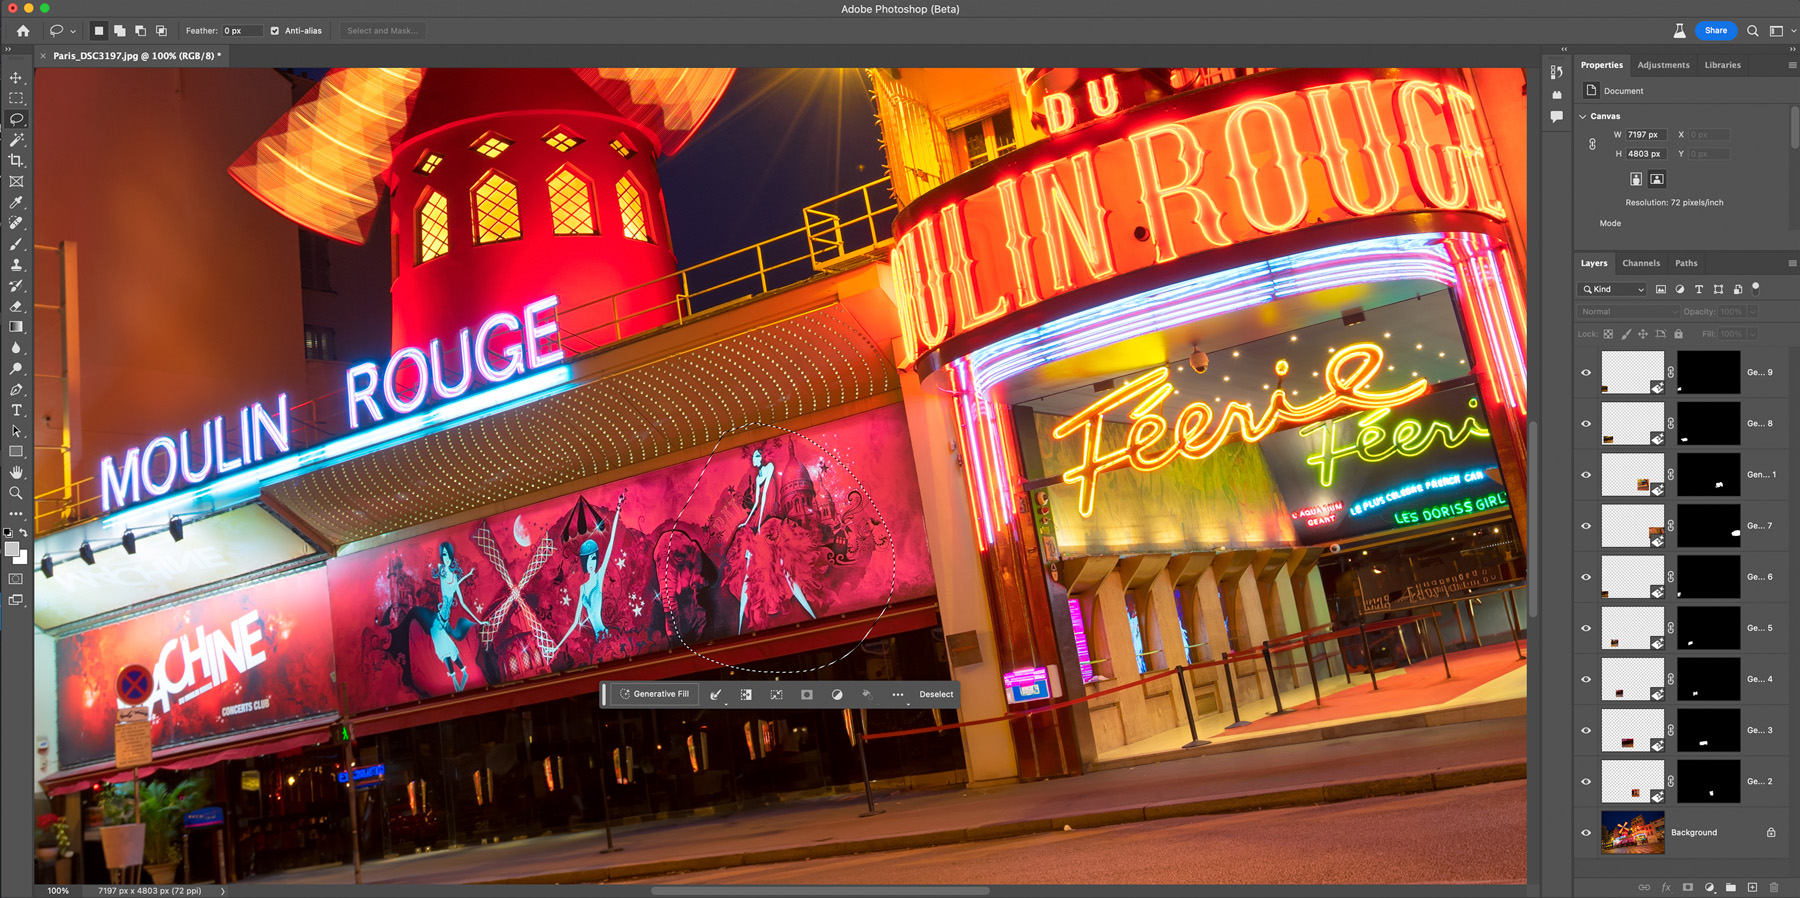
Using Generative Fill is easy. You just select a part of your image and a small popup shows up. You select Generative Fill, and in the new popup, if you want, you can add keywords. But it can be also left bland. Once you confirm by selecting Generate, Photoshop will create three versions for you. You can then view them, or regenerate the result. Then, you can another part of the image, even the just generated parts, and continue.

Removal of objects

This one is the most interesting part for me, as a photographer. It is not that easy to get rid of things in a photo, and one has to use many different techniques. This makes things much easier. The only issue is the quality of the result. While it looks good, the resolution is just lower and there is a loss of detail. If you compare it to a traditional way, of creating multiple exposures and then blending them (as shown here). But that technique is not always possible, or you just do have time to wait.

I can also imagine this helping a lot with problems like burnout highlights and lens flares. When you miss this when taking the photo, it’s hard to fix.

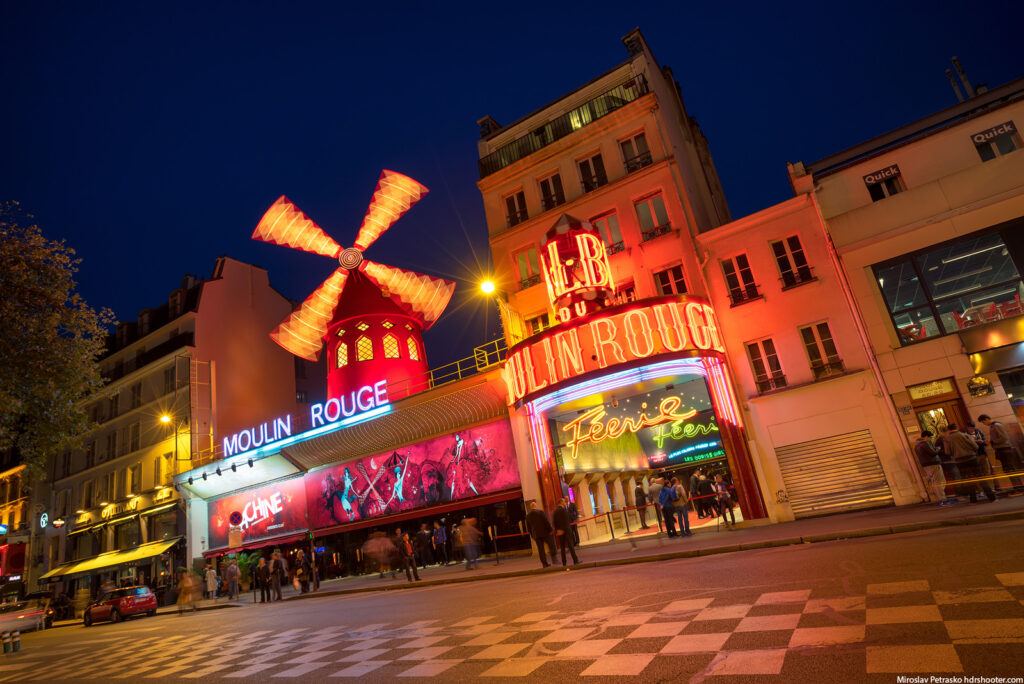
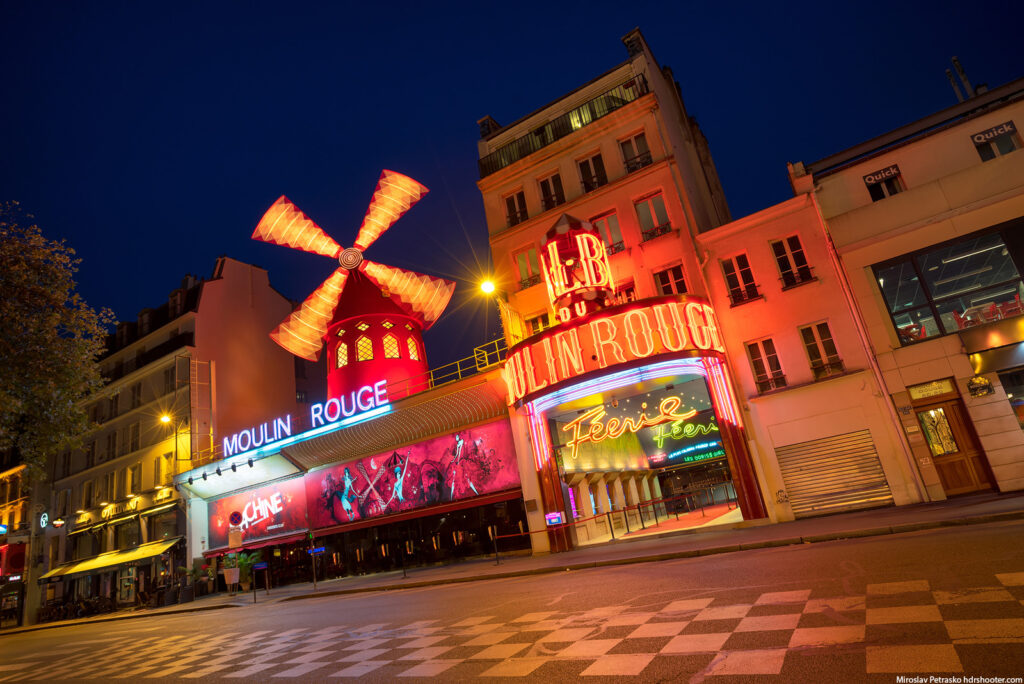
Here I edited one of my photos from Paris, where I removed all the people waiting in front of the Moulin Rouge. What do you think?

original
Generative Fill in Photoshop Beta - removed objects

Expanding the canvas with Generative Fill

Another use I can see is expanding the canvas. There could have been many reasons why you could not capture all that you wanted. Something in the way, the lens not wide enough, people standing around, small space to shoot from, or something else. Photoshop Betta using Generative Fill will give you multiple options and the results are quite impressive. From what I saw, having a transparent background sometimes gives better results. Also expanding already existing photos gives better results than trying to add new elements to photos. It just looks more natural.

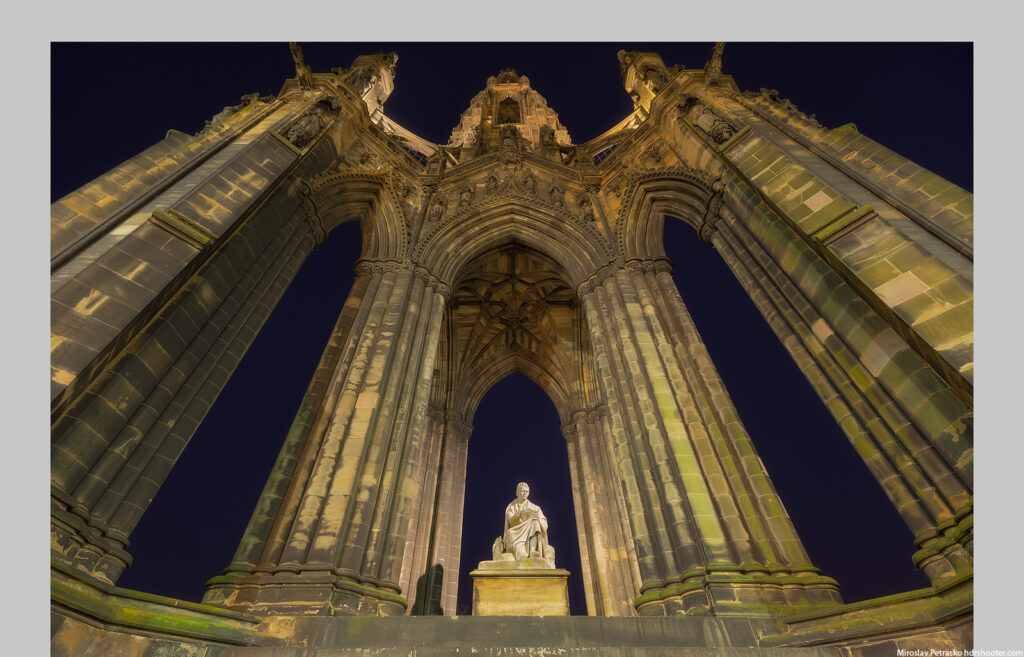
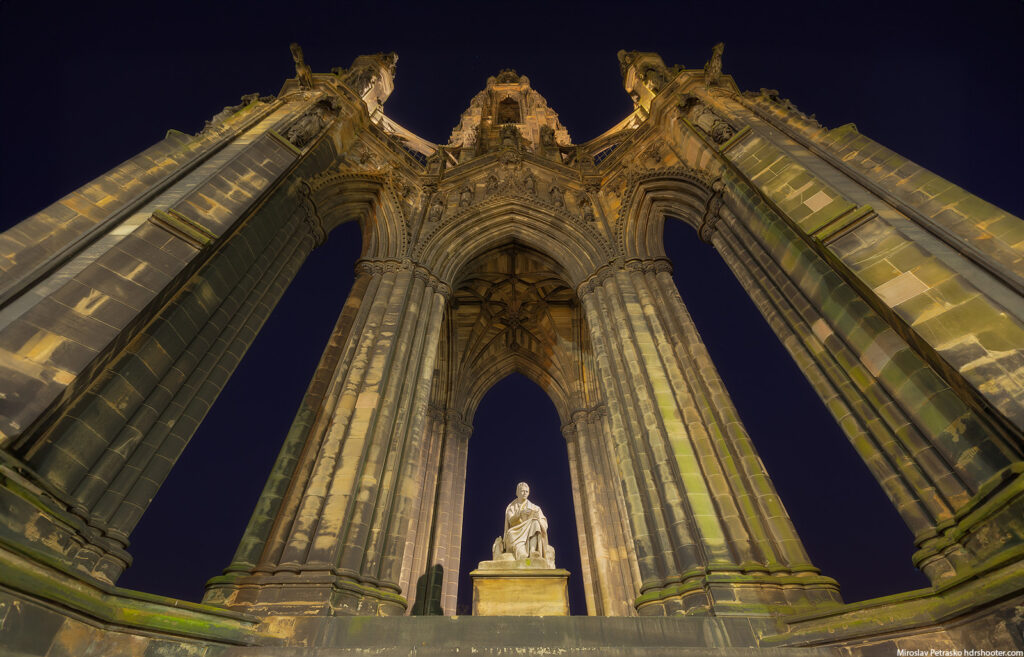
Here first is an example of the Scott monument in Edinburgh, where I could not move further away from it, due to a road. Generative Fill nicely expanded the photo, giving the monument more space in the shot.

original
Generative Fill in Photoshop Beta - expanded

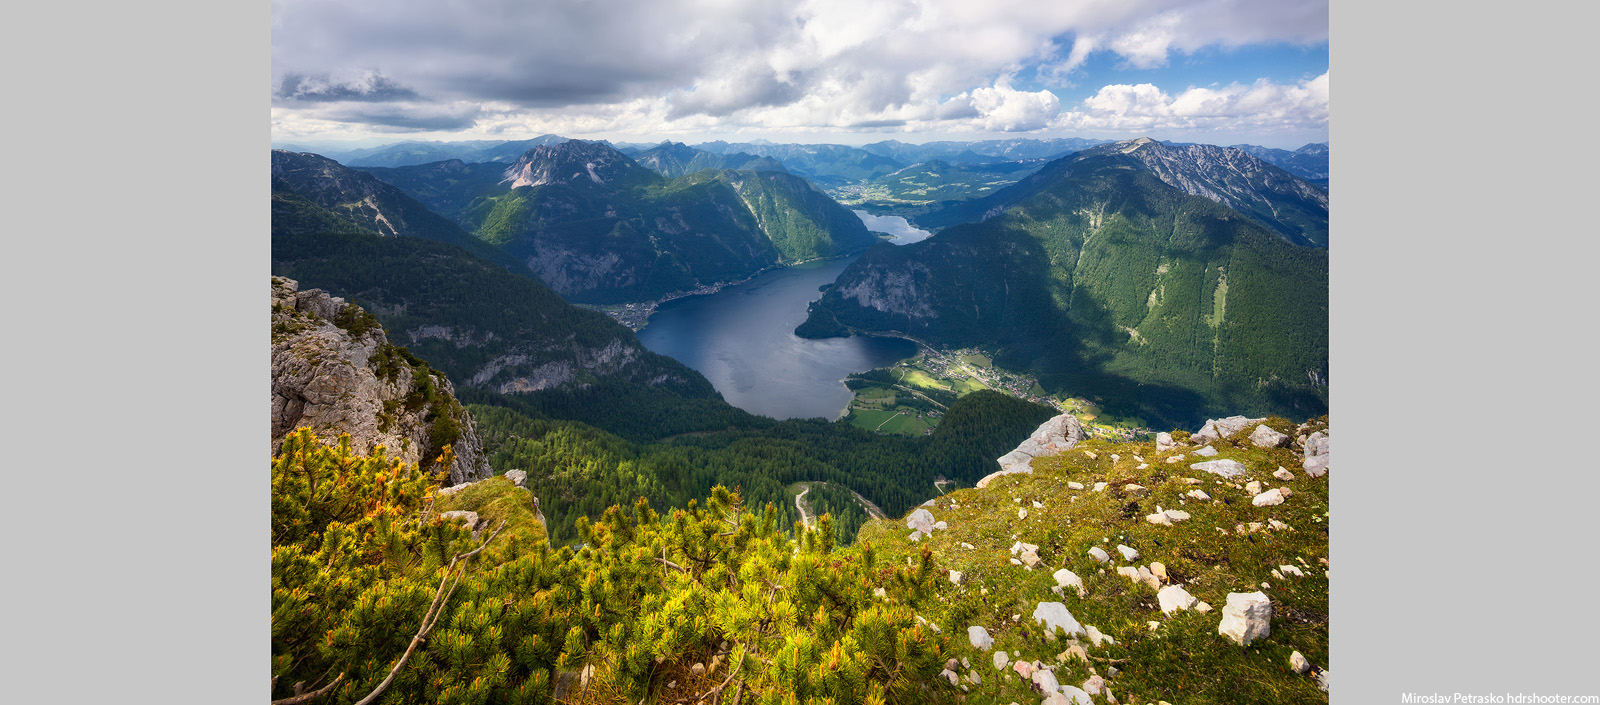
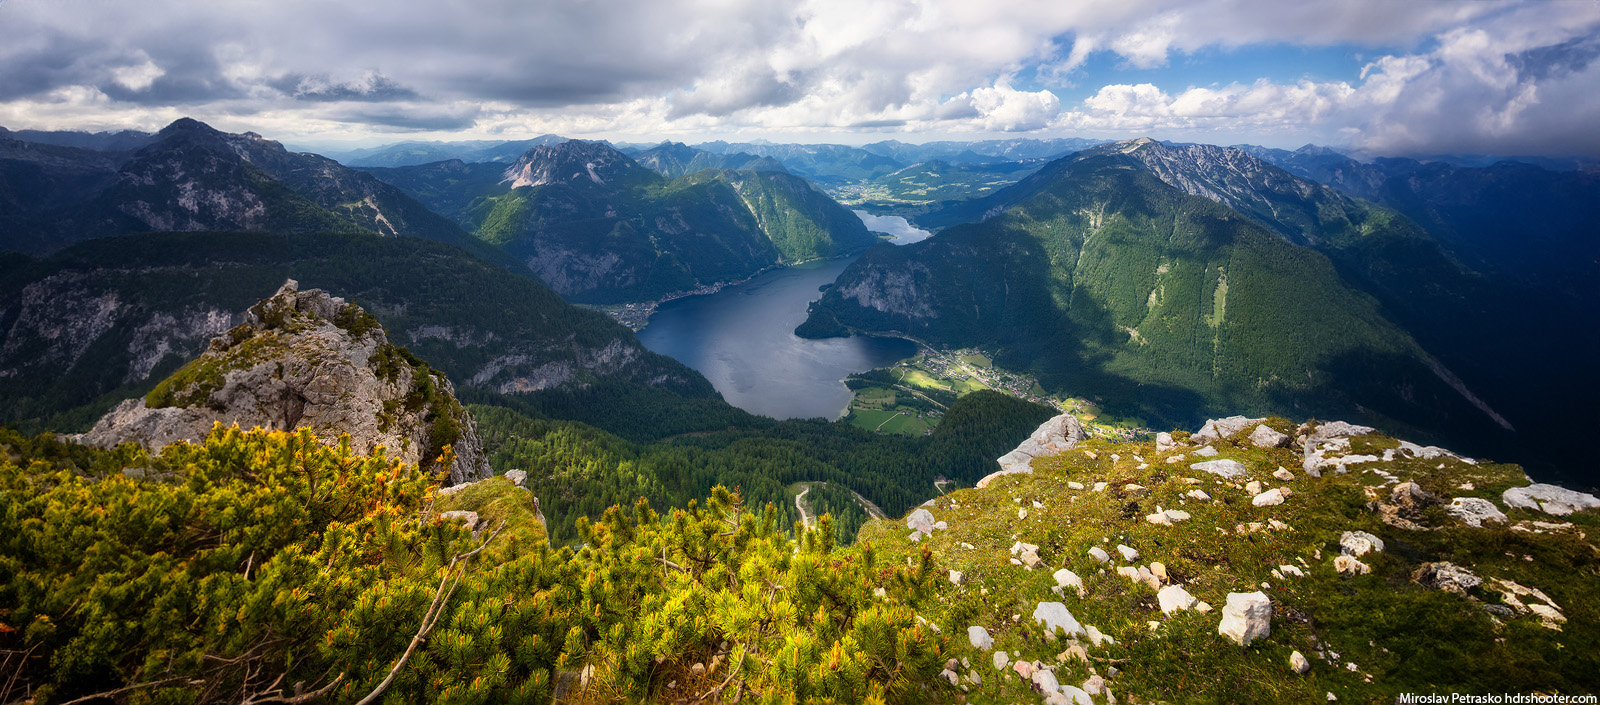
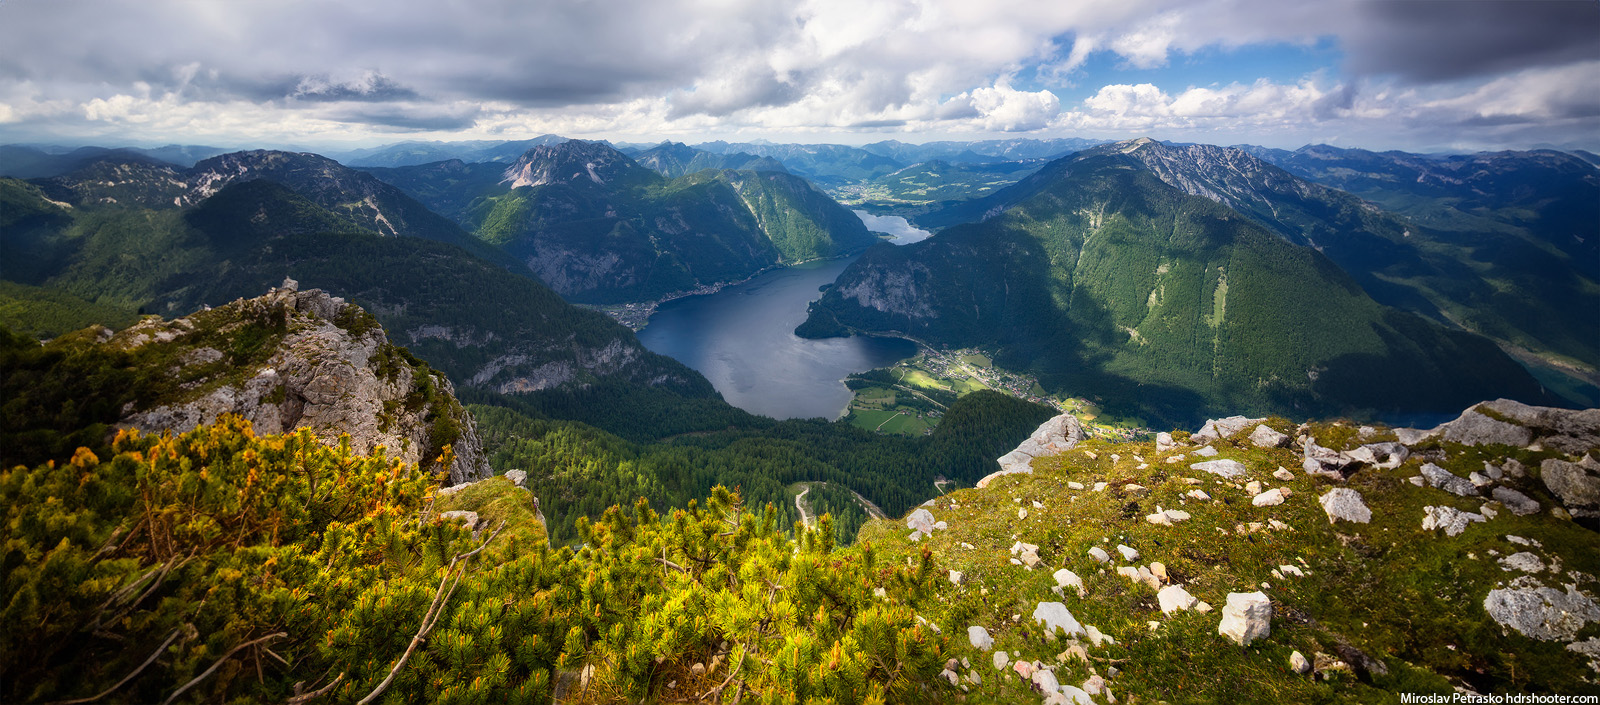
Or a bit different example with a photo from the 5 Fingers in the Austrian Alps, where using the Generative fill, I change a simple photo into a panorama. But yeah, the loss of quality is visible. I included two different versions here, but you can regenerate the result as many times as you want.

Generative Fill in Photoshop Beta - original
Generative Fill in Photoshop Beta - expanded

Generating images

The last option where you can use Generative Fill is to completely create new elements for empty or existing images. As mentioned you can continue selecting part of the image and so adding more elements to it.

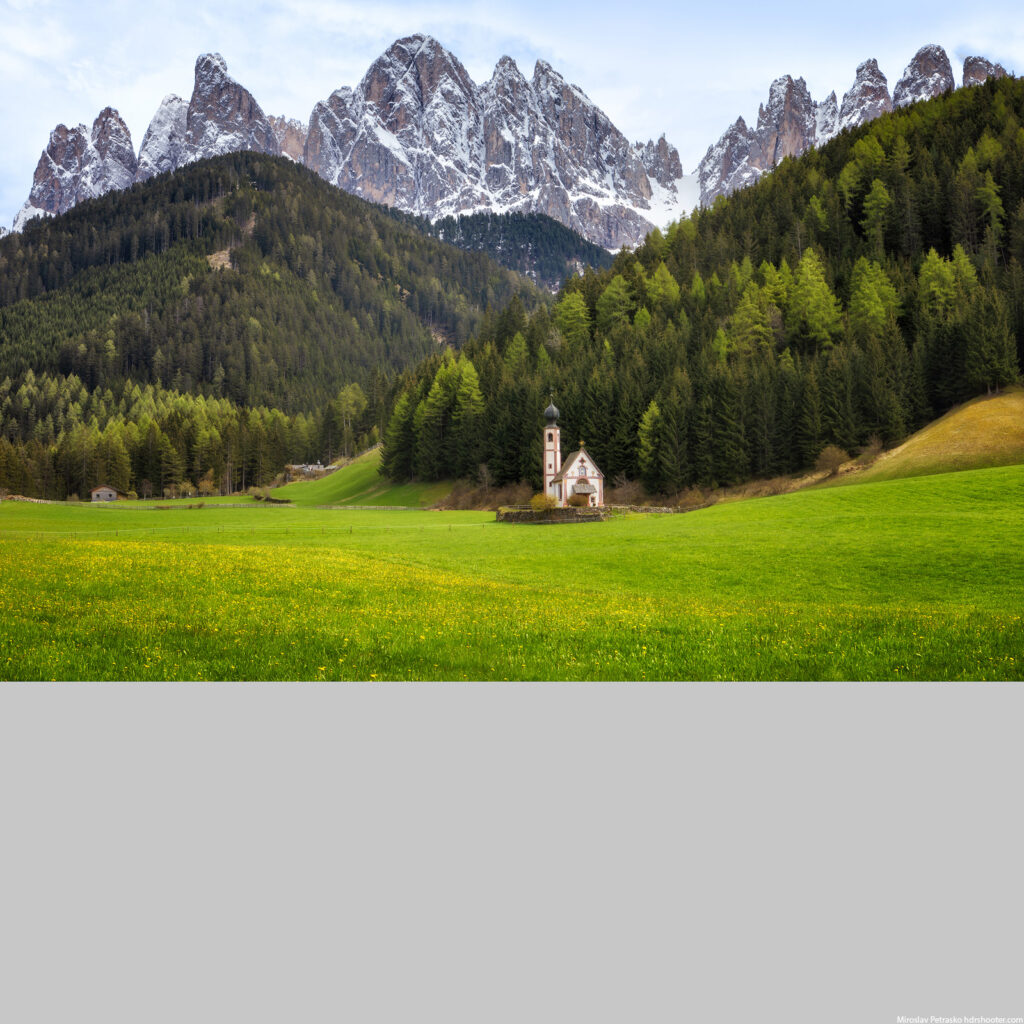
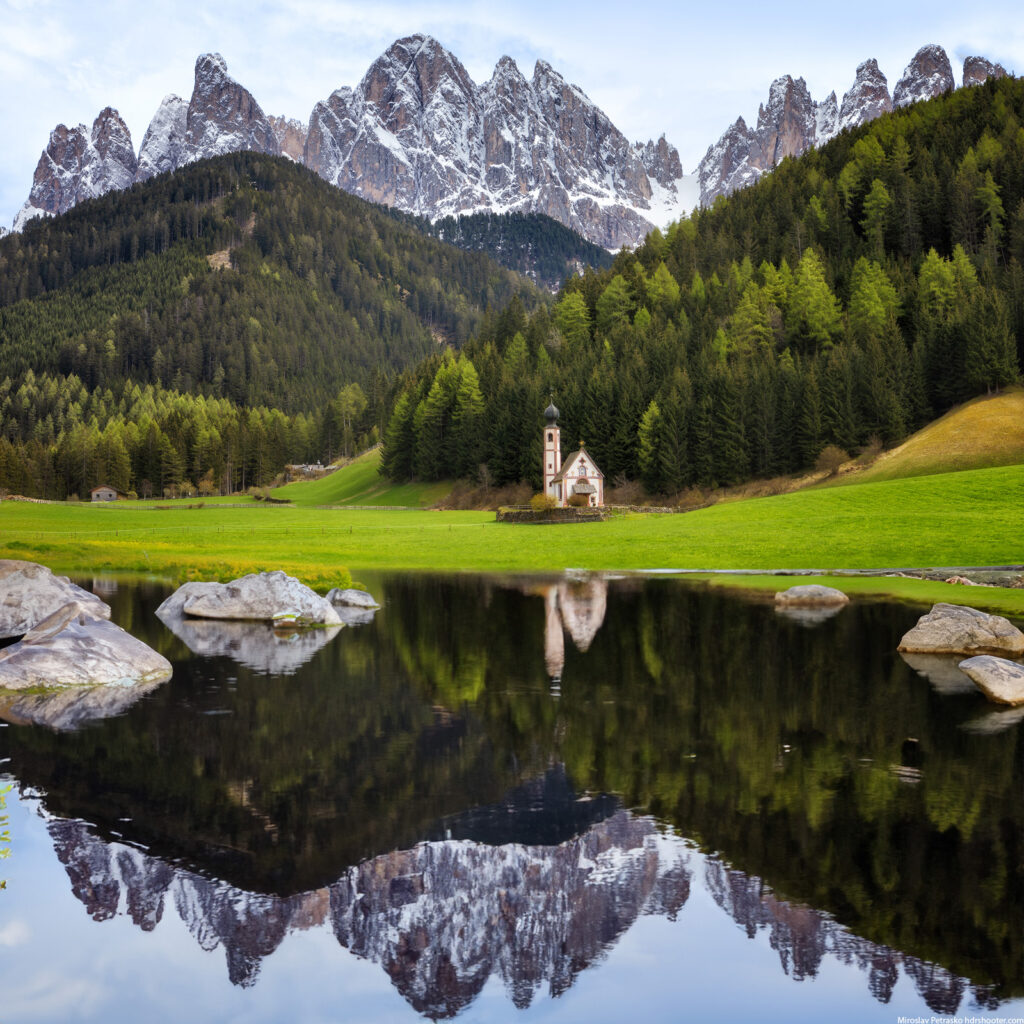
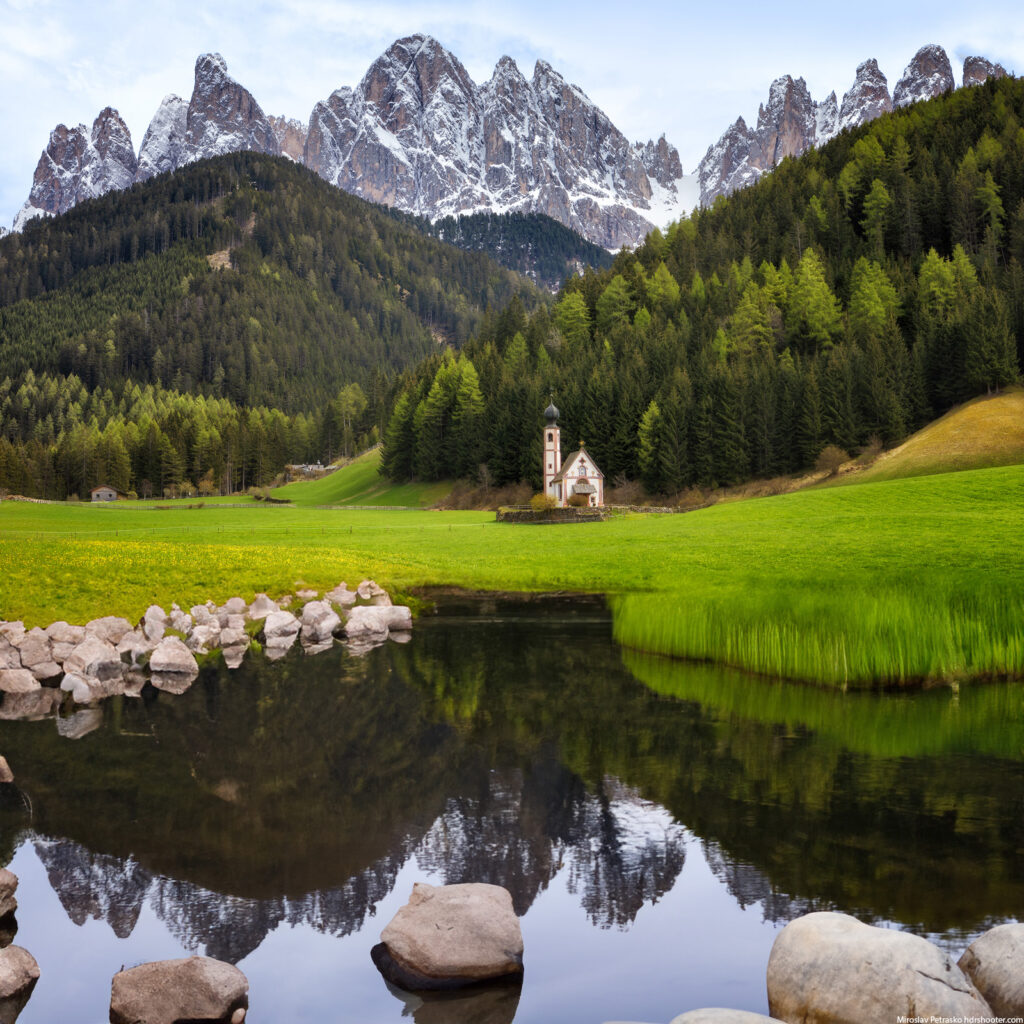
Here, I took the initial image from Santa Magdalena in Italy, and at first I selected the bottom part, and used Generative Fill with the keywords “pond reflection” to create the bottom part. Then I selected a few areas around the newly generated parts and with the keyword “rocks” added a few rocks to make it more interesting.

I did try to add a few other things, like horses or a bench, but the results were quite bad. It just did not blend into the image at all.

original
Generative Fill in Photoshop Beta - AI generated

Overall, the results are impressive, especially with removing of objects and expanding the canvas. If you just want to add something to a photo, the results are a bit of a hit-and-miss, and you will have to try multiple times to have a usable image. But this is still in beta and with the progress of AI image generation in recent months, I think this will get better really soon.

Have you tried Generative Fill in Photoshop Beta? What do you think of it?

Working with a MacBook

It’s been over two years now since I switched to a MacBook. MacBook M1 Pro to be exact. I will write about the switch more someday, but just a bit today. The whole MacBook is just so strange. It’s either fast or pitifully slow. You would not believe how often I see the spinning ball cursor. Just saving a big enough file in Photoshop can make the whole system unresponsive.

And why is the SSD so slow? Saving a 1gb PSD taking a few minutes? Just why. And there is nothing else on the laptop, it’s just a Photoshop machine. Strange. I love how quiet it is and how it’s always on, but sometimes it’s just a pain. Maybe with 32 GB RAM, it would be better. But 16GB looks to be just not enough for Photoshop.

Different view of the Sky Park towers

Behind the camera at the Sky Park Towers in BratislavaAnd for today’s photo, a bit different view of the Sky Park towers in Bratislava. You can almost see all 4 in this one. The 4th is hiding behind the middle one here. I thought of moving the camera a bit to include it more, but it’s still a construction site, so it would break the feel of the photo a bit.

Btw. the 5th one, would be on the right side here, probably not that far in the future, as there is already a big hole in the ground there. But it will be a bit different, as these four are private residences and the 5th one will be an office building.

I quite like what they are building here, as this whole area used to be industrial, if I remember correctly, there was a demolished factory here beforehand. So it was mostly ugly and empty before. You would have no reason to go there at all.

I also shared a photo on Twitter while I was taking this one, so you can see it here on the side. This was taken with the 12mm Laowa lens. It was blended from 4 photos. I had to take two bracket series here, as some people walked in front of my camera and I had to use the other set to remove them from the final photo.

Different view of the Sky Park towers, Bratislava

New skyline of Bratislava

While of the topic of the new part of Bratislava, here is a panoramic view of it. Most of the towers here are less than 3 years old. The whole city part just changed completely.

I took this photo last Sunday, from under the Bratislava castle. I got a bit of bad luck with the sky, probably because it became quite windy in the evening. It just blew away all the clouds. I also had quite the issue keeping the 70-200mm lens steady. So no bracketing here.

This is a panorama from 3 shots.

New skyline of Bratislava, Slovakia

Blue hour at the Sky Park

The modern center of Bratislava changed quite a lot in recent years. There are a few new highrises, huge shopping malls, and other new buildings. The whole area is just different from what it used to be a few years back. There are still many constructions there, but part is complete, so one can start taking photos there.

So for today, here is a photo of two of the four Sky Park towers (SKY PARK by Zaha Hadid). From what I have seen, there will be also a 5th, a bit different, one. But that one is just a big hole in the ground right now. There is not that much space to get further away from the towers, so I used the Laowa 12mm lens to get this photo. Like that, I could get the whole tower in one shot.

Page 2 of 212
FREE EBOOK!!!
Subscribe to my newsletter and get a free Capturing fireworks ebook. 
Subscribe