For this weeks process post, I have for you something a little different. In this one I will show you how to create this blurred effect in Photoshop. It quite simple, and it can create a really interesting result.
So to get a result like this:
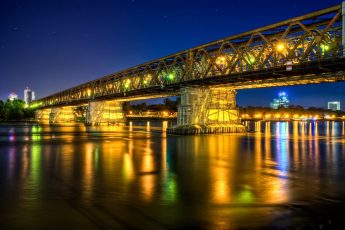
I started with this photo as the base. It’s one of my older HDR, and this effect also looks best on scenes with trees.
So the first thing I did was to duplicate the layer. On this new layer I used the Motion blur (Filter -> Blur -> Motion blur) and played around with the values until I got the look I wanted.
Next I added a mask to the blurred layer, and using a black soft brush at 100% I brushed over the parts where I wanted the original photo to show through. Then I changed the opacity to 30% and softened the transition.
That actually makes the whole effect. But I also suggest running a filter like Color Efex Pro contrast, as the blurred version will be lacking in the contrast area.
And that’s it. If you give it a try, and create an interesting result, feel free to share your results in the comments :)


Leave a Comment