To continue with my process series, as every Tuesday, here is another process post. This time its a manual blend of a photo from Maribor, Slovenia. So lets look at it.
To get to this finished result

I started as always in Lightroom. As you can see from the photo, I had to correct mostly the white balance and the horizon line.

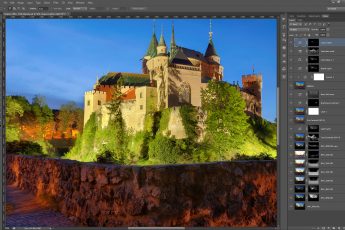
After that I created a Oloneo HDR version of this photo and imported it into Photoshop together with the original exposures. Then I continued as follows (layers numbered from bottom up)
1. -1EV exposure to start with
2. 0Ev to brighten the bridge and the water
3. +1EV to brighten the bridge even more
4. Oloneo HDR result used to brighten the overall image
5. Color Efex pro contrast to add more local detail to the photo
6. High pass filter to add more detail
7+8. Added glow to the photo
9. Recovered parts of the city, as they lost too much contrast in previous edits
10. Brightened the extreme dark parts of the photo
11. Brightened few parts of the bridge from +2EV exposure
12. Added a little of Color Efex glamour glow


Leave a Comment