And another week passed very quickly and it’s time for another process post. For today I chosen a photo from a beautiful sunset by a lighthouse in Austria. So let’s take a look at the finished photo first
I really wanted to show the warmth and glow of the sun in this one, and I edited it accordingly. For this I started with 6 exposures. I normally do less, but since this was shoot into the sun, I wanted to be safe, that I have enough.
Where the 0EV looked like this:
As always I started with Lightroom. I corrected the white balance, lens distortion and chromatic aberrations. I also added some vibrance and noise reduction.
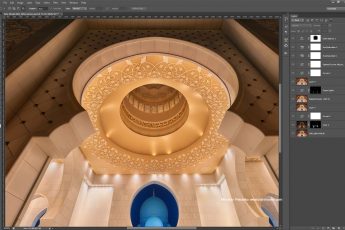
I chosen manual blend fro this photo (I usually first try Oloneo photoengine, just for a quick text how the HDR would look, if I don’t like it, I go with manual blend). I exported all the 6 exposures into Photoshop, and did the following edits on it (layers numbered from bottom up)
1. -2EV exposures. I started with a darker one, as I don’t like to blend the sky
2. -1EV exposure, brightened the dark parts of the photo using a luminosity mask
3. 0EV exposure, brightened the dark parts of the photo using a luminosity mask even more
4. Color efex Pro contrast filter, to add more local contrast to the photo
5+6. I wanted more glow and color in the photo, so I added glow to it (check out my tutorial on how to do it)
7. Created a vibrance mask using the TK actions and added more color to the photo.
8. Brightened the very dark areas using a curves layer.
9. Added more structure using a high pass filter layer.
Normally I would have ended here, but I left the photo for a while, and when I returned, I felt that it’s not finished yet. So I did few more edits:
10. Brightened few shadow spots from the +2EV exposure
11. Color effex glamour glow filter on most of the photo
12. Brightened just the lighthouse from the +2EV exposure. The lighthouse is white, and it didn’t look that way in the photo.
13. I felt the photo still being too dark, so using exposure I brightened everything except the sunset sky
14. Added linear contrast using curves
15. Color effex tonal contrast filter applied on a new layer, but the layer set to luminosity (so it does not affect the colors) and brushed where I wanted to have the additional tonal contrast.
16. Color effex darken/lighten center filter to add a vignette to the photo.
17. A little more saturation to the bottom right shadowy area.
And that’s all I did with this image. To find out more on how I edit, check out the guides and before after categories on this blog, or check out my video tutorial series here:


Leave a Comment