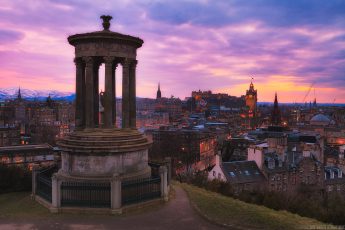
And another Monday is upon us and that means another process post. For today I chosen a manually blended photo taken in Edinburg, Scotland. So let’s take a look at it.
Here you have the final photo and the original 0EV RAW file.
So what I needed to correct was that few areas were to bright, few were too dark and the whole image was too cold. So I started as always, by loading the 5 exposures into Lightroom. There are corrected the lens distortion, chromatic abberations and a little noise. Then I exported all the files into Photoshop layers.

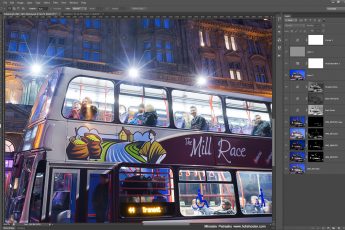
I then did the following edits (layers numbered from bottom up):
1. -1EV exposure as the base for edits. I had better overall exposure for the sky so that’s why I chosen it as the start.
2. -2EV exposure to darken the pillars and the middle area of the sky.
3. 0EV to brighten the street and the pillars
4. +1EV to brighten the shadow areas
5. +2EV to brighten a small dark part in the photo.
6. Added contrast to the basic mid-tones
7. Added more detail using a high-pass filter
8+9. Added glow to the photo
10. Brightened the dark areas even more (I explained this step in a video I posted few days ago)
11. I wanted the pillars to have a more golden color, so using a soft light layer, I sampled a color from the back pillars and painted it onto them.
12. Changed the hue of the blue color a little toward purple.
13. Color efex pro contrast to get more local contrast and detail. I removed the effect from the sky and the highlight on the pillars.

And that’s all I did with this image. To find out more on how I edit, check out the guides and before after categories on this blog, or check out my video tutorial series here:


Leave a Comment