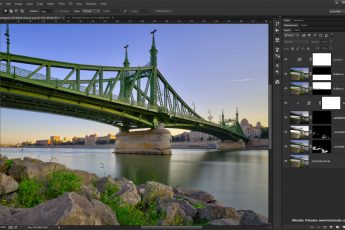
I already put up articles about most software I use, but not yet that much about Photoshop. So today, let’s look at few random tips for Photoshop.
Fade adjustment
This is one small feature that is great for when you are doing retouching. What it does, in simple terms, is allows you to set the opacity on your last used adjustments. So if you for instance use the Patch tool, to replace a part of your image, and you feel that the changes is too strong, you can use the Fade adjustment and tone it down.
To use this, right after you do the adjustment, go under Edit/Fade, and choose the percentage you need. But beware, it works only on the last adjustment, so if you do something else after that, the adjustment will no longer be available.
Hide selection
This is a must when you do Luminance masking or any other manual blending. The marching ants of selection can be so in the way, and making it hard to blend correctly. So you have to know that you can hide them, and actually do that very often.
To hide the marching ants, you have to go under View/Extras (or Ctrl+H) to toggle the visibility. Again, a little note, remember if they are hidden or not, as it’s very easy to forget that you have a selection active, when it’s not visible.
Save your workspace
This is one thing I never used until I got a huge monitor. I can arrange and safe different setups for Photoshop and then just switch between them. I have one for when I use Photoshop in full-screen, one when only using it in a smaller window. This just makes switching so much easier.
To do this, just setup you Photoshop workspace as you like, and then choose the workspace drop-down and create a new workspace. Once you have all the ones you want, you can switch between them by choosing them from the same drop-down menu.
Use Last filter
Sometimes you just need to use the same filter over and over. Either for different layers, or different image. To make this easier, there is a simple solution in Photoshop. By choosing Filter/Last filter (or Ctrl+F), the last filter will be used on the actually selected layer.
And even better, this does not just work with Photoshop filters, but also with additional ones, like Color Efex or Noiseware. Choosing it, will use the same filter, with exactly the same settings as you used last time.
Align layers
One thing one needs to do a lot, is to align layers. Especially if one take photos handheld for HDR. There are many ways to align layers, but one of them is to just use the internal Auto-align. This works quite well most of the times, but don’t expect miracles.
To use auto-align, just select the layers you want to align, and choose Edit/Auto-align layers. If you have taken photos from the tripod, I suggest using reposition instead of auto mode. It’s so there are no distortion in the separate layers only movement.
Correct distortion by cropping
Cropping is a very useful tool in Photoshop. But you can use it for more than just cropping the image. You can use it to extend the canvas of you image, just by cropping it for a bigger size than it was, or you can even correct perspective distortion by cropping.
To do that, you have to choose the Perspective crop tool from the tool bar. Once you select the area with it, you can move every corner separately to select the area that will be stretched into a rectangle image. So just move them inside and confirm by Enter and you are done :)


Leave a Comment