Lets look today together at how I edited this long exposure photo from Budapest. And this time, If you want to try editing yourself, you can download the raw files of it from this Dropbox folder.
This photo was taken during a not so colorful sunset, so the biggest task here was to get some color into the photo and detail into the shadow areas.
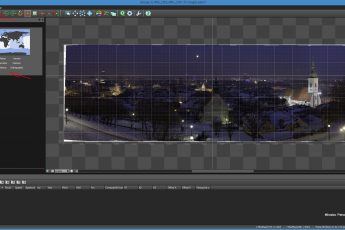
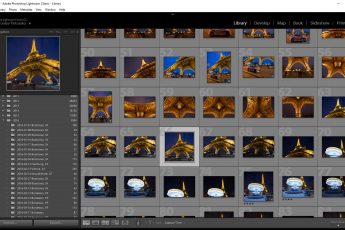
I didn’t do much in Lightroom, just removed the chromatic aberrations. From there I exported all the files and loaded them into Photoengine. Here I made two HDR version. Most settings were the same, just strength and contrast, but in one I also applied the Natural HDR mode, so the grass in the foreground gets a more natural color.
From there I continued in Photoshop (layers numbered from bottom up)
1. The more colorful version of Photoengine result.
2. The less colorful version, from which I painted in the grass and flowers.
3. +2EV exposure, to brighten up few shadows
4+5. -2EV exposure brightened, to remove a bit of ghosting from moving grass
6+7. Color Efex briliance/warminth to get more color into the photo. I split it into two layers, so I can use different opacity on top and on bottom.
8. Added overall brightness and contrast using curves.

And that’s all I did with this image. To find out more on how I edit, check out the guides and before after categories on this blog, or check out my video tutorial series here.


Dear Miroslav,
I just happy to found you, and this great tutorial from Budapest.
I came here for HDR things, …more the and hour ago and I sticked to this site :)
Greetings from Hungary (now Norway)
Best regards,
Tamas
https://www.facebook.com/albertszki.tamas/