Removing lens flares
I did an article a long time ago, about removing lens flares. There I suggest two options. Removing them using Photoshop tools, or by creating a second photo where you shade the sun and then blend them together. But sometimes one forgets, or you just don’t notice the flare until you load the shots into your computer. So what to do then? Today I will show you something I do in those cases from time to time.
Removing lens flares using multiple photos
So this was my situation. I did not notice the flare in this photo. The sun was a bit to the left here, and with no clouds in the sky, it was so bright, I could see nothing on the camera screen. But as you can see there few are big flares and on spots that are not easy to correct in Photoshop. So what to do?
What I did was use a photo, that I took from the same location, but with different settings, that did not have flares on the same spots. As long as you did not move too much between the two photos, you can align them, even if you zoomed out or in. All you need is that the same area is in both photos. You can try to align manually, but Photoshop align layers function can work very well here.
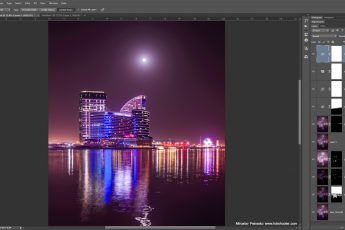
Here I used a much wider shot, and while this one also has flares, they are on different spots. I loaded both photos into Photoshop. The one I wanted to fix placed on bottom. Then I locked the layer (choose layer and click the lock icon above the layer list). Now I could align them without distorting the one I want to fix. I just chosen both layers (holding down CTRL and clicking on each layer) and aligned them using Edit/Auto-Align Layers and choosing the Auto projection.
This was the result. I cropped the layer now, to get rid of the extra part I did not need (CTRL+click on the bottom layer thumbnail, and then Image/Crop to crop based on selection). Now by using a mask, I just hid the top layer with all black mask. Using the brush I painted with white in it, where the lens flares were. There is one more thing to fix, and that is to match the brightness and the color of the corrected areas. Her I used brightness/contrast to brighten the area and color balance to make it a bit warmer. You have to use the adjustment layers as clipping masks, so they affect only the layer under them (Alt+Ctrl+G with the layer selected, or Layer/Create Clipping mask).
And with the lens flares fixed, one can continue with further edits.


Leave a Comment