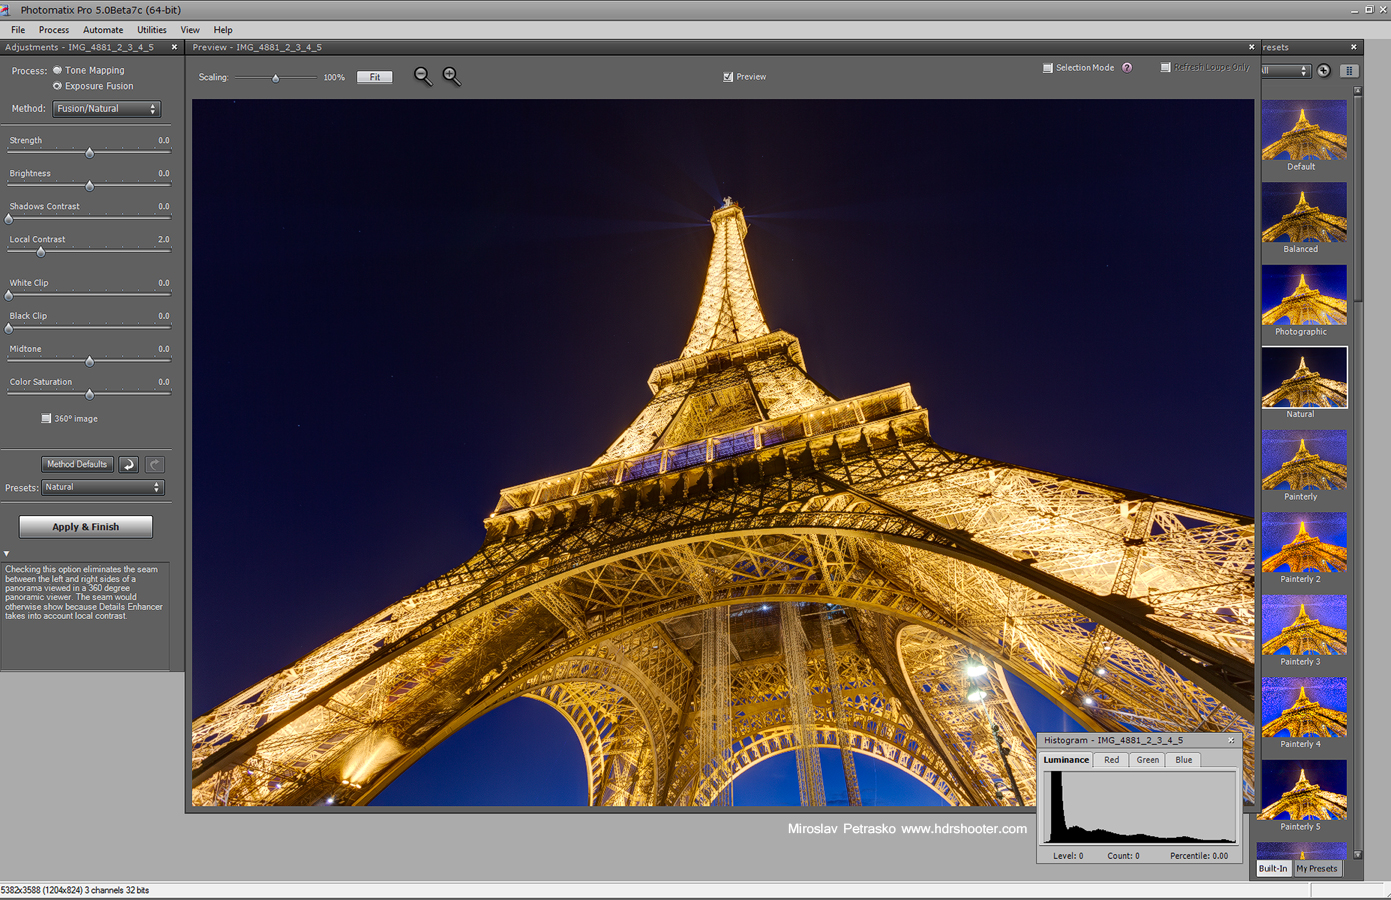
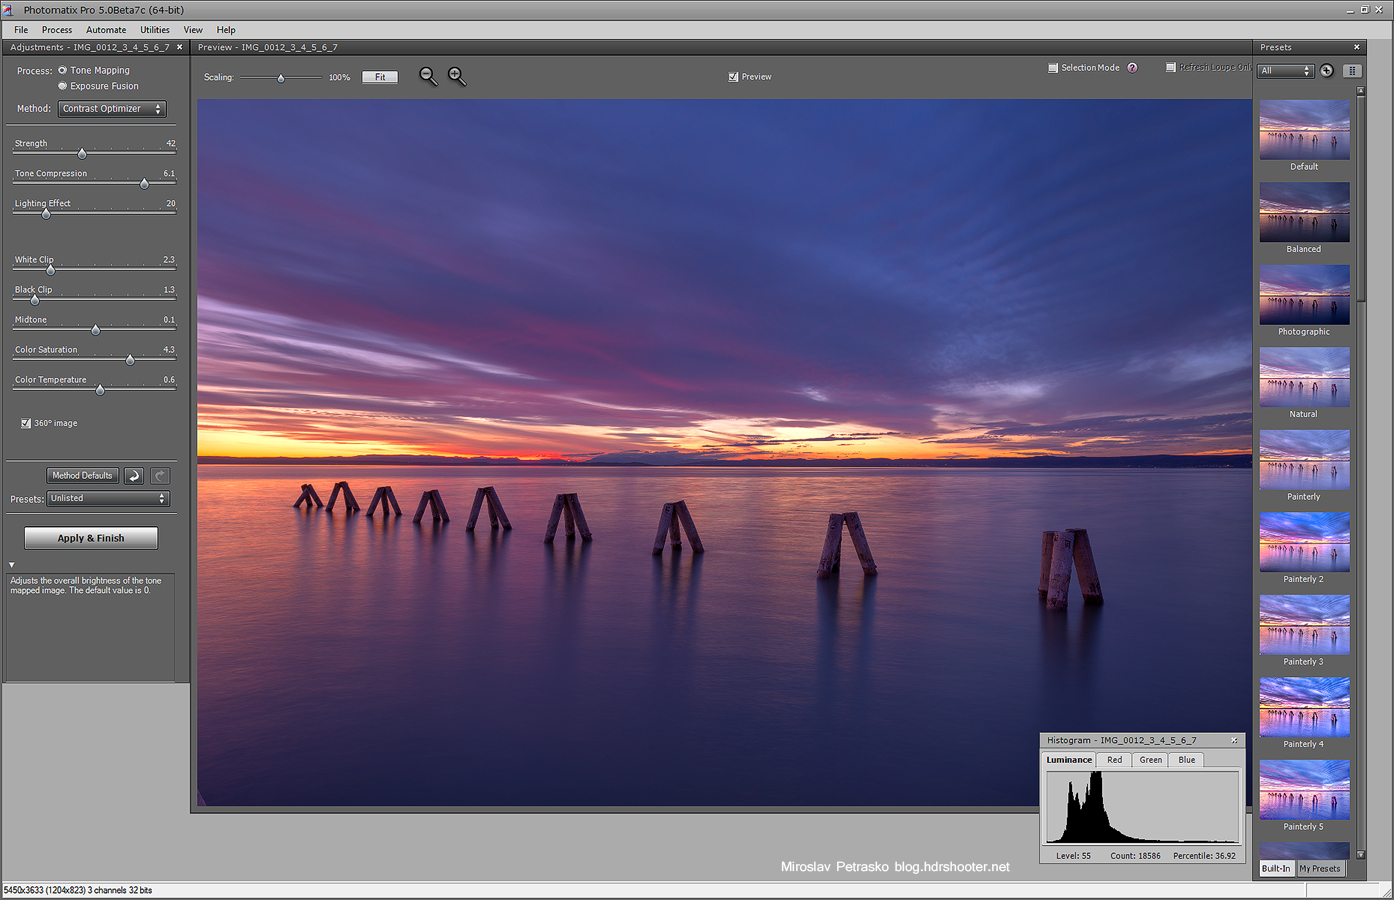
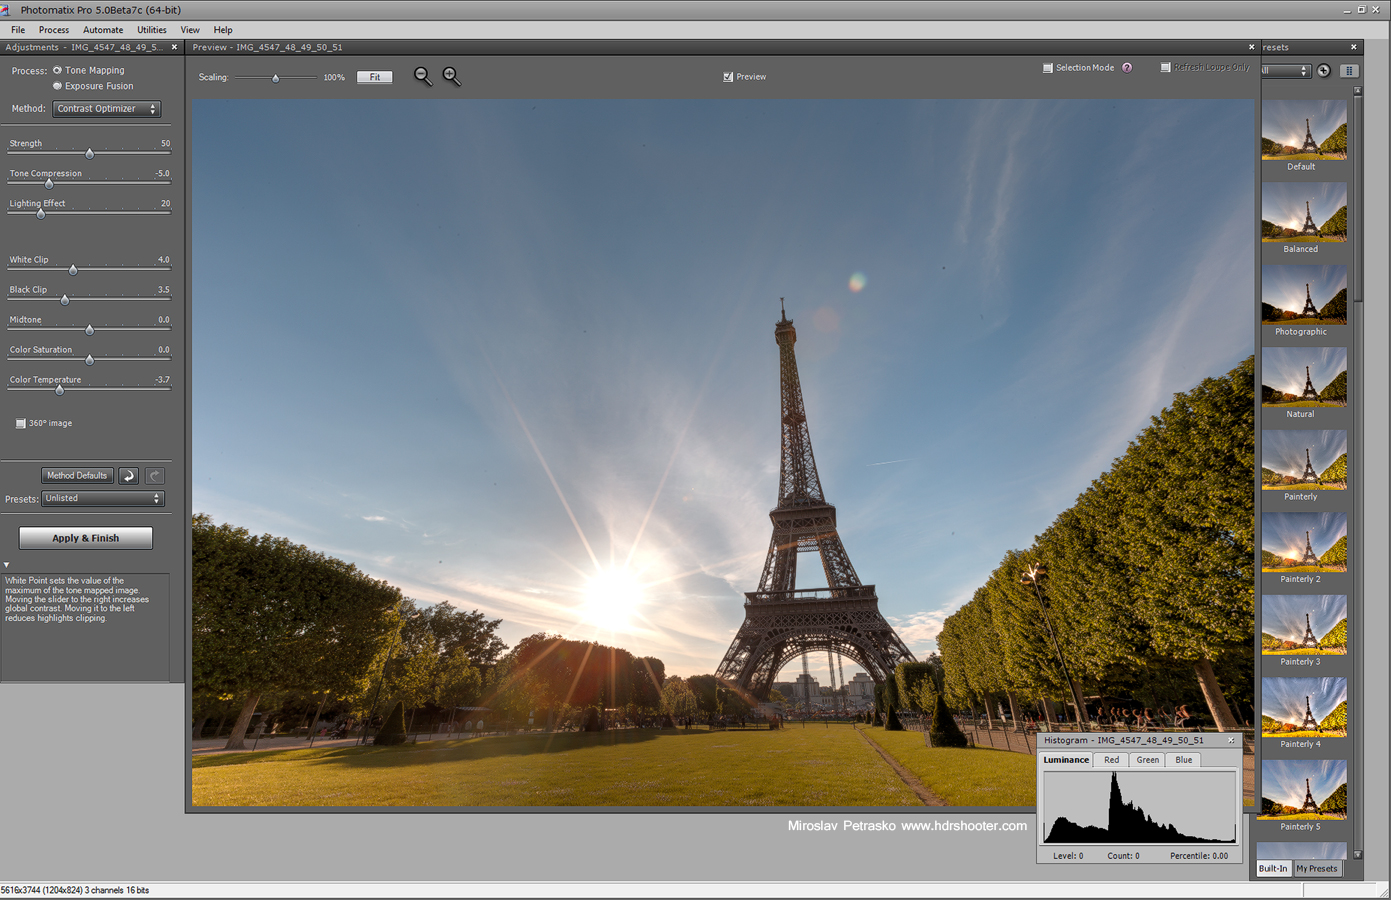
I planed for so long to add a review of Photomatix and I never got to it. But now with the release of Photomatix Pro 5, I thought I finally do it. Also, you can view my HDR tutorial, where I describe how you can use Photomatix to edit you HDR photos.
Photomatix is currently probably the most popular and most widely used HDR tone-mapping software. If you are only a beginner, you also probably heard that this is the program to start with, and that also what I did.
Photomatix is actually a collections of multiple tone-mapping algorithms, each one giving you different values to adjust and much different results. You can start from scratch or use any of the provided presets. Additional to this, Photomatix allows you to add a final touch to the photos, like contrast or sharpness.
In most of the older versions, Photomatix results were mostly towards the artistic side, but with the latest iteration, the new algorithms create a more realistic result.
I’ve been using Photomatix for multiple years now and and it’s still a part of my workflow (even if not such a big as before). From all the tone-mapping programs I used, it can deal the best with extreme differences in brightness, especially photos with sun in them. It also created the most evenly lit image, if you find the right settings. Photomatix can also create a lot of local detail, which is great if you are going for a grunge look for your photos.
Working with Photomatix is not that straightforward. You can’t really tell what you will get when you start with it. It’s a lot about experimenting, and trying all the different algorithms and adjustments. After a while of using it, you will get an idea what the different sliders do, but I don’t think you will be able to predict the result you get.
Another great thing about Photomatix, it’s the ability to light up handheld shots very accurately (in some occasions it’s much better than Photoshop) and also a great way to remove ghosting from images. You can also just select out the ghosted areas, which is much better than having it work with the image as a whole.
Of course not everything is great. The algorithms are not the fastest and sometimes you wait few seconds for a change to take effect even on fast computers. The loupe still does not show the real preview and until you process the image, you don’t see the real result. The algorithms also can create a lot of additional noise and make the photo a little softer.
Overall, if you want to use HDR in you photos, this is one program you should have in your arsenal. It takes some time to get good results from it, but the time you spend experimenting is worth it. Also I suggest you never use the result as the final photo. Blending it with original exposures is always advised.
For more info, please check out my HDR tutorial, where I describe how to use it, and the Photomatix page. Also for all those who think of buying it, you can use the code “HDRSHOOTER” for a 15% discount.
View all my other reviews here.
And here are few of my photos where I used Photomatix for the initial blending:


