While I use a Sony camera mostly now, I also use a the Canon 5D mark II. And since the Magic Lantern firmware makes working with it so much better, today I will show you how to install Magic lantern, update and uninstall it. I will be showing all the steps on the 5D mark II, but there are same on other cameras.
Magic lantern
For why to use Magic Lantern, check out this article, on what I like the most about it.

Also, be warned, as with all unofficial software, you install Magic Lantern at your own risk (but I still have not heard about any big problems with it).

How to install Magic Lantern

Magic lantern installation is in two parts. It a change in the camera that notes that it should use the firmware on the card, and it’s the files you have to copy to the card that are used.

So to install it, you will need a computer with a card reader, a fully charged camera and a memory cart to use. I seen suggestions to reset the camera to default settings and set to Manual mode before starting, but I never did this once and never had issues, but to be safe, you may do so.

So to install you must:

  1. Download the version of Magic Lantern for the camera you need from the Magic Lantern website.
  2. Check if you camera has the correct firmware version, as required by Magic Lantern. You may need to update it first before being able to install ML firmawre
  3. Format the memory card using your camera.
  4. Turn off your camera, remove the card and connect it to the computer using the card reader
  5. Unpack the downloaded files you got into the root directory of the memory card
  6. Put the card back into the camera and turn it on
  7. Chose update firmware from the cameras menu, and wait
  8. Magic Lantern firmware
    Magic Lantern firmware
  9. Once you see a prompt to restart your camera, turn it off, wait a few seconds and turn it back on
  10. Magic Lantern firmware
    Magic Lantern firmware
  11. Now you can check the firmware version to see if its installed, and open the ML menu by pressing the trash button

If yo want to install the ML firmware on another card, just use the same steps, format the card, copy the files, put into the camera, turn on and update firmware with the new card.

How to update Magic Lantern

Updating Magic lantern is very easy, as you only need to update the files on the memory card. So you do the following:

  1. Connect the card to your computer (what you see depends on the version, but it can be like this)
  2. Remove the ML folder and all files, except the settings folder under ML folder (don’t delete the camera folders, the DCIM and MISC on Canon cameras)
  3. Extract and copy the downloaded files, same as when you are installing the firmware for the first time.
  4. Put the card into a camera that is off and turn it on. In a case that it wont turn on, turn it back off, remove the battery for few seconds and turn it back on.
  5. Magic Lantern firmwareOld version
    Magic Lantern firmwareNew version

How to uninstall Magic Lantern

Remove from camera

To uninstall the firmware from the camera, you need to have a card with the ML firmware installed in the camera and the camera turned on. Then you need to:

  1. Choose firmware in the menu
  2. Choose to update the firmware
  3. When prompted to restart the camera, do nothing. You will see a counter on the bottom of the screen, that counts down until the firmware will be uninstantiated.
  4. Magic Lantern firmware
    Magic Lantern firmware


  5. Restart your camera, but not before the timer finished. Wait for it, until its done first.

Remove from card

To just remove the firmware from the memory cards you have to:

  1. Choose to format the card inside the camera
  2. In the confirmation menu you will see a message Format card, keep ML. You need to change this to Format card, remove ML. To do so, press the button noted inside the brackets []. Picture Style in my case.
  3. Magic Lantern firmware
    Magic Lantern firmware


  4. Choose OK and confirm

And now you know how to install, update and uninstall Magic lantern firmware. For more, don’t forget to check out their official site here.

トップ5というのは大げさかも知れない。本当のベスト5は何度も何度もパリを訪問して決めたいと思う。去年の訪問の最も気に入ったスポットとしておこう。ま、必見の場所として考えてもらえるとうれしい。

パリのその他の写真はこのリンクでどうぞ。

(日本語のコメントや質問には残念ながら答えられません。英語でどうぞ!)

その他のリストもお見逃しなく!

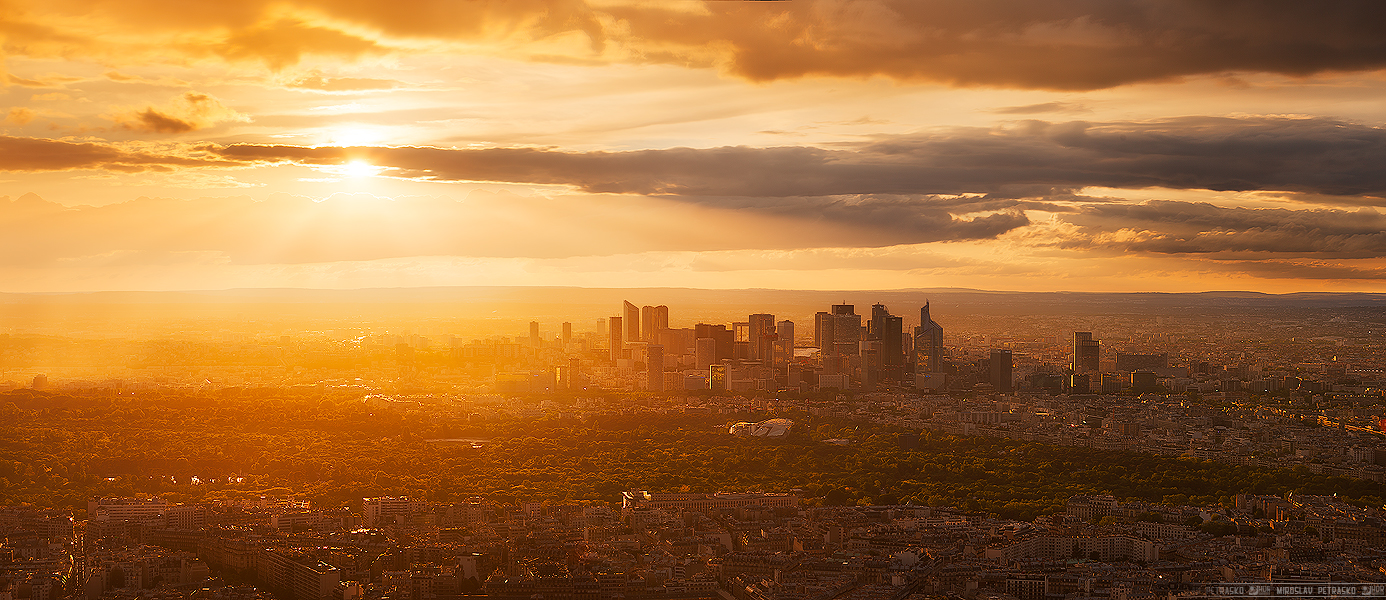
モンパルナスタワー

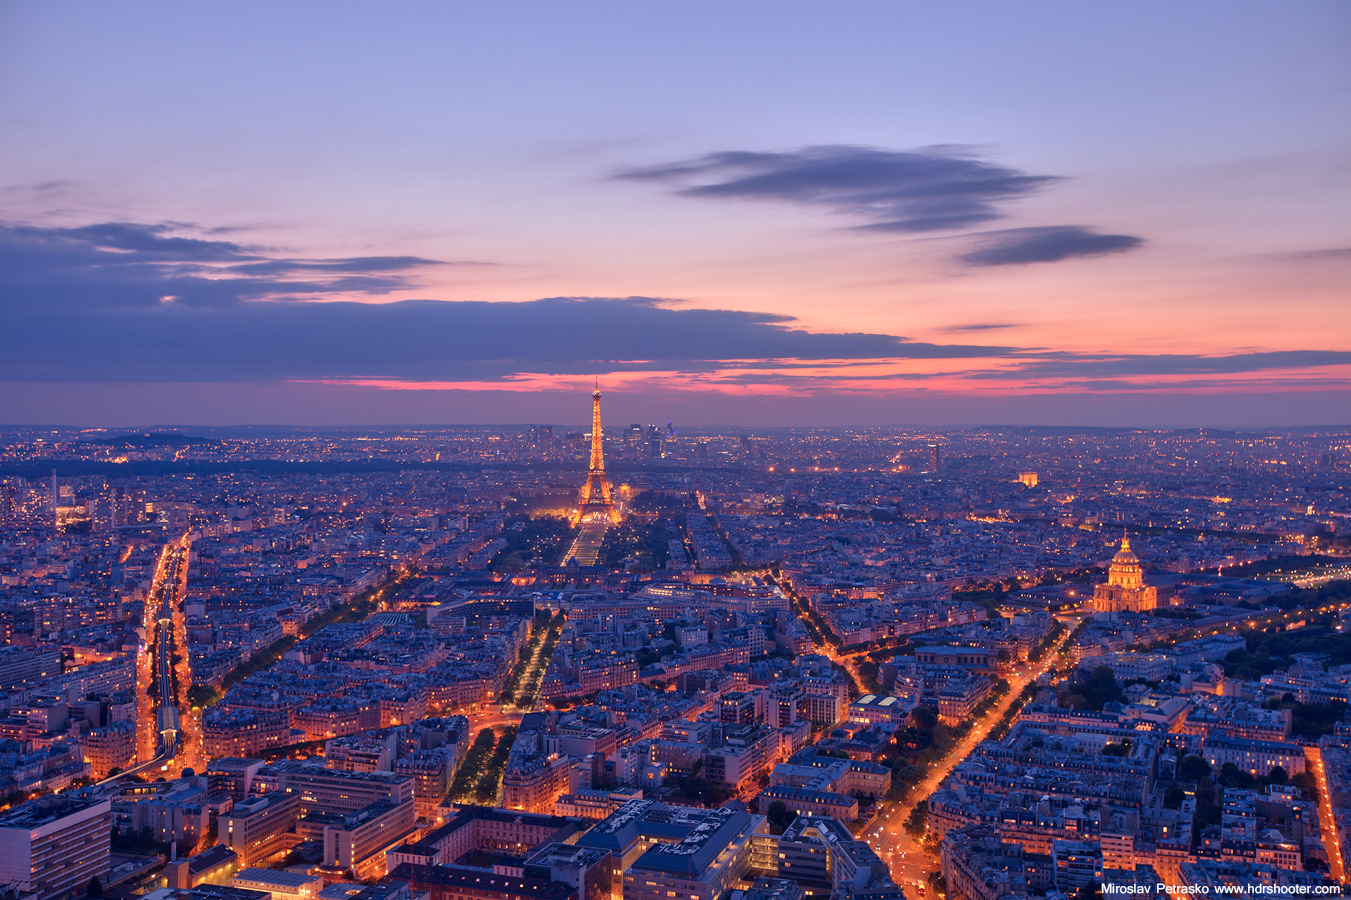
絶景が撮れる定番の撮影スポット。景色も素晴らしい、写真家フレンドリーな場所。好きなだけの時間滞在できる、撮影しやすい場所といえる。日没が撮りたい場合は、場所取りのため、できるだけ早くタワーへ行くことをお勧めする。

Paris
Golden sunset

エッフェル塔の上から

ここも必見の人気スポット。お気に入りの撮影場所が確保できたら、今日一番のワンカットが撮れるまで粘ること!セキュリティーチェックは飛行場のように厳しいが、三脚も持ち込みOKなので、ゆっくりと撮影を楽しむことができる。

View from the top
Perfect sunset in Paris

ビジネス街 ラ・デファンス

ここも良い景色のスポットだが、多様な構図での撮影は期待しないほうが良い。パリ近郊にあるこの都市再開発地区はパリでは珍しい近代的な高層ビルが立ち並ぶオフィス街とショッピングエリアとして人気を集めている場所。地元の写真家たちの間では注目を集めているが、他の人にはまだ知られていない。到着したら階段を探すと分かりやすい。なお、この付近は、他にも面白い題材の写真を収めることができるので、カメラ片手に街探検も面白いかも?

La Defense Business district
Midnight Drivers

ノートルダム大聖堂

パリに来たら、大聖堂内や大聖堂の上から眺めも必ず収めていきたいが、今回、私は、大聖堂の中へは入らなかったので、他のおすすめスポットを紹介したい。そこは、大聖堂の背に位置し、橋の上からでも下からでも良いな写真を収めることができる、ちょっとした穴場と言える。

Notre Dame de Paris
The moment before the storm

エトワール凱旋門

5箇所目は凱旋門。機会があれば、是非、上ってみて、そこからの眺めを収めてほしい。今回、私は、天気に恵まれなかったため撮影には至らなかった。自動車の波をぼかすためNDフィルターの装着は必須だが、路下から撮るのもさほど悪くなかったといっておきたい。また、路上から撮る際、凱旋門へ向かって走る道の真ん中からが一番良い画を撮ることができるが、くれぐれも車には十二分に注意するように!凱旋門の背から撮ると人込みも避けられるし、交通量もさほど多くないので、より落ち着いて撮ることができるだろう。

Traffic at the Arc De Triomphe
Blue hour at the Arc De Triomphe

 
もちろんパリには他のすばらしい見所がある。ルーブル美術館やエッフェル塔付近、トロカデロやポンデザール、アレクサンドル3世橋などの魅力的な撮影地がありふれているのがパリだ。今回全部回れなかったが、時間とっておくと言うのも楽しみだ。
 
その他のリストもお見逃しなく!

パリのポストと同様、街をさほど知っているわけではないので、以下の5箇所がベストスポットかは分からないけど、これらの5箇所は中々の撮影スポットだ。ドバイに行く前は、多くの疑問があった。例えば、三脚は使えるか、など。ま、ずべての疑問がクリアになるには、何回か訪問しないといけないようだ。とにかく、下記のリストがドバイ訪問を計画する人の役に立てばうれしい。

下記リストには自由にいける場所だけを紹介しよう。ドバイのその他の写真はこのリンクでどうぞ。

その他のリストもお見逃しなく!

1. 上からの眺め/ ブルジュ・ハリファ

超高層ビルが立ち並ぶドバイの摩天楼の中でも、倍以上の高さをもつブルジュ・ハリファは圧倒的な存在感をもっているため、言うまでもなく、外せない撮影スポットだ。ドバイを一望できる定番の撮影場所へ上るには注意しなければいけないことがある。

①入場券は少なくとも2週間前手に入れること。前売り券は安いけれども、入場数に制限があるため、当日、入れないこともあるので、要注意。

②セキュリティーチェックが空港のように厳しい。カメラ用品や三脚などの持ち込みは可だが、大きなかばん等は避けた方が良い。

③高さのある、安定した三脚が必要。展望台はガラス張りだが、窓際が狭いため、三脚での撮影を勧める。また人が通ると床が揺れるので、固定できる三脚のほうが望ましい。

Very high up
Through the glass wall

2. ドバイ・マリーナ
紹介する二箇所目はドバイ・マリーナ。今話題の注目を浴びている高層ビルスポット。人にほとんど会わない早朝か夜の遅い時間帯を狙うのが一番いいだろう。三脚は問題なく立てられるが、マリーナ北部では警備員に注意される時もあり。警備を避けたいなら、時間をずらすか、カメラクリップを使うか要選択。不思議なことに、道沿いの柵はクリップにぴったり。NDフィルター装着もおすすめ。長時間露光を行うことですっきりした写真が撮れる。

Filled with neon lights
Marina reflection

3. パーム・ジュメイラ

このようなスポットはどんな町にもあるべきだ、と思った。ここ一箇所から町並みの眺めを楽しむことができる。片方を見るとドバイ・マリーナの中々の景色、もう片方見るとブルジュ・アルアラブホテルがきれいに写る。距離があるので、望遠レンズの装着が便利。

Dubai marina skyscrapers
Landmarks in the night

4. ドバイ・ビジネスベイ

人気撮影スポットのひとつなので、ここに来るとかならず他の写真家に出会うだろう。撮影は、ブルジュ・ハリファを背に橋の背面から撮るのがベスト。ここのスポットは工事中かもしれないが、出入りは自由。

Under the bridge
So many contructions

5. ジュメイラ・パブリック・ビーチ

ここからも高層ビルの反射を楽しむことができる。タイミングが良ければ、美しい月に出会えるチャンスも!

Moonrise over Dubai
Shining tower

 
その他のリストもお見逃しなく!

チェスキークルムロフは写真家にとって素晴らしい場所だと思う。近い距離に位置する、数分の徒歩で行きやすいスポットが多い。訪問した時に私が最も楽しんだ5箇所を紹介しよう。

(日本語のコメントや質問には残念ながら答えられません。英語でどうぞ!)

その他のリストもお見逃しなく!

1. チェスキークルムロフ城付近の展望台

ここは誰もがまるで絵葉書のような、最高に素敵な景色を目にすることができる場所だ。特にパノラマ写真に適している。ただ、夜になると展望台が閉館してしまうことが残念。朝7時ごろから入場可能なことはたしかだが、閉館時間は書いていないので、はっきりわからない。入場料は無料なうえ、三脚も使い放題と、なんとも魅力的な場所である。

トップ5写真スポット - チェスキークルムロフ

2. 市内における展望台

誰もが真っ先に訪れる展望台はたぶんここ。ここは街の中心部に入ってすぐの場所なので間違えようがない展望台だ。城の景色も美しいし、夜になっても閉館になることはなく便利。しかし、観光客が多いので悪しからず。

トップ5写真スポット - チェスキークルムロフ

3. Nad Shody階段道から

「階段道」とは名前通り市内から上っていく階段の道のこと。ここからの眺めも美しく、真ん中にみえる大聖堂の姿は特に美しいが、やぶが生えているので、より高めの三脚がおすすめ。

トップ5写真スポット - チェスキークルムロフ


4. 駐車場

市内に入ってすぐ、右手に小さな駐車場がある。一見、プライベートの駐車場のようにもみえるが、そうでもないらしい。中に入ってみると、木の下にはベンチもある。ここからはオレンジ色の屋根に埋め尽くされた旧市街と、城、S字に曲がりくねった川の素晴らしい景色を楽しむことができる。

トップ5写真スポット - チェスキークルムロフ

5. Cloak bridge 屋根付き橋

ここからみる景色を撮るために訪れる価値が十分にあるが、ひとつ問題がある。それはちょうど顔に照り刺す投光照明の光。もし、ここからの景色を撮影するのであれば、照明の光を避けるためにも、午前中か私のような撮影方法を選択せざるをえない。

トップ5写真スポット - チェスキークルムロフ

これらの撮影スポットは、どれも近い場所にあるので、次のようなルートがおすすめです。全部回ってもコースの長さはおよそ2㎞ほど。

トップ5写真スポット - チェスキークルムロフ

その他のリストもお見逃しなく!

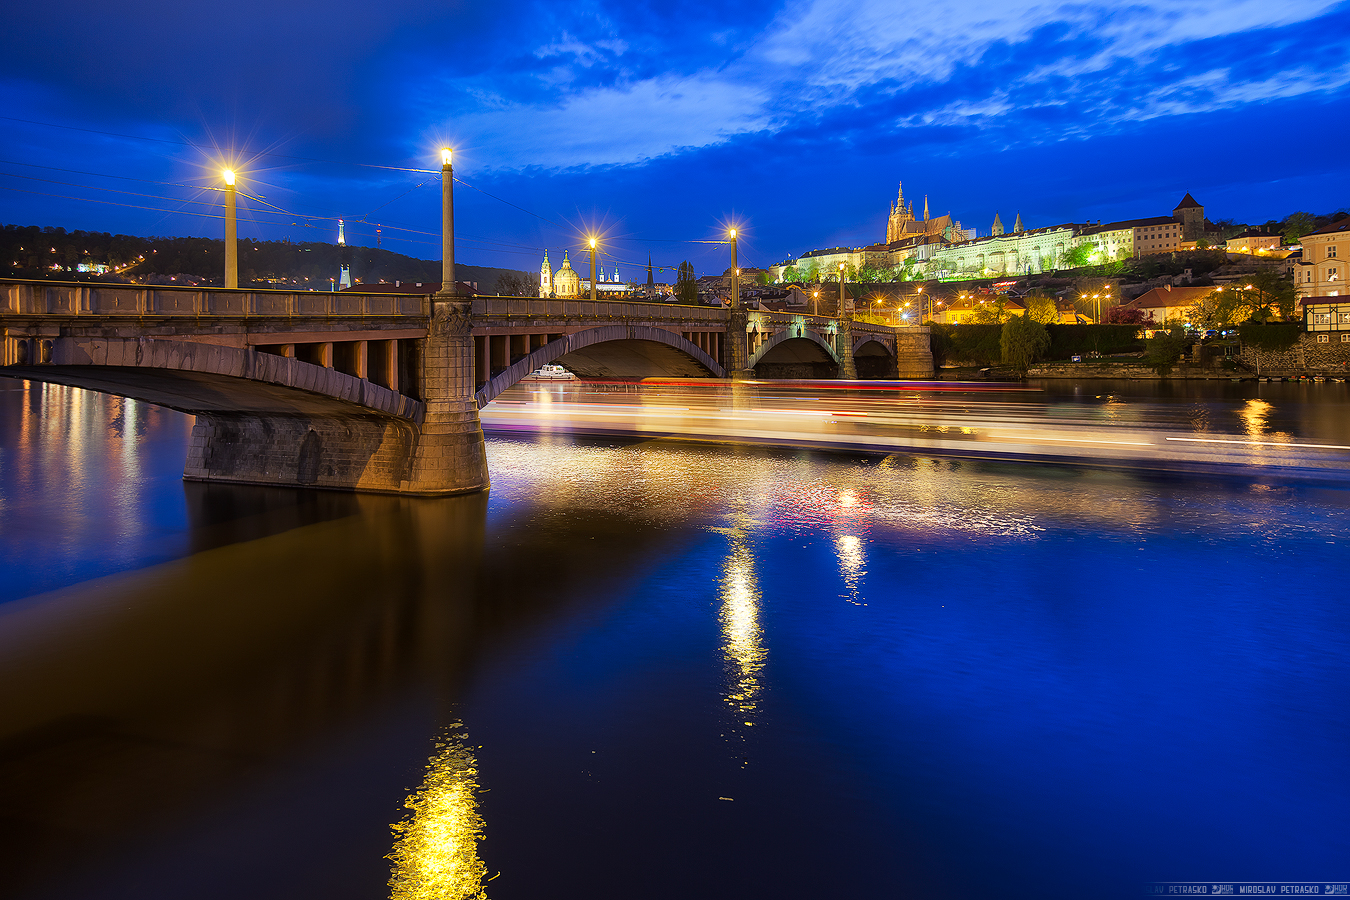
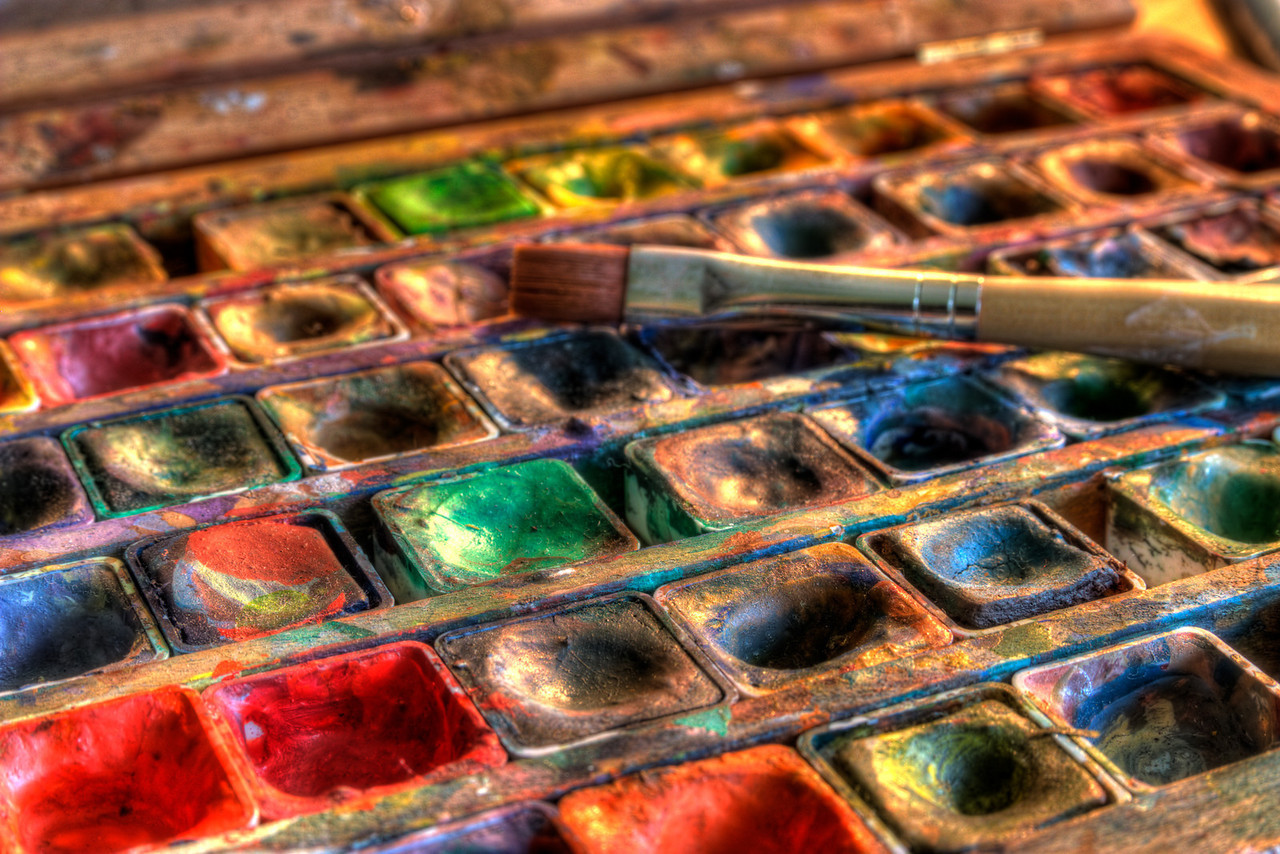
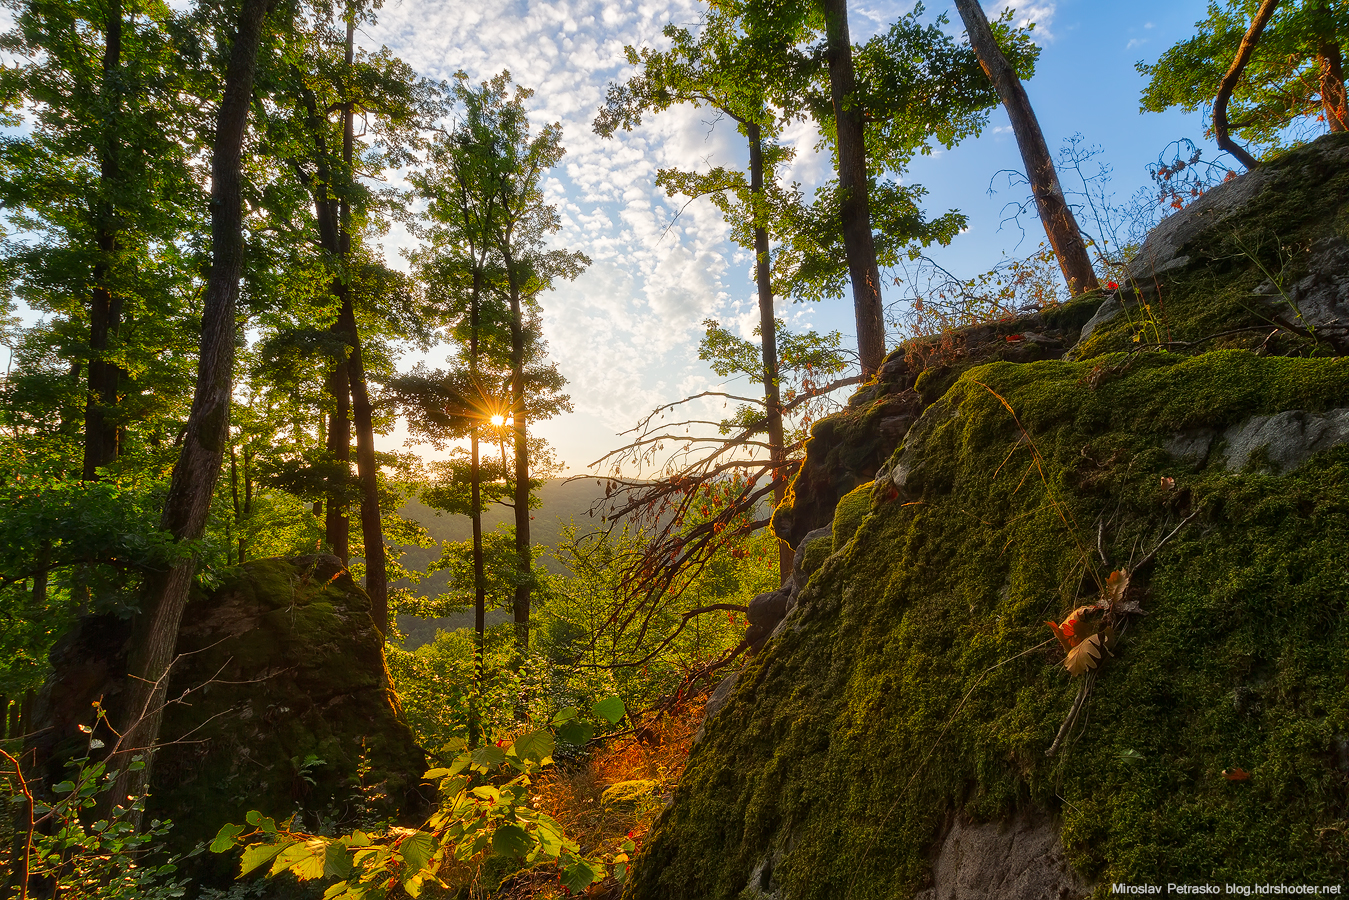
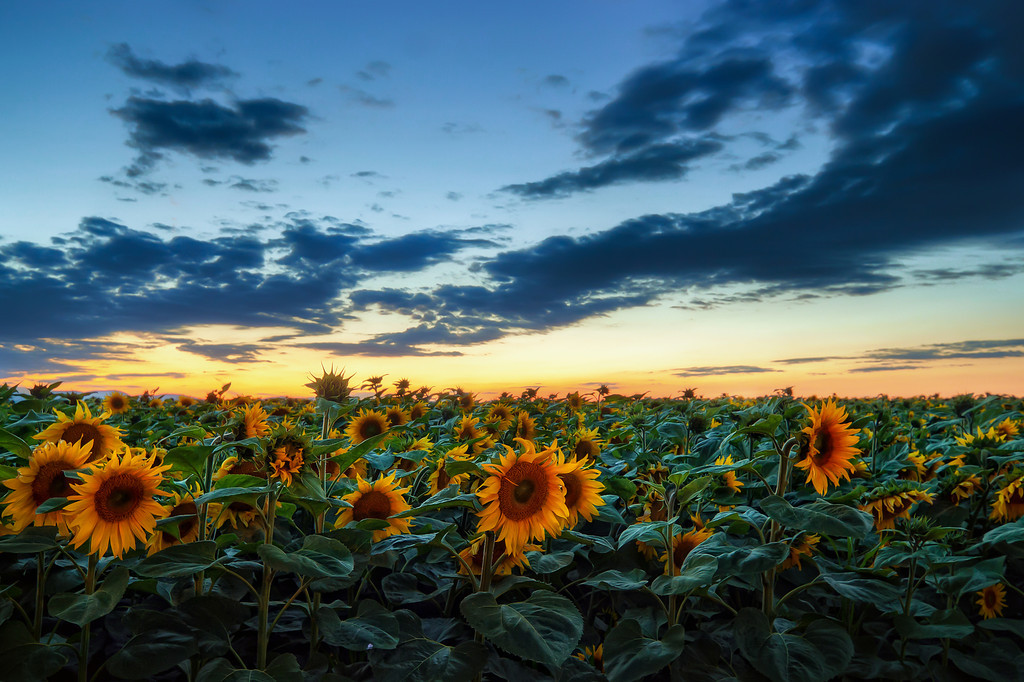
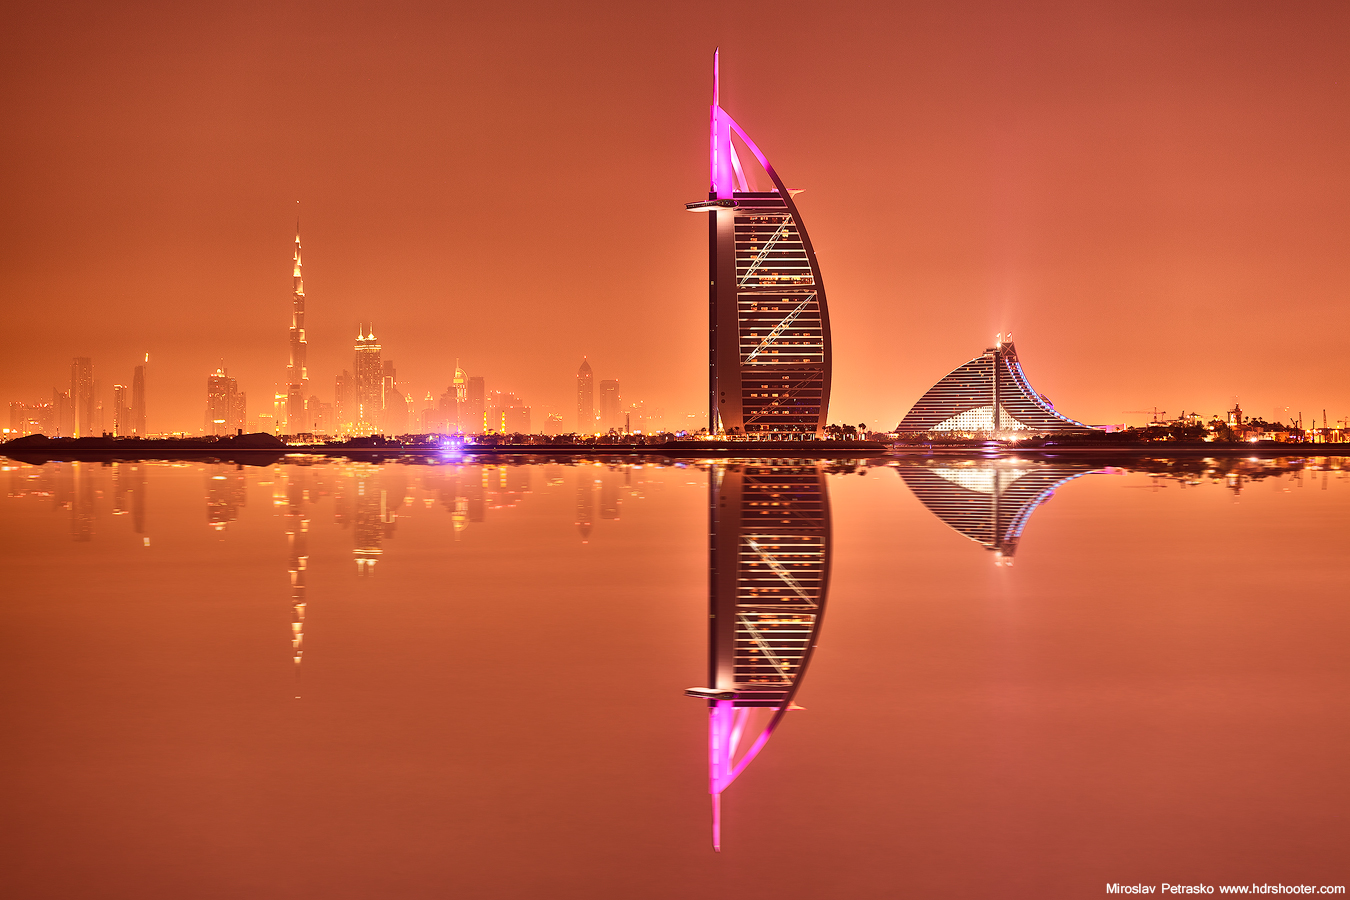
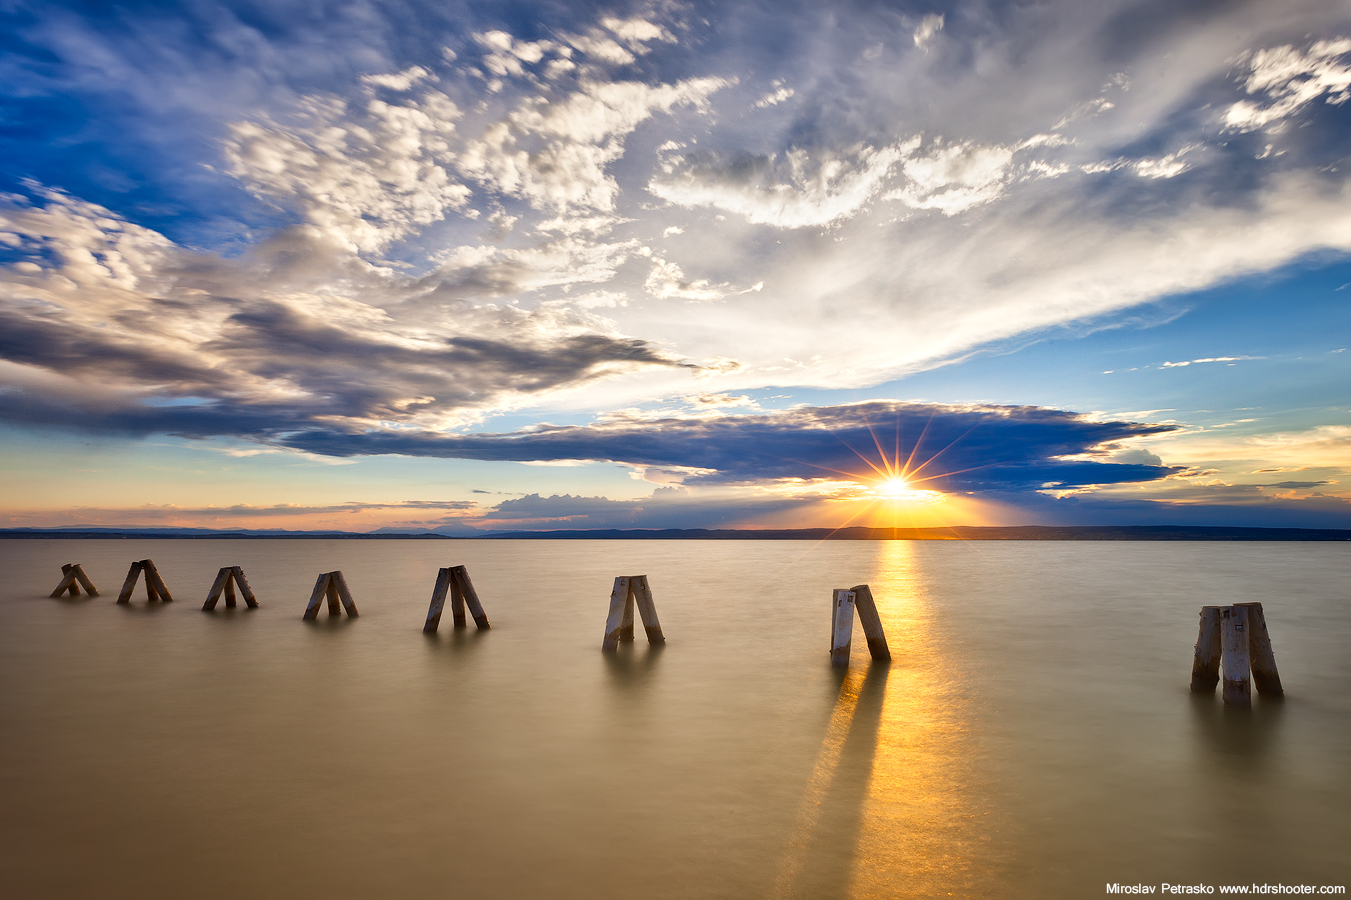
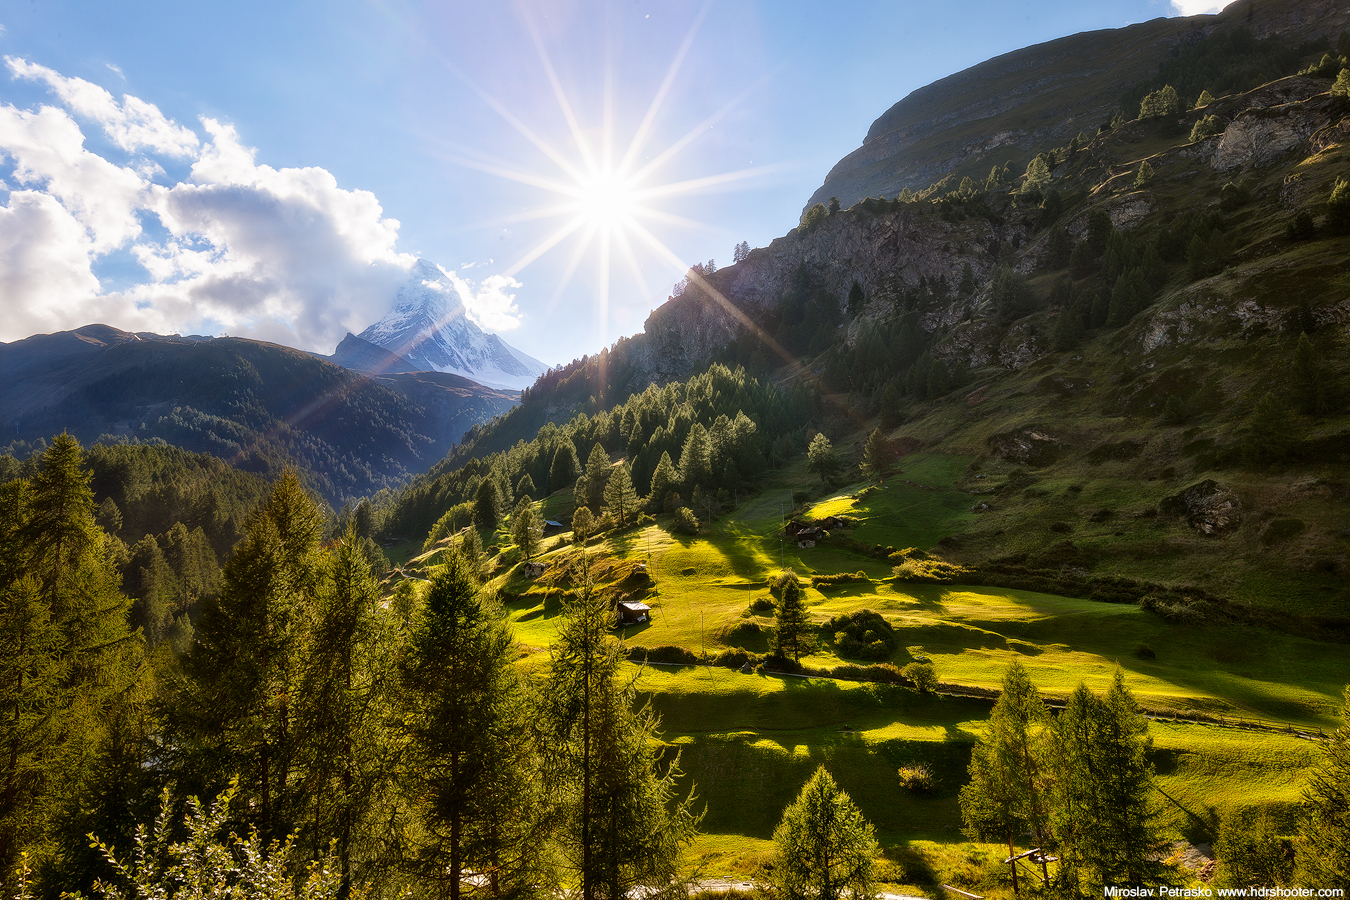
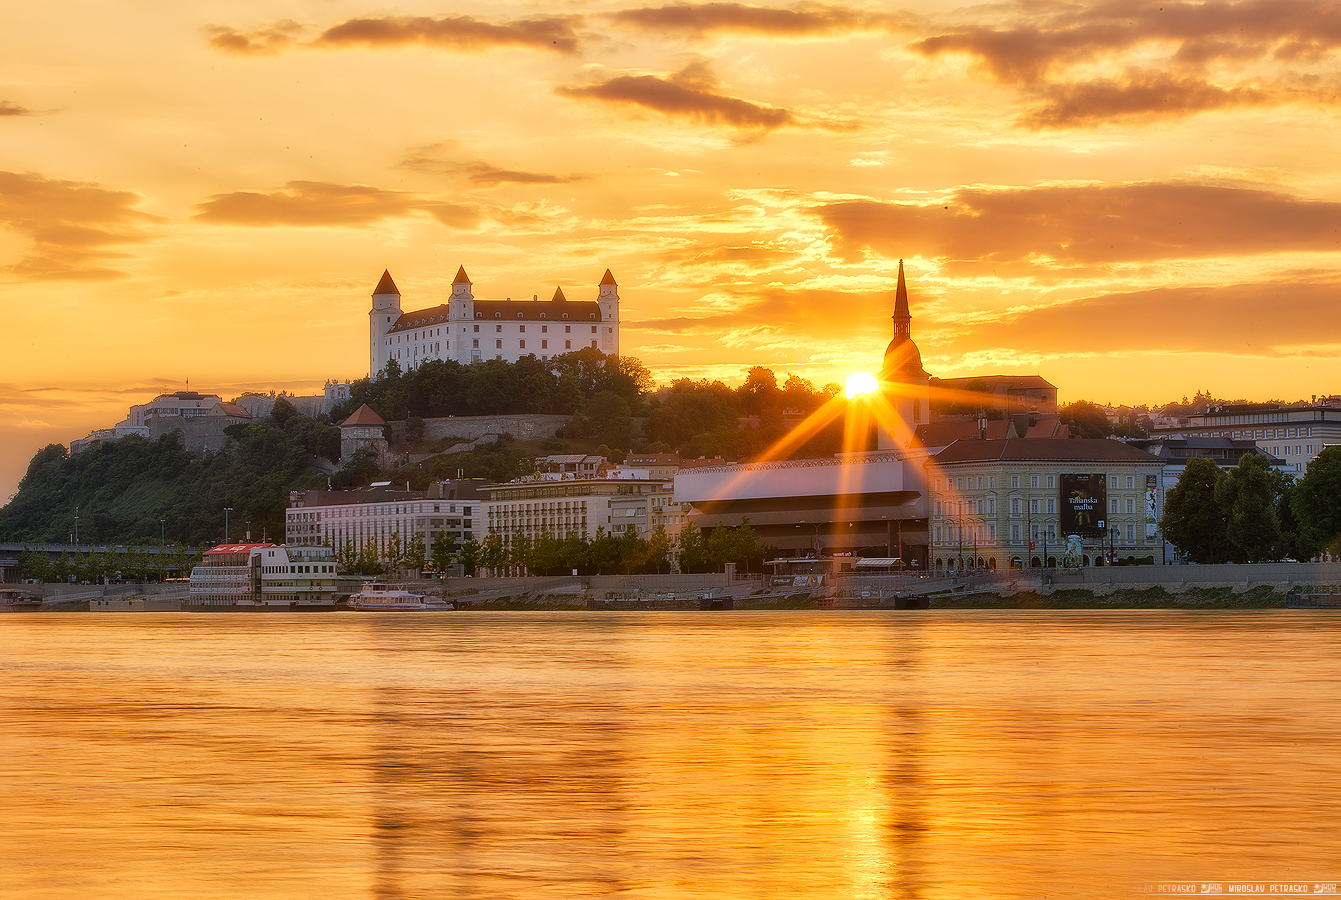
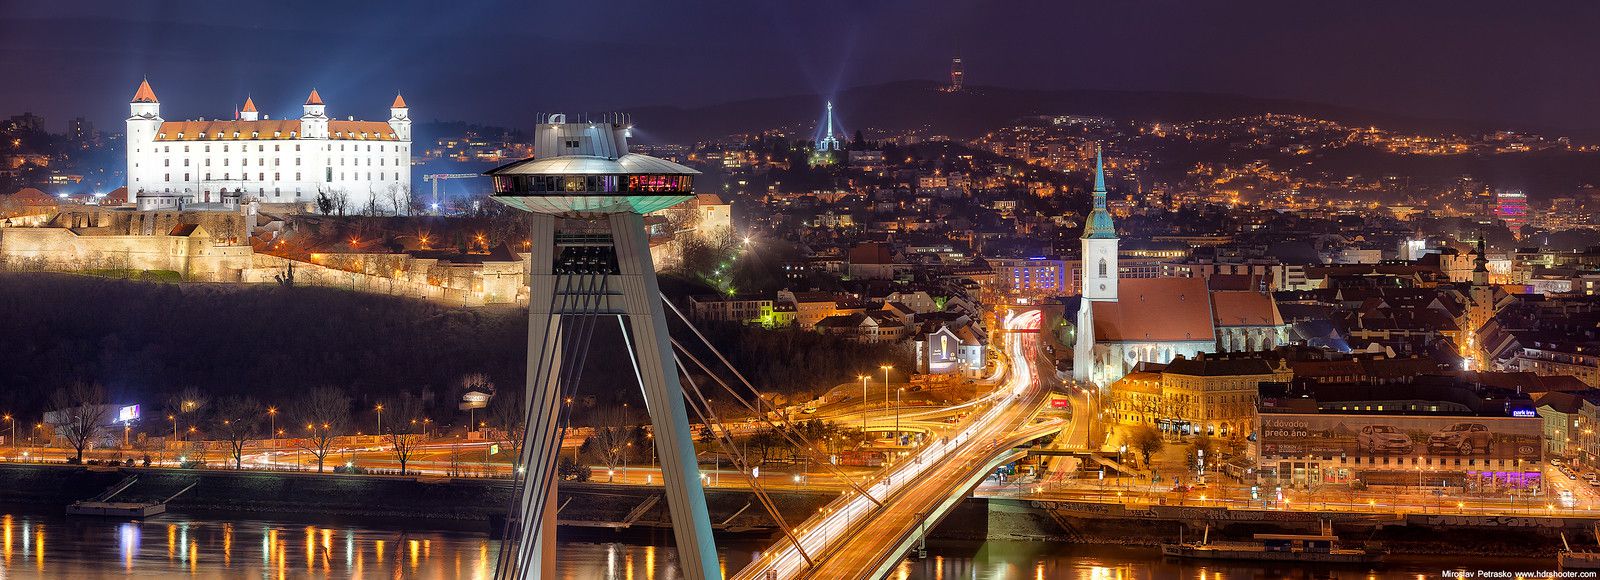
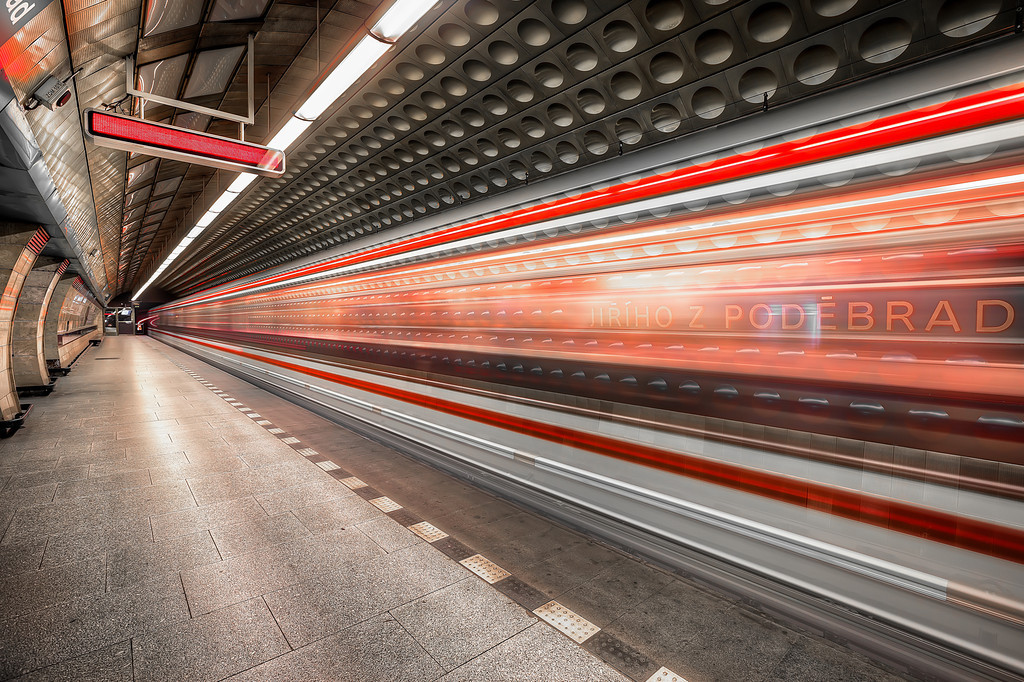
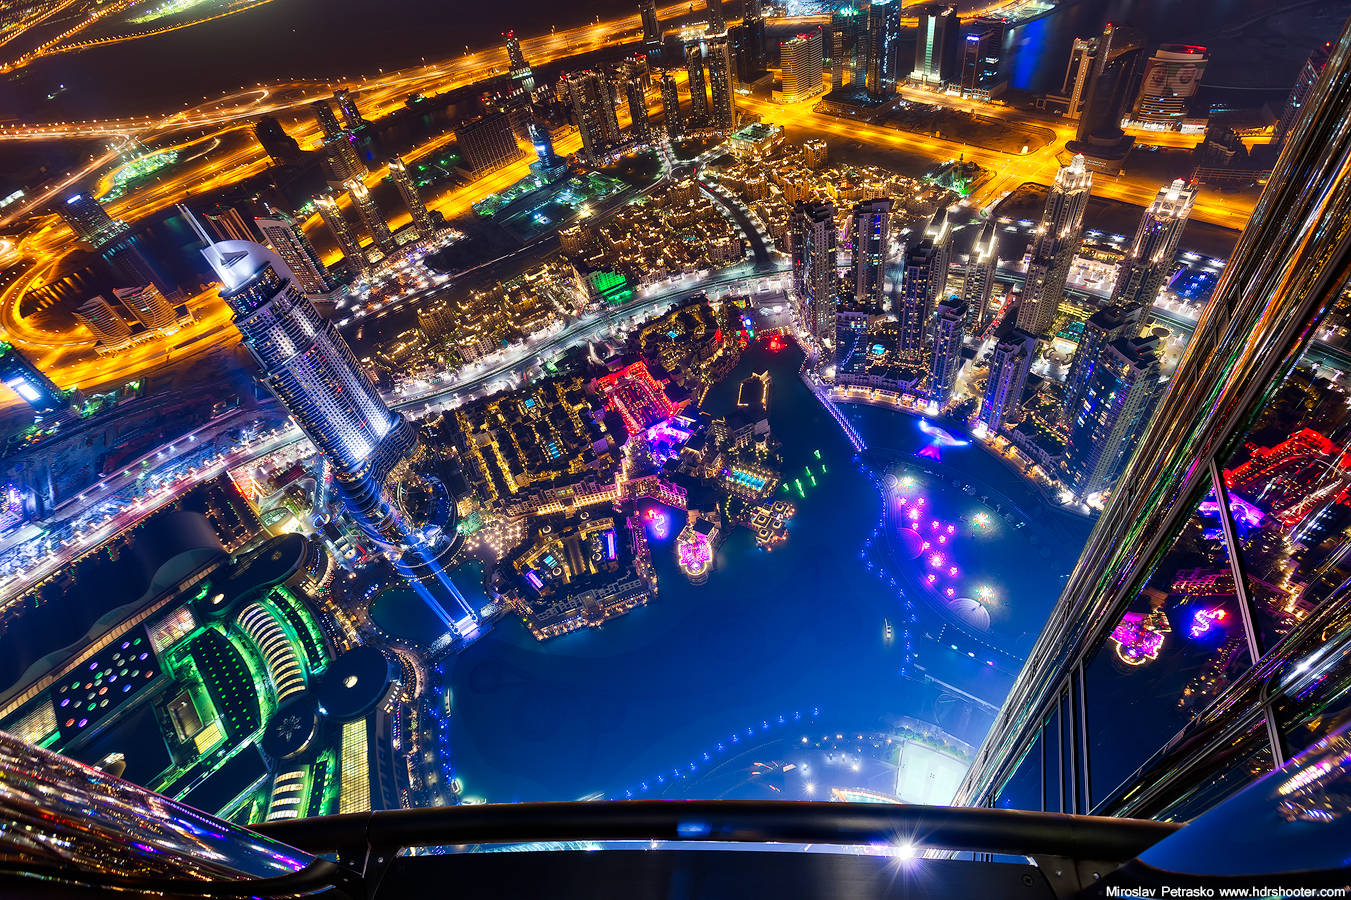
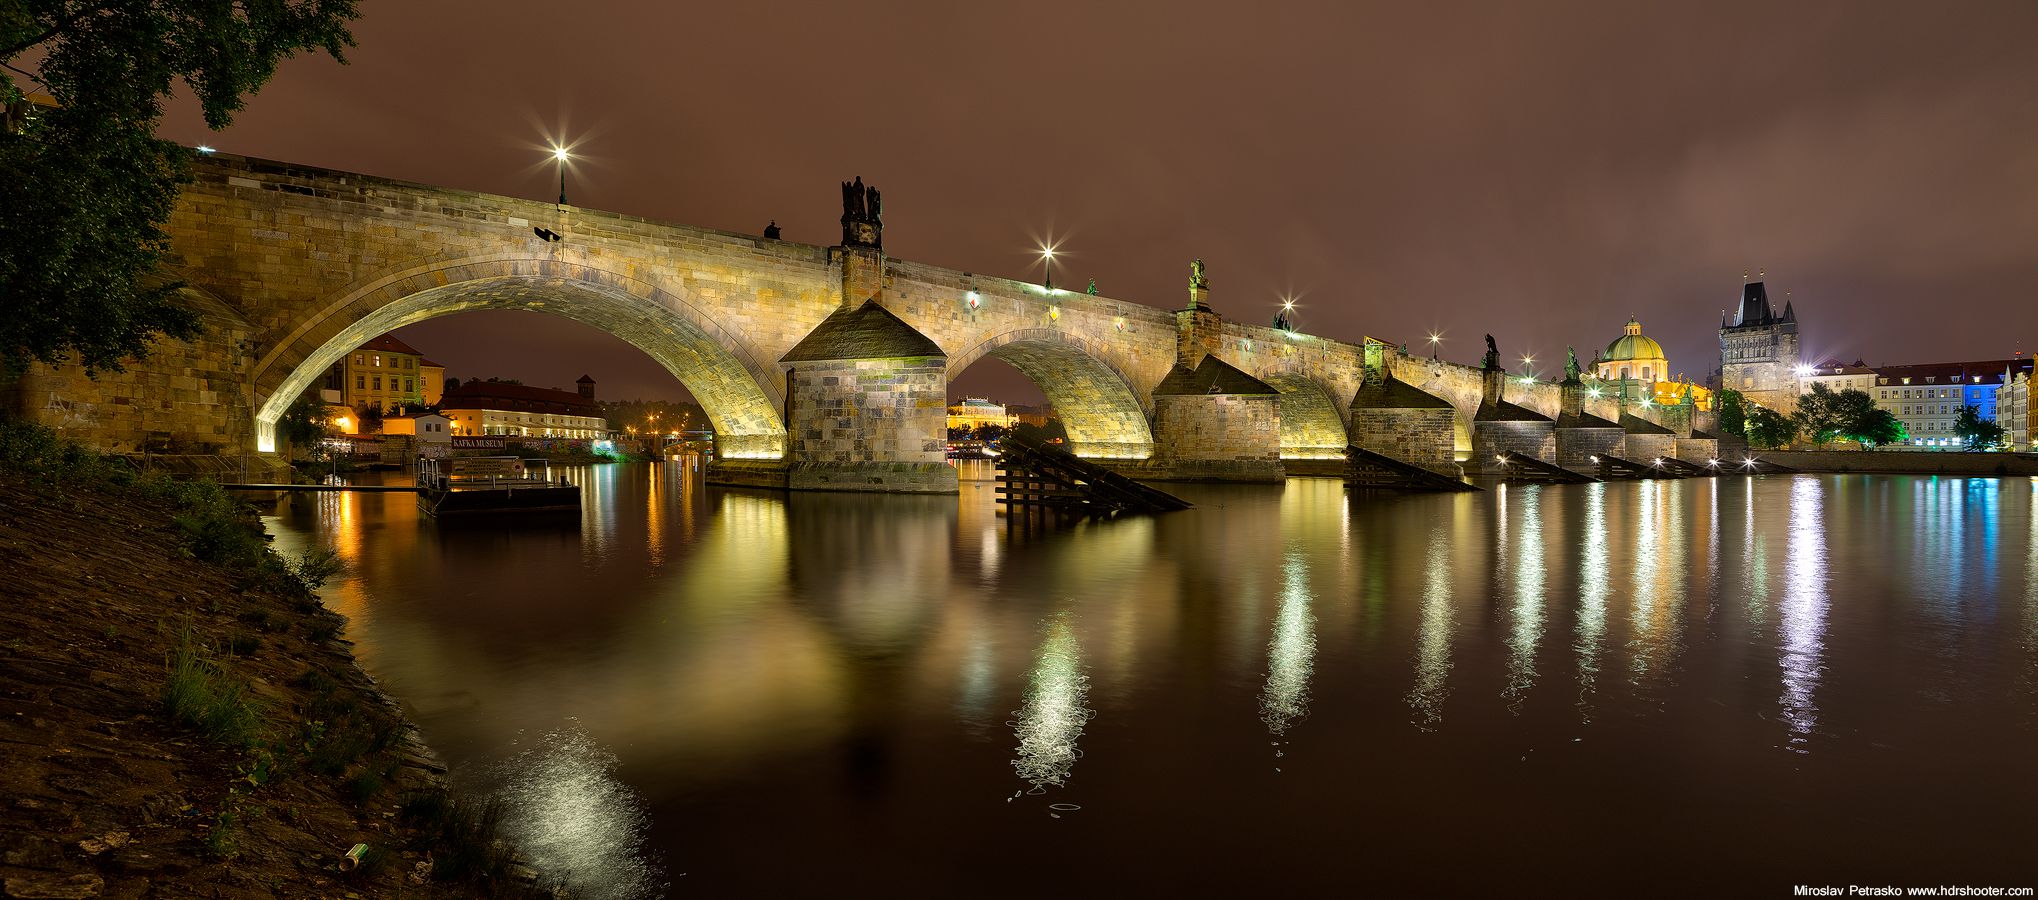
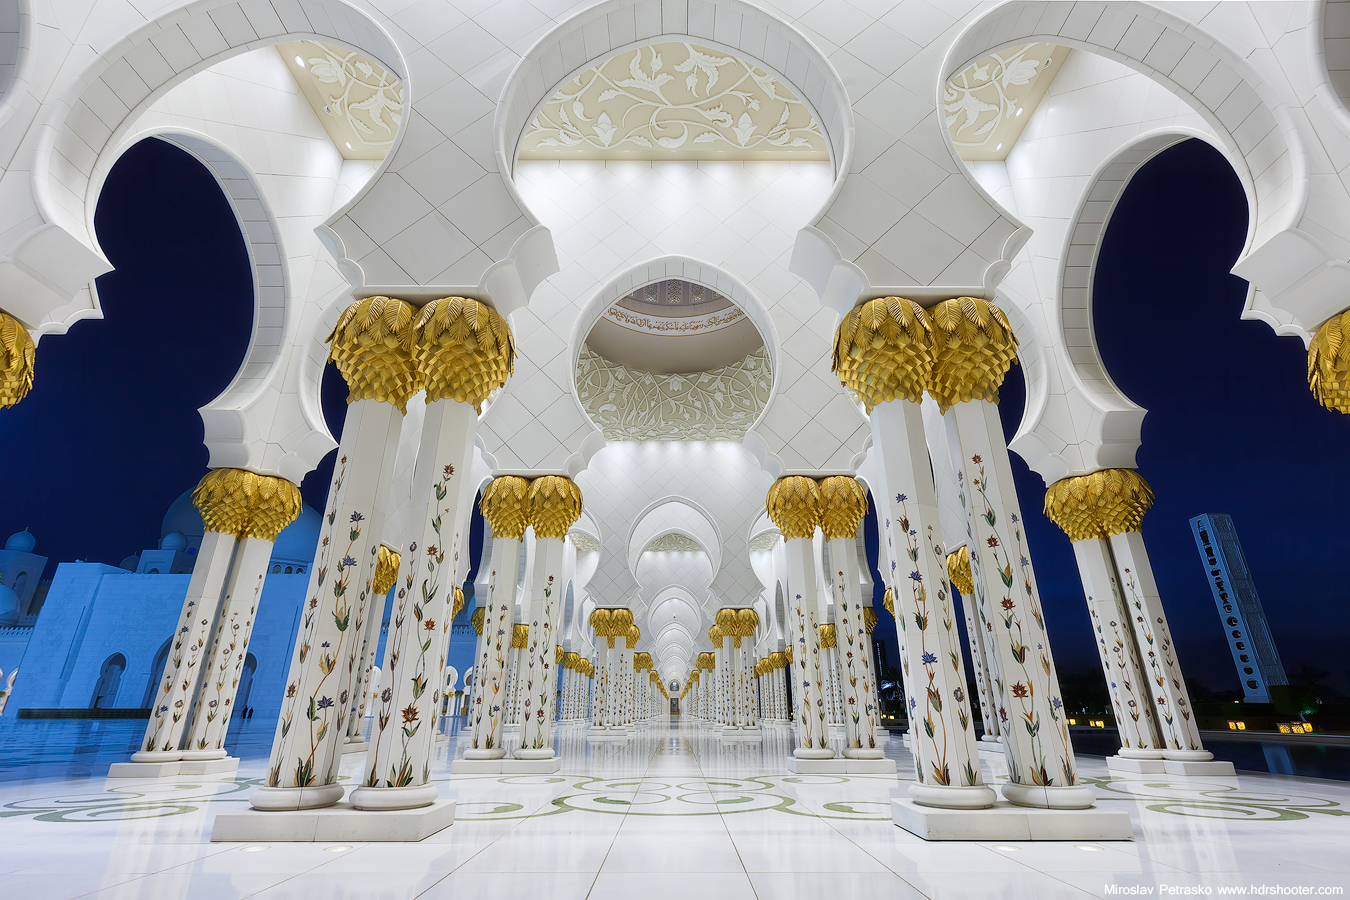
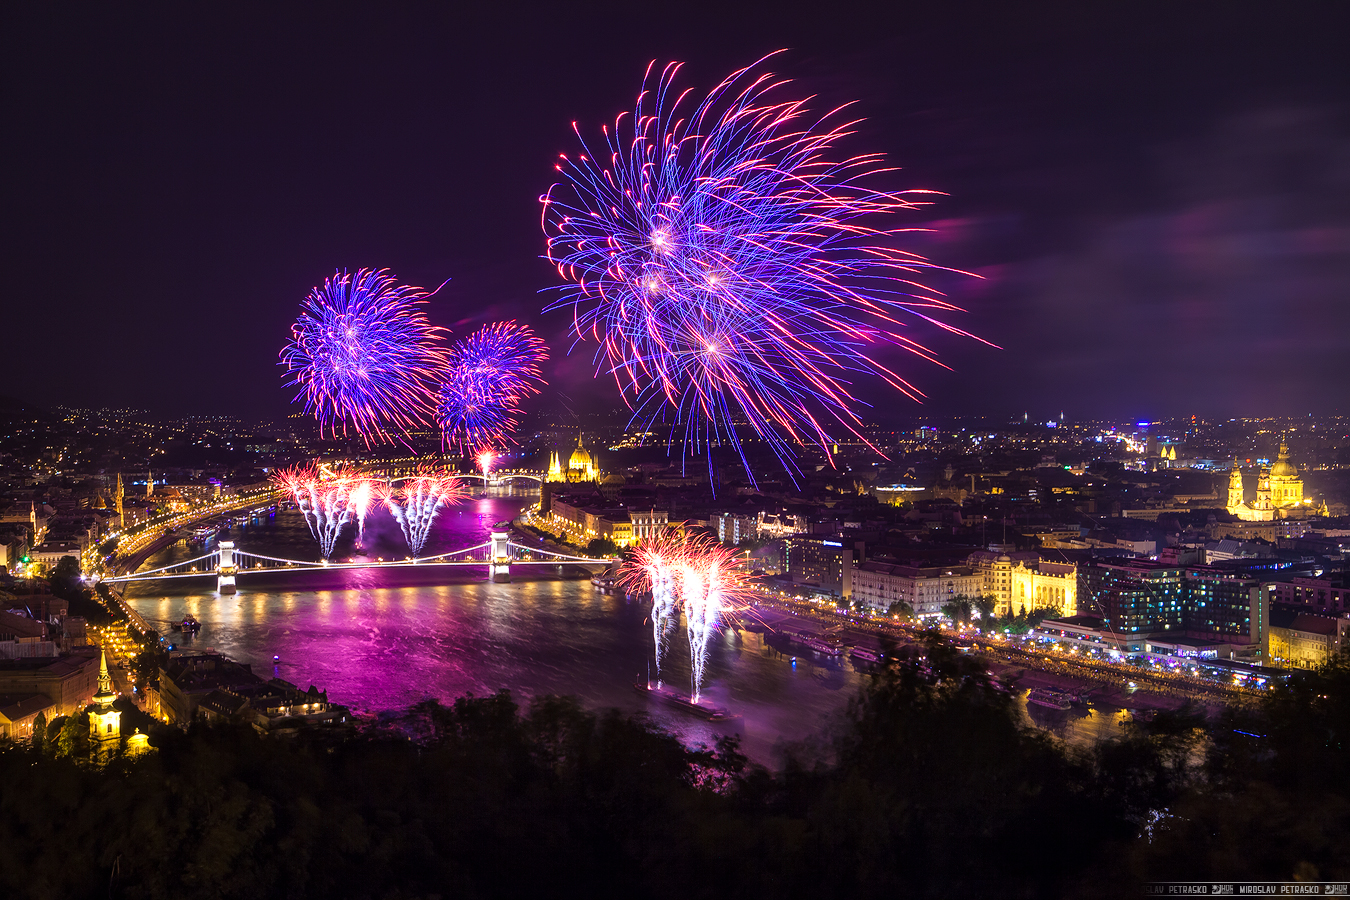
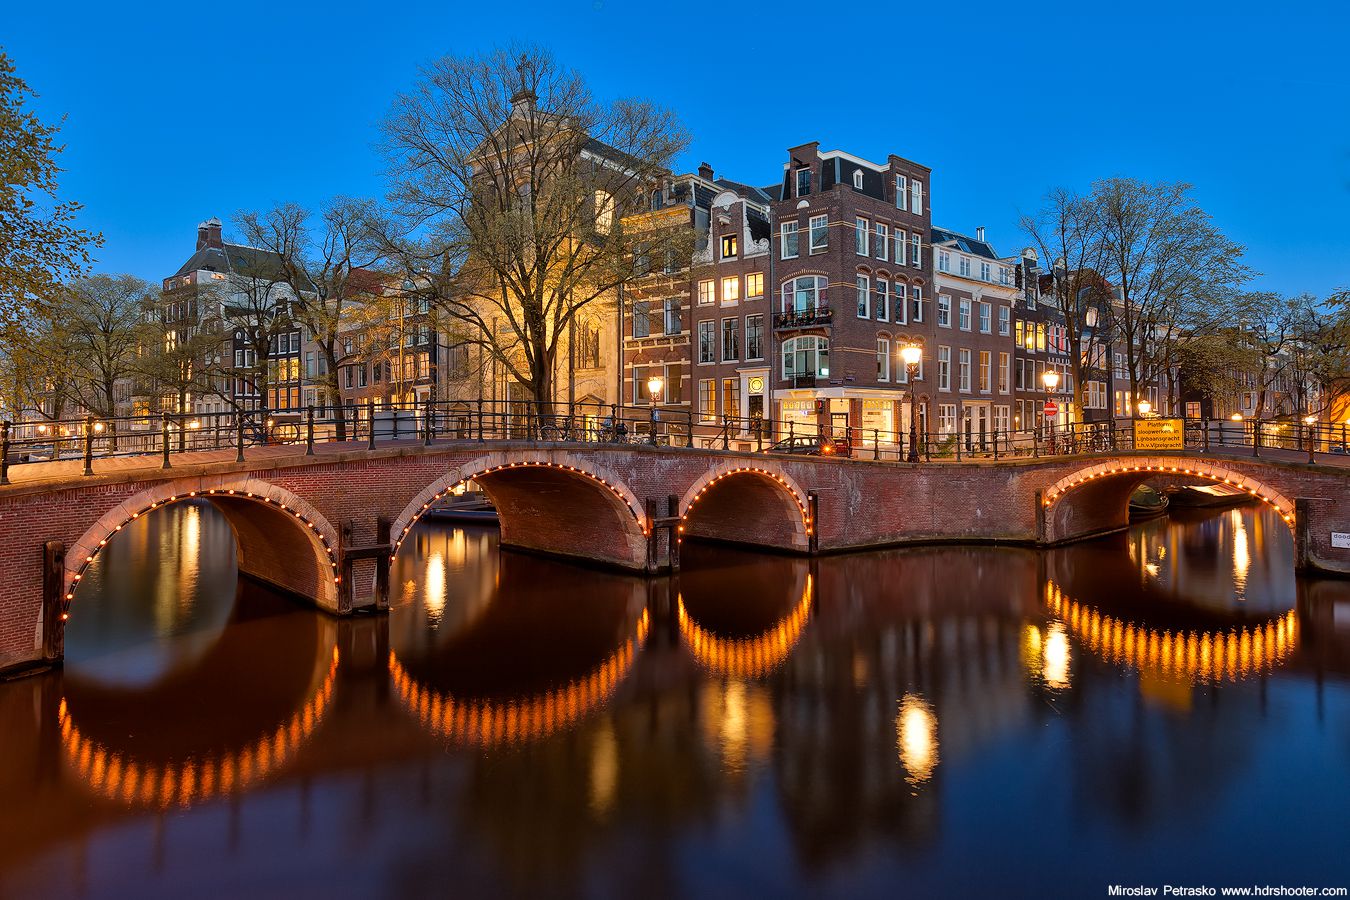
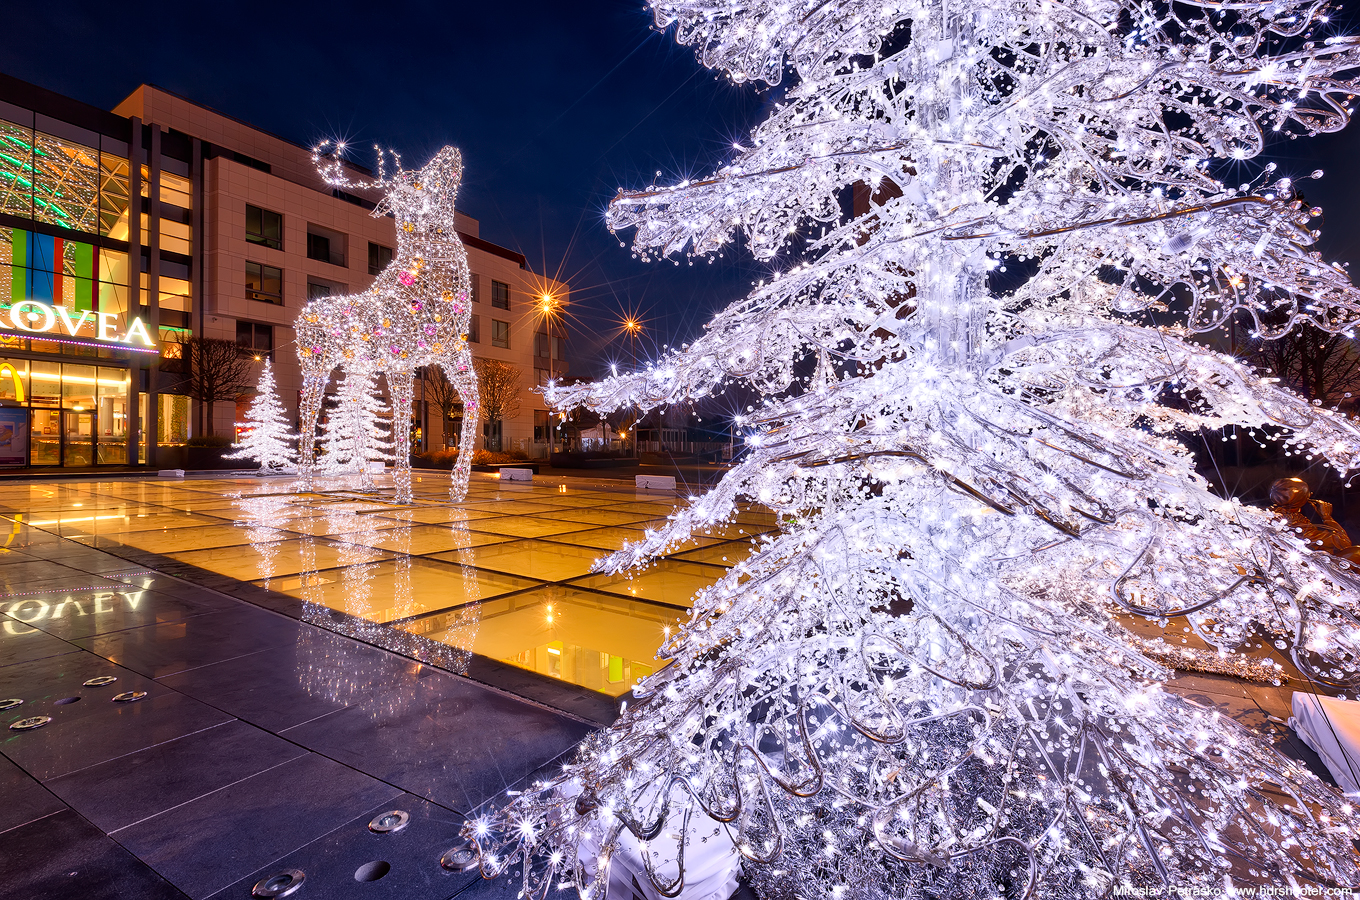
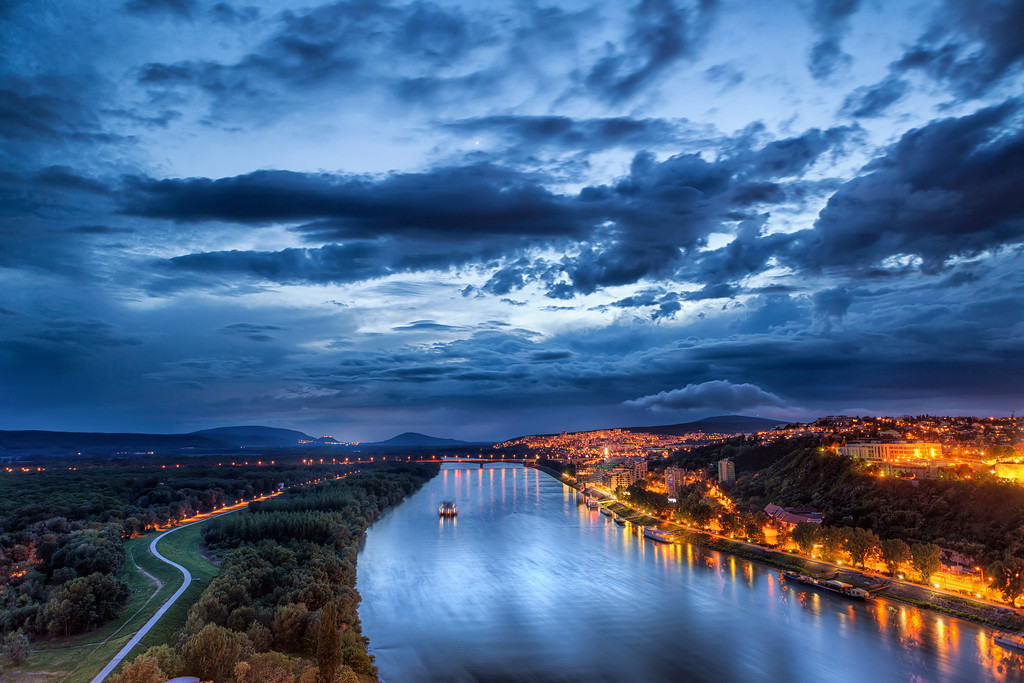
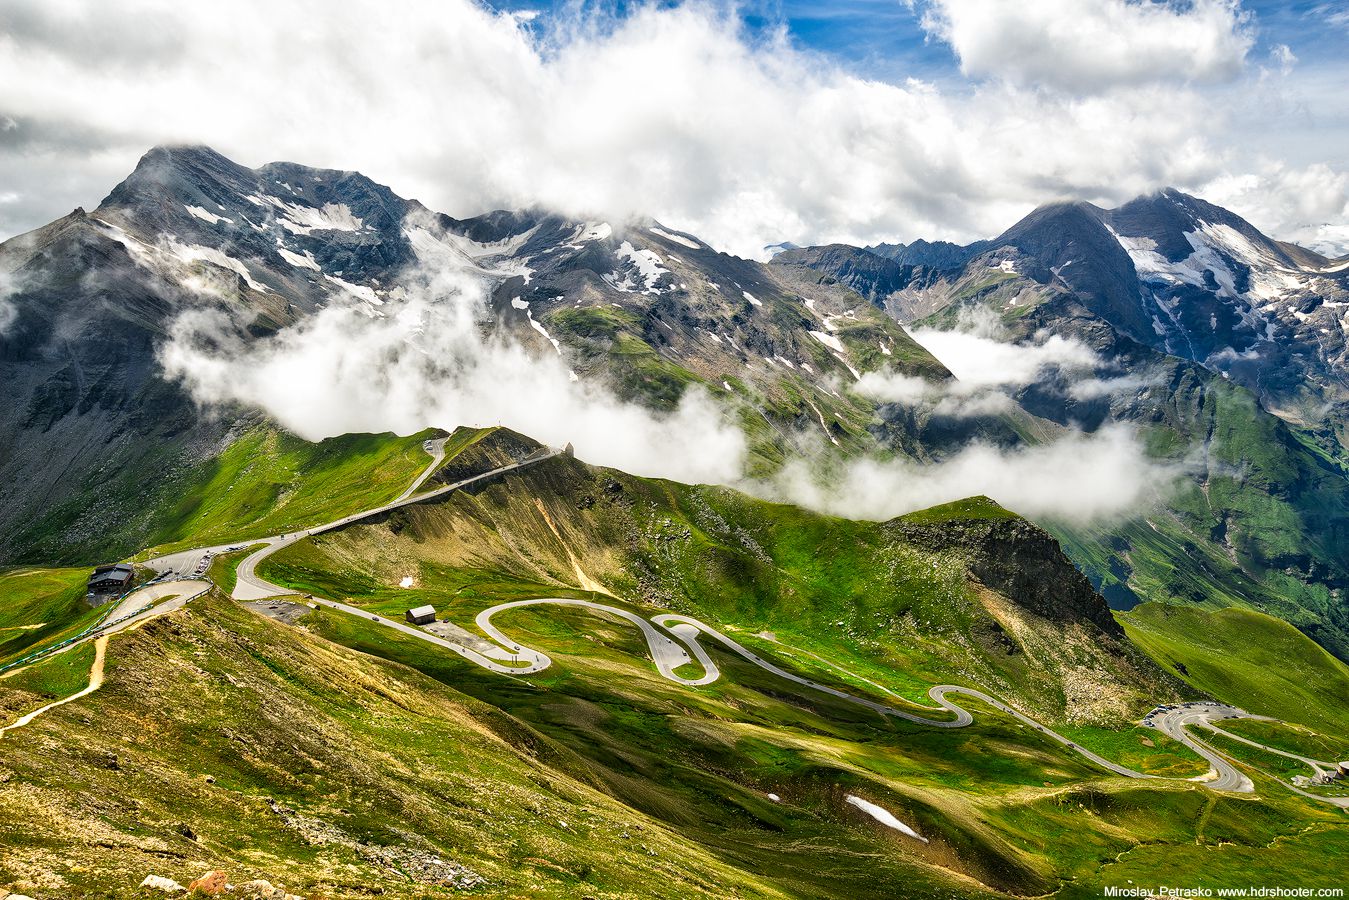
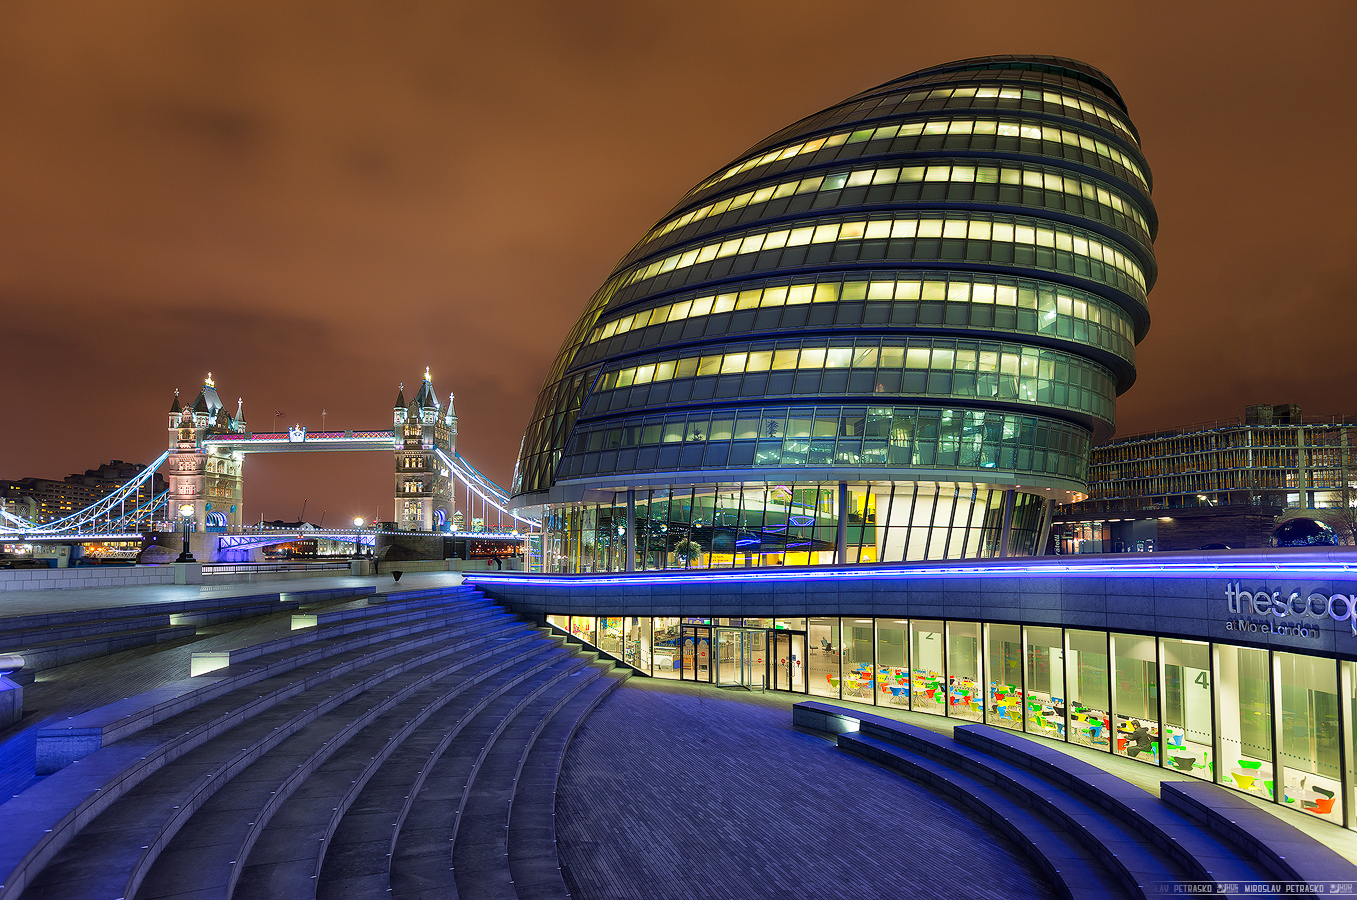
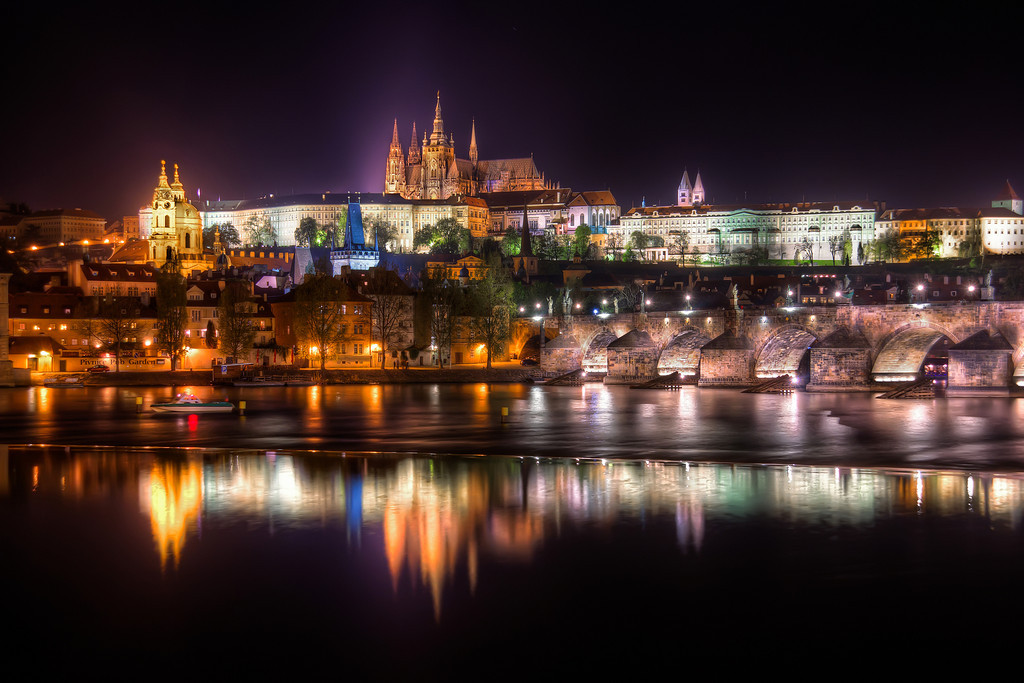
I posted a lot of photos over the years (almost 2000 already :)), but there are of course some that are my favorites. This page shows 60 of the ones I like the most, and if you would like to see all the other, either page through the blog (which will take a lot of time :)) or page through a gallery that includes all of them on www.hdrshooter.net (which will take a bit less time :)). So here are my favorites, in a random order.

FREE EBOOK!!!
Subscribe to my newsletter and get a free Capturing fireworks ebook. 
Subscribe