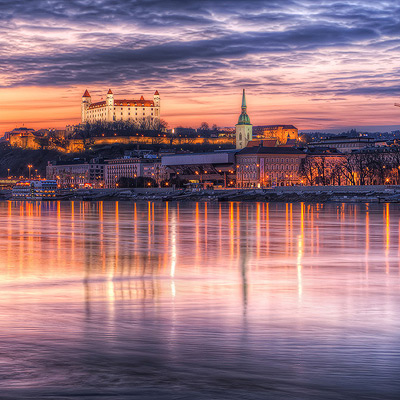
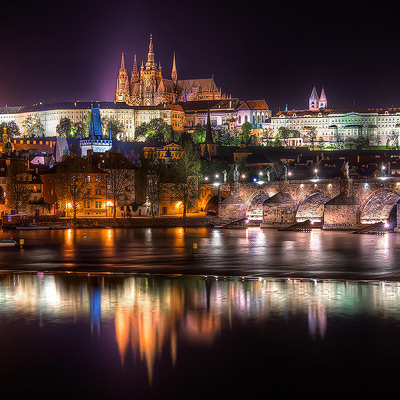
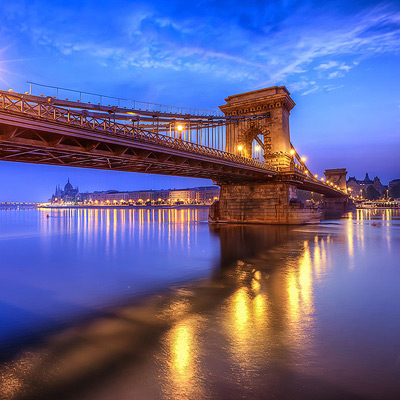
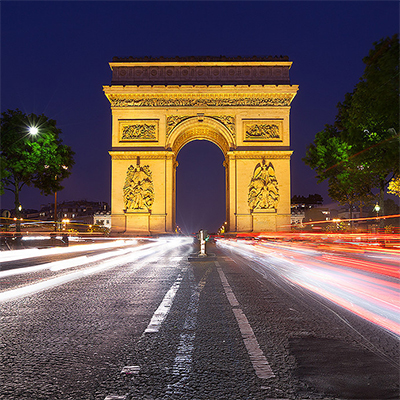
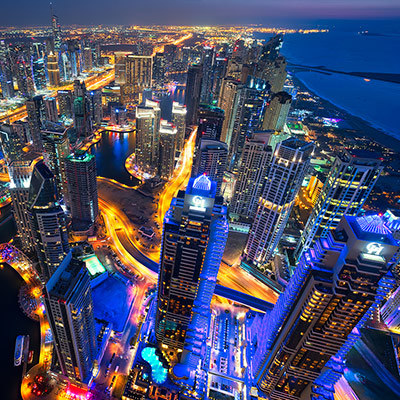
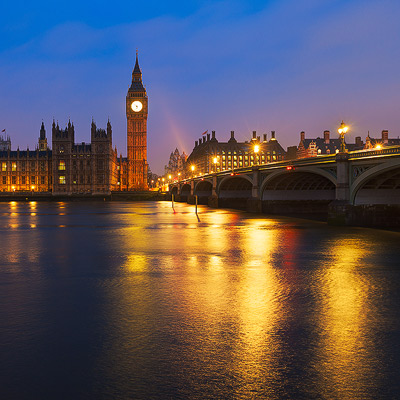
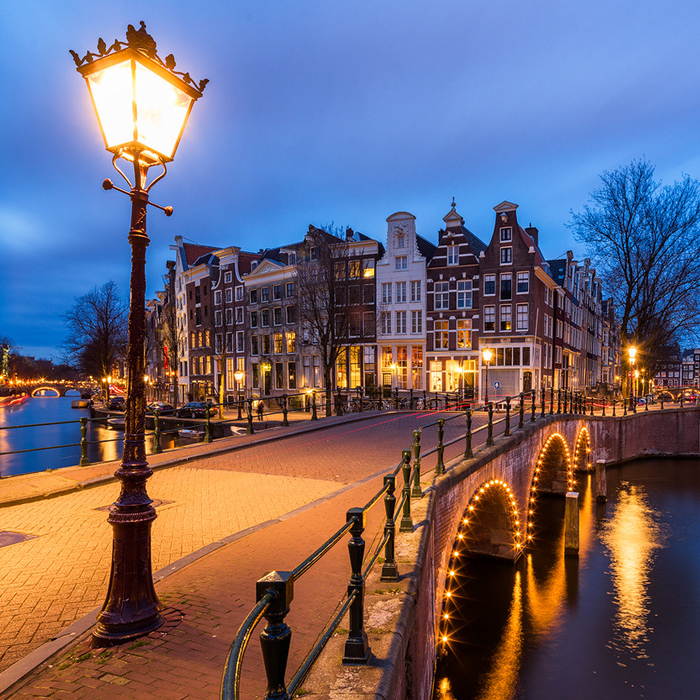
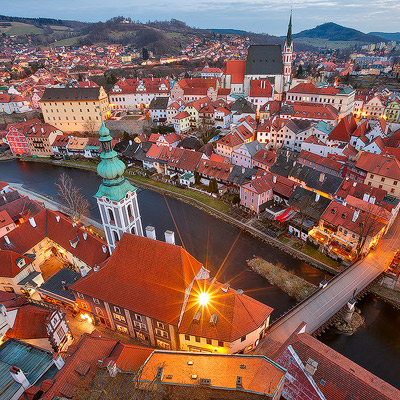
For today, I have for you an update to the top photography spots list on this blog. And the new list I added today, is the Top Photography spots in Amstardam list. So head over to check it out :) And if you want, here are all the lists available, that you can find on this blog.
It’s time to add another city to my top 5 photography spots list, and today it’s Amsterdam. As Amsterdam is very much about the canals, the places I will mention here are mostly on them, and really capture the look of the city center. There are specific popular spots with photographers, but they are a bit harder to find if you don’t know the location, as the canals are similar around the area, and it’s hard to identify certain spots from just the photos. So as always, I will be including the GPS locations, to make your search easier :)
I will include more than 5 spots this time (keeping the name for consistency :)), and I will also include two spots in Zaandam. Zaandam is a smaller city near Amsterdam (I’m not sure if it’s like a city part of Amsterdam or not), that you can reach within minutes by train. It includes some great photo spots, which you really have to check out :) As some spots are further away, I will also try to include simple directions on how to get there.
Don’t forget to check out other available lists:
Amsterdam – Astana – Bratislava – Budapest – Cesky Krumlov – Cinque Terre – Dubai – Hallstatt – London – Lyon – Paris – Prague – Wachau Valley
1. At the canals (spot 1)
This is probably the most popular spot for photographers. Each time I was there I seen at least few with tripods around. Still as it’s not easy to find (I got questions about it :) ), check out the exact location from GPS. It’s also one of the few spots, where all the lights on the bridge work, so you will get a nice reflection in the water. This spot looks great from both sides of the bridge, so don’t forget to look at both :)
2. At the canals (spot 2)
One more, different spot at the canals (there are many). This one is different, as you can get down onto this small docking platform, to get a view from closer to the water. It just creates the best reflections in the water, either way you look.
3. Near Nemo
The Nemo science museum on it’s own looks great, but in this area I mostly take different photos. There are two things here. First if you have a longer lens, you can get a nice view of the center, with the Church of Saint Nicholas. Secondly, the two pedestrian bridges are great for shots. And when you done here, you can just walk towards the train station from here, to get even more great locations. Or you can walk to the Montelbaans tower, which is also very close.
4. In the center
There are many places to take photos in the center, but this one you should visit. There are two views here, one is right in the middle (see GPS location), from where you get this great reflection (but only in the evenings and in the morning, at other times the boats come by too often). The second one is from the nearby bridge where you see the reflection from a bit different angle.
5. I Amsterdam sign / Rijksmuseum
This spot is just so busy all the time. You always see people getting photos with the sign, climbing on it and just being in the way :) So for best photos, go here for the sunrise. You should have it for your self for a few minutes then. I prefer to use a long lens, 100mm or more and just stand at the end of the pool here, to get a nice reflection of the Rijksmuseum in the background. Btw. the pool changes over the year, sometimes it’s empty, sometimes there are tulips in it, sometimes a statue.
Also, don’t forget to check out the Rijksmuseum, and also the great looking passage through it, as it open all the time.
6. Zaanse Schans
While one is in Netherlands, one of course should get some photos of the windmills. And the best spot for that is the Zaanse Schans. This is a small, very beautiful village not far away, with quite a few windmills and nice spots to view them from. You will have to take a train from the Amsterdam Central station to get here. There is one every few minutes and you have to get out at the Koog-Zaandijk stop and then walk few minutes to get to the Zaanse Schans area. There you can just explore as much as you want :)
7. Inntel Hotel Zaandam
If you like strange architecture, as I do, you should definitively also check out the Inntel Hotel in Zaandam. It’s quite easy to get there, just take a train from Amsterdam Central, and get out at the Zaandam stop. There is a train going there every few minutes, and it’s only a few stops. The hotel is right next to the train station, and the area is quite empty in the evening. Only each time a train arrives, you have people passing by, but you can take photos in between :)
8. Skylounge
The Skylounge is not a typical spot that I would recommend. But as Amsterdam is quite flat, there is quite a lack of higher up spots with a nice view. The Skylounge is a bar on top of the Hilton Hotel in the city center. It has an outdoor terrace, where you can sit down, have a drink and take few shots :). The entrance is free, you just have to walk into the hotel, and take the elevator to the 11th floor. Not really a place for tripods, but you should be able to take a few nice shots handheld. I did not get the best shot while I was there, so I will have to return. So here is one, just to show you the view :)
9. A’DAM Lookout
The A’DAM Lookout is a recently opened lookout/restaurant tower in the Amsterdam. It’s probably the highest point you can get to in the city. The view is nice, but there are a few problems. You will need a very long lens as the tower if further away from the center, and secondly, the lookout area uses fences to prevent you from falling, with only a few holes to put a camera through. I was not even able to place a tripod so, that I could use a wider lens. You just can’t place it close enough. Still, if you have a long lens, or you just want a nice view of the city, it’s worth the visit. Also, when you are in the elevator, have your phone or camera ready, look up and record :)
To get here, you have to go to the main train station, walk through it to the pier, and take the free ferry to Buiksloterweg (there is one every few minutes).
10. Keukenhof
If you are in Amsterdam between the end of March and the end of May, and you catch good weather, you should definitively visit also the Keukenhof gardens. This is a very unique garden full of tulips. It quite busy but also very beautiful. The easiest way to get there, is to go to the Shiphol airport and take a designated bus that goes from there. It take around an hour to get from the city here, so plan accordingly. You can check out Keukenhof website for specifics.
Thats all for this list, don’t forget to check out all the other ones :)
Other available lists:
Amsterdam – Astana – Bratislava – Budapest – Cesky Krumlov – Cinque Terre – Dubai – Hallstatt – London – Lyon – Paris – Prague – Wachau Valley
Few months ago, I posted here a review of the LENSKIRT. For those unfamiliar, LENSKIRT is a shade one uses to take photos through glass (examples in the review).
In the review, I explain that while LENSKIRT works well, I felt disappointed with the quality and the way it was put together. And it seem I was not the only one. Few weeks ago, I was contacted by the makers of LENSKIRT and they offered to send me a new, updated version, which addressed these issues. And since it arrived last week, today I will take a look and how they succeed with it.
Update
On first look there is not much change. The way the LENSKIRT works stayed the same, and it also looks the same. It’s hard to say if the materials changed, but the front material feels a tiny bit thinner, while the back material feels thicker. Where I before complained about the materials feeling cheap, now they are much better, and I have more confidence in them lasting longer.
The biggest difference is in the way the pieces of the LENSKIRT are put together. This updated one, was properly aligned, the logo was stitched in properly and also all the connections are now very clean and you don’t see the inside of the material. It’s a total 180 in quality compared to the previous one. Here you have comparison photos of the old and the new one. You can easily see the change. The suction cups are also a tiny bit different, but I have not noticed any change in usage.
Conclusion Update
It’s really nice to see that LENSKIRT corrected all the problems I had with the previous version. Now it works as it should and also has the build quality one would expect. It now makes it so much easier to recommend. So as I stated before, if you know you will take photos through glass, you should get one.
Last week Topaz released and update to one of the plug-ins from their popular collection, the Topaz Impession, and today, I will take a look at it.
What is it for?
Topaz Impression changes your photos into paintings, by simulating brush strokes. It provides many (over 150) presets for different styles and also gives you access to huge amounts of settings, so you can further tweak the look you are going for.

How does it look?
It’s really hard not to be impressed by the results. If I did not know, you could easily fool mi with the results, claiming that they are paintings. I especially liked the impressionistic presets, that provide just wonderful one click results.

For each preset, you can also go into the settings and tweak many attributes. From the size and shape of the brushes, to color tones, textures, lights and more. It’s not always easy to tell what will result from a specific change, but exploring is part of the fun here.

Usability & Performance
Again, it’s hard to not be impressed by the speed of this software. Switching between presets takes a second (it get slower by huge photos, but one should expect that :)) and changes in settings take effect almost immediately. This really makes experimenting that much more enjoyable. The interface is very simple, similar to other plug-ins from topaz, with the presets being the center element here. You just select the one you like the most, and than just tweak the result a bit.

The quality of the result is really nice, with the brushes being high enough resolution, that it looks great even when zoomed in.

Conclusion
While the results are impressive, there is a question, where you would use something like this. For me, the usability is very limited, as I tend to go more toward realism. But if you want to put a more artistic touch to your photos, or you have a client that would be interested in something like this, you should really give it a try. For more info and a trial version, head over to the Topaz Impresion 2 webpage here. (btw. there is also currently a introductory price with a 40% discount available, the code is on the Topaz website)

