And we came to another Monday, and as every Monday, let’s take a look at the process of another photo. For today I chosen a photo taken late night, of the Burj Al Arab, with the Burj Khalifa tower in the back. So let’s start.

First, here is a look at the final and the original image. The biggest difference is the addition of much more detail and contrast. That’s what was really missing in the original exposure.

Notre Dame in the Rain

I used 4 exposures for this photo which I merged in Oloneo Photoengine. Looking back at them, I would probably got the same result just by editing the -1EV and then just blending the others as I did here, but that does not really madder. The process is not so important, and most things can be done in more than one way anyway.

So here you can see the original 4 exposures, corrected in Lightroom (chromatic abberations and lens distortions) and the result from Oloneo Photoengine (medium strength, a little contrast and natural mode)

Notre Dame in the Rain

From there I loaded everything into Photoshop and did the following edits (layers numbered from bottom up)
1. Oloneo Photoengine result
2. -1EV to correct the very strong lights on the buildings
3. -2EV a little more correction to the very strong light on top of the Burj Al Arab
4. +1EV to correct the top even more, as it looked strange after darkening
5. Color Efex Pro contrast, to get much more local and overall contrast in the photo.
6. -2EV once more, as the Color Efex Pro contrast created few very bright areas in the buildings.
7. Color Efex Tonal contrast, applied to the buildings in the background, to get more details and contrast in them
8+9. Added more overall contrast using curves. I could have done that only using one curves layer, but what I like to do, is to use the presets that curves have, as that gives me more even result. And when one is not enough, I just duplicate the layer.
Burj Al Arab

And that’s all I did with this image. To find out more on how I edit, check out the guides and before after categories on this blog, or check out my video tutorial series here:
banner-master

Little short on time today, so no new photo. I’m currently on my way to Budapest for few day, for a little photo-shooting, but will get back to normal posting soon :)

So for today, how about a look back at one of my videos on how to take multiple brackets with a camera.

I have been slowly adding to the Top photography spots list on the blog, and right up I’m already at 6 lists. I still want to create many more, but I fist need to get many more photos (and of course many more visits to the different cities :)).

But for now, if any of you are planing to visit one, or more of these cities, these lists could be really helpful. I always try to mention if tripods are allowed or there are any problems with those, and there are few spots on the lists, where I really had problems finding this out before a trip. And I think that it’s not to hard to believe, that the Prague list, is the most visited page from the whole blog, even more visited than the HDR tutorial.

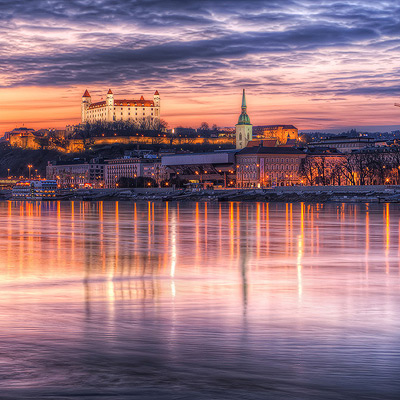
Top 5 photography spots in Bratislava

Bratislava

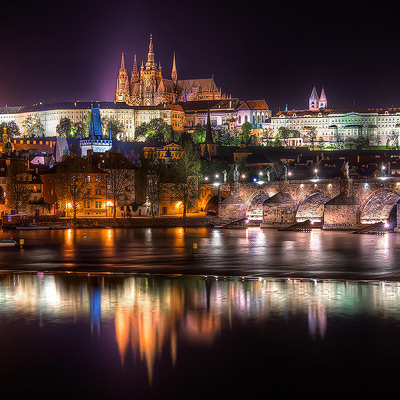
Top 5 photography spots in Prague

Prague

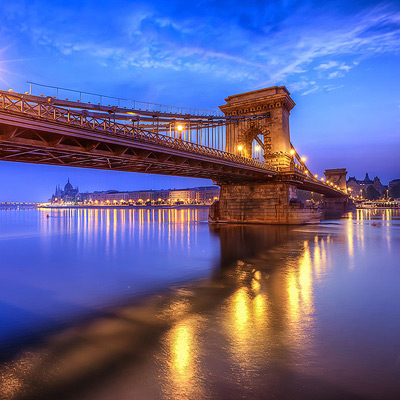
Top 5 photography spots in Budapest

Budapest

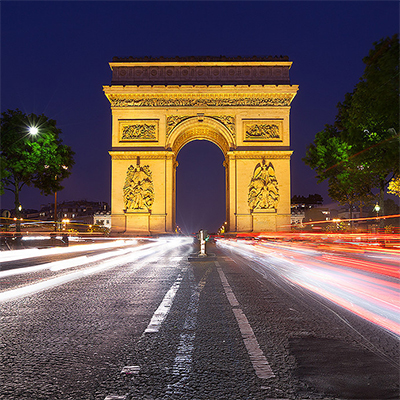
Top 5 photography spots in Paris

Paris

Top 5 photography spots in Paris

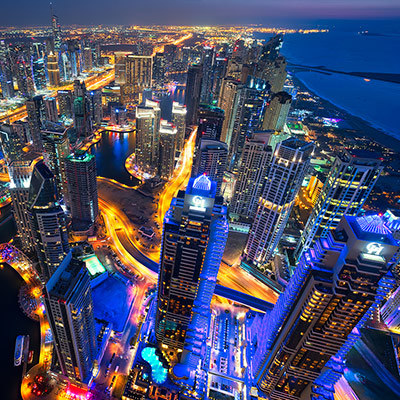
Dubai

Top 5 photography spots in Paris

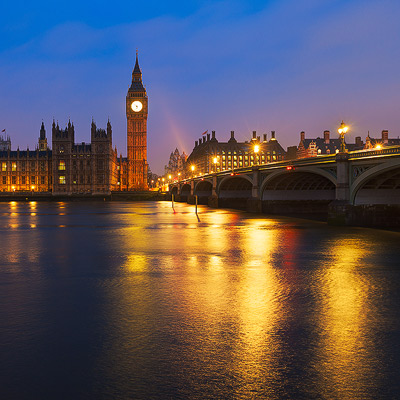
London

You may have noticed, that in the last year I have started using the Oloneo Photoengine for my photos more and more. It makes a great companion to manual blending, as it can be very easy to create a good starting image from it. You can see my favorite things about it in my Oloneo Photoengine review here.

And since I use it so much, I thought I share few tip for it. For what I do, and why I do it. Maybe some of you will find them interesting, or they will motivate you to try Photoengine out :) So here goes.

1. Use edited tiff files instead of RAWs as input.

You may think that using the RAW files as input is great, for providing as much info to the Photoengine as possible, but a 16bit tiff includes all the dynamic range anyway. And what one also can do, is to use a RAW converter of ones choosing, to correct lens problems even before the HDR editing.

What I do before opening files in Photoengine is that I correct the lens distortion, chromatic aberrations and sometimes noise in Lightroom. I also sometime tone down the highlights in the darkest shot, and brighten the shadow in the lightest shot, to make the blending even better. This is because in every HDR program, the smaller the dynamic range, the usually better, more natural, result one gets.

2. Don’t use all exposures

Again one would think that using more is better, but you are not only trying to get a big dynamic range, but also get a nice photo. Especially if you have taken very bright exposures (+2EV and more) including them in the blend can create an overall very bright image, that just looks awful. You can of course correct this by changing exposure and brightness, but just leaving the bright exposure out can make the thing a lot easier. Also, using less exposures will cause less ghosting, if you had any movement in your shots.

Here u see the same brackets with the same settings, just in the first one I used only 3 exposures, in the second one 4.

Photoengine tips
Photoengine tips


3. Try a single exposure as input

One would not believe how much detail and dynamic range can be found in a single photo. I like to use this mostly for my fireworks shots, as those are by definition only single exposures. As Photoengine keeps the sharpness of the photo and makes it so easier to brighten the darks, and recover the bright areas. And all that with a single slider.
Photoengine tips
 

4. Take advantage of the contrast sliders

You maybe noticed, there are two contrast sliders in the Oloneo Photoengine. One under High dynamic range tone mapping, the second one under Low dynamic tone. They both work a little differently. The first one works in conjunction with the Auto-contrast, and you just tweak how strong the auto-contrast is. The second one is a straight up contrast adjustment. I you change just one of those, you will not see any difference, but once you also change the strength, you will see it. I suggest trying both out, as I find a combination of both give me usually the best result.

5. Careful about the Detail Strength

It can be really tempting to just add a lot of detail strength to a photo, but I don’t use it at all. If you really feel that you need more detail, try adding it, but just a little. The combination of changing strength and contrast is usually enough, and the photo retains the original sharpness and natural feel.

Here is an example quickly the strength can be too much.
Photoengine tips
 

6. Use batch processing when editing panoramas

In my tutorial for HDR panoramas, I mentioned that I first create the panorama blends, and then do the HDR editing. But this approach does not work great for bigger panoramas, as no computer is able to work with such huge files without any issues. In those cases I prefer to use an opposite approach. First I export all the files as 16-big tiffs (of course with lens corrections already applied). I do the processing of the first series in Photoengine, and save the settings as a preset. Then I apply the same settings to all other series using the batch processing that is included in Photoengine and use the result for the panorama creation.
Photoengine tips
 

7. Try the natural mode

The natural mode is just a single check box, but it can make the result so much better. What it does, is that it tones down all over-saturated areas of the photo, making them more believable. Sometimes is better just to decrease the saturations, but that does not always ends with the same result.

Here you can see what a difference a single click can make, and no, I didn’t add any saturation for effect.

Photoengine tips
Photoengine tips


8. Create multiple version to be blended later

Another way to get the most from Oloneo Photoengine, is to created two (or more) different versions of the same photo. For instance, like in the photo from the yesterdays post, I created a darker version, from only 4 exposures and a lighter version, from all 5 exposures. Like this, I had a nice sky in the darker version and a nice foreground in the darker version. All I needed after that was just to blend them together.

These are all the tips for now, but of course there is much more to Oloneo Photoengine, and I will revisit this topic again later :)

And were reached another Monday, and as every (almost) Monday, it’s time for another process post. For today I chosen to show you this rainy photo from my last years visit to Paris, so let’g get to it.

Let first take a look at the finished photo and the original 0EV exposure. As you see, the original is too bright, lacks detail and contrast, and has completely boring color. All that needs to be fixed.

Notre Dame in the rain
Notre Dame in the Rain

 
I started with 5 exposures in Lightroom. I corrected the lens distortions, chromatic abberations, white balance and the horizon line. Here you can see all the 5 exposures and the middle one already corrected.

Notre Dame in the Rain

 
I then exported all the files as 16-bit tiffs and loaded into Oloneo Photoengine. Actually I loaded them twice. First time only the first 4, to create a darker version, second time all 5 to create a brighter version. In both versions I used the same settings. Quite often I leave the brightest version out of Photoengine, as it can create a too bright result. Same here, but I still used the too bright result later in Photoshop. I could have done the same with one of the original exposures, but the Photoengine result has a better contrast and detail already, so lees work later on is needed.

Notre Dame in the Rain

 
After this I loaded both results and the original exposures into Photoshop and continued from there (layers numbered from bottom up):
1. the darker Oloneo Photoengine result
2. the lighter Oloneo Photoengine result, used to brighten the darkest areas
3. used the -1ev exposure, to town down the lights (there were just too saturated in the HDR) and to correct ghosting from moving cars and ship
4. few more bright spots darkened using the -2EV shot
5. Color Efex Pro contrast filter to add more detail to the sky, the water and the building on the right
6. Tk Actions saturation mask, to tone down the yellow lights even more
7+8. Color balance adjustment to get a different color feel to the photo. They are both the same, just the second one has a smaller opacity, with which I tweaked the look.
9. merged layer with noise reduction
10. little desaturation on the blue color channel
11. added overall contrast. Almost every photo I edit, ends with a little overall contrast added. This is because the sharpening for web after the re-sizing, removes a little contrast.

Notre Dame in the Rain
 
And that’s all I did with this image. To find out more on how I edit, check out the guides and before after categories on this blog, or check out my video tutorial series here:
banner-master

FREE EBOOK!!!
Subscribe to my newsletter and get a free Capturing fireworks ebook. 
Subscribe