Free HDR video tutorial

Free HDR video tutorial

MASTER EXPOSURE BLENDING

Find the best ones

Find the best ones

TOP PHOTOGRAPHY SPOTS

Free wallpapers

Free wallpapers

HIGH-RESOLUTION WALLPAPERS

Really a long time passed since I posted a process post. But today, I will show you how I edited one of my recent photos from Paris, and of course also how it looked straight out of the camera. So let’s take a look.

If you looks at the start and the result, you can see where the problems were. The original photo is boring, does not include this yellow glow one wants when shooting into the sun, it’s too dark/bright in some areas, and there are lens flares. That all needed to be corrected.

Morning sun
Morning sun

 
For this I used three photos. I took more, but I had no need for the rest. The third photo, with my hand in it, is so I’m able to remove lens flares, and you can find all the info on that in the How to remove lens flares tutorial.

My first edits were in Lightroom. The biggest one was the change in white balance, to get this golden glow into the photo. I also removed chromatic aberrations here.

Morning sun
Morning sun

 
This done I exported all the files as 16-bit tiff files and loaded them into Photoshop. There I did the following edits (layers numbered from bottom up):

1. The brighter of the two exposures
2. Exposure with my hand in front of the sun. I used a brush to just pain in the bottom part of this photo, that I wanted to use.
3. Color balance. The photo was not golden enough, so I shifted the color until I had the result I wanted (in this case, I had to push all the midtones to around -25).
4. The darkest exposure, from which I painted in the sky.
5. I felt that the sky was still not dark enough, so I returned to Lightroom, underexposed the darkest exposure, exported again, and did the same as I did with the layer underneath.
6. Added linear contrast to the photo
7. Brightened the midtones of the photo with a curve.
8. I still wanted more color, so I used Color Efex Briliance & Warminth, to boost the yellows in the shot. Then I removed it from few areas, as I though it was too strong there.
9. The tower was fading a little into the sky, so I added more contrast to it, to make it more dominant.
10. It still needed a bit of color
11. I ended up with a little of Color Efex Pro contrast, to mostly get more definition in the foreground.

And that’s all I did with this image. To find out more on how I edit, check out the guides and before after categories on this blog, or check out my video tutorial series here:
Master exposure blending

I don’t really understand using negative space in photos that much. Maybe if I used it more I would get the hang of it more. But it’s probably not for me, even that I used it here. The evening I took this photo, the sky was a bit boring, with no clouds, so I tried a composition like this. And all the blue sky, with the contrast of the bright yellow parliament, looks quite interesting, doesn’t it? What do you think?

This is a blend of two exposures. I only used a darker exposure to darker few bright spots on the parliament.

Negative Blue

Technique: Oloneo Photoengine, Number of exposures: 2, Camera Model: Sony a7R + Metabones MkIII Adapter, Lens: Canon 24-70mm F2.8, Focal length: 70mm, Aperture: 11, Middle exposure time: 6.0s, ISO: 100, Tripod used: yes, Location: 47.498538, 19.041486

The tops spots page is continually the most visited place on the blog, with Prague being the number one by far. Looks like many people who like to take photos are searching for the best spots :)

And recently, I also added a suggestions for a local photographers who offer guided tours. There is one in the Prague list, and also one in the Budapest list. So if you planing a trip, and want a photographer guide, go check them out :) And don’t forget to check out the lists.

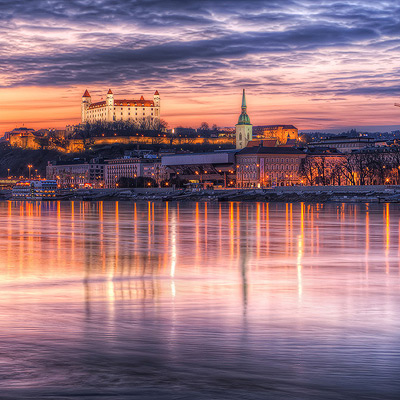
Top 5 photography spots in Bratislava

Bratislava


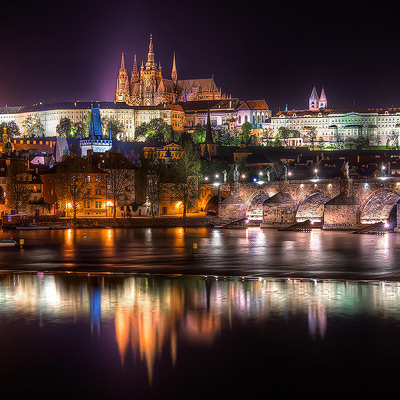
Top 5 photography spots in Prague

Prague


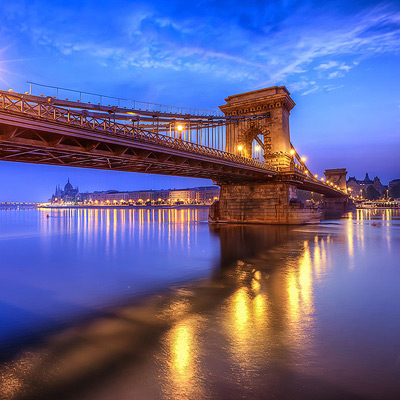
Top 5 photography spots in Budapest

Budapest


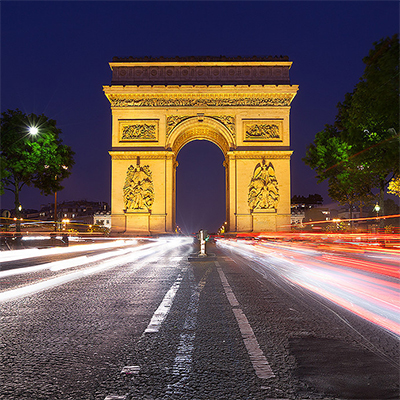
Top 5 photography spots in Paris

Paris


Top 5 photography spots in Paris

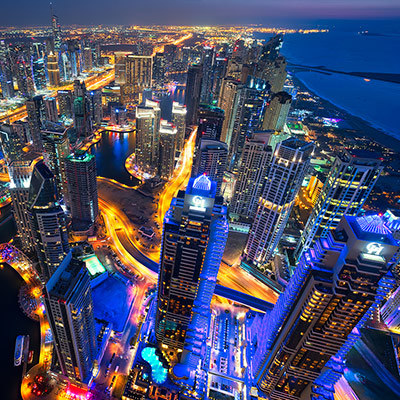
Dubai


Top 5 photography spots in Paris

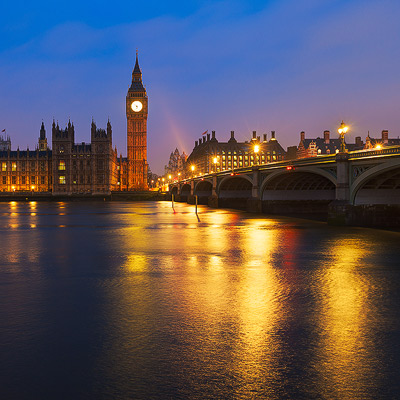
London


Top 5 photography spots in Amsterdam

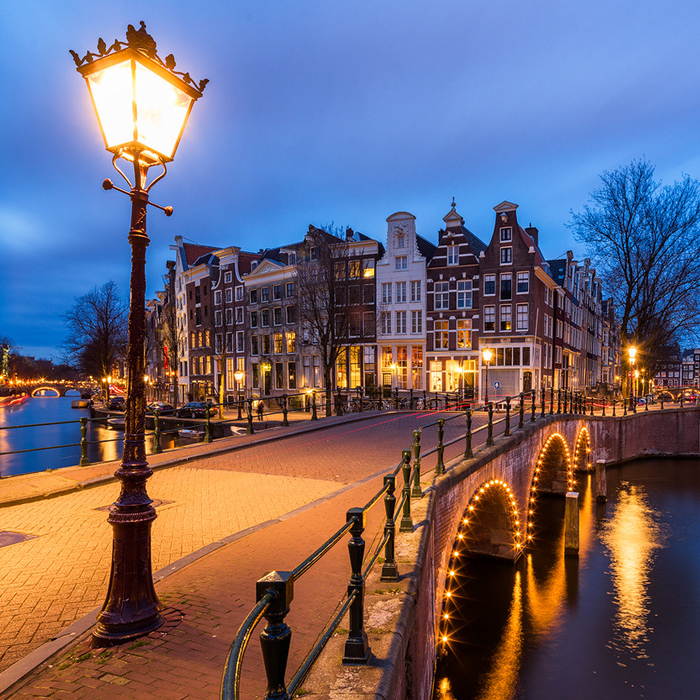
Amsterdam


Top 5 photography spots in Cesky Krumlov

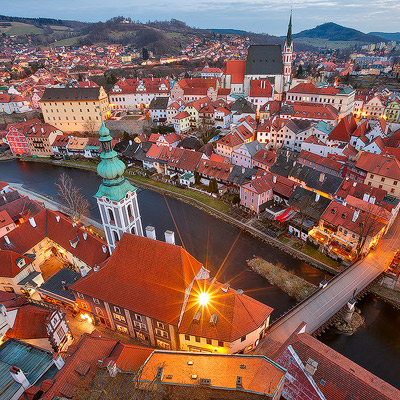
Cesky Krumlov


Normally, I think there are not so many lights in Hallstatt. But as the day I visited it, they had a concert right in the middle of the city (the very bright light in the middle, was a boat with a orchestra on it :)), and they strung light all along the walkway. Other than that, the surrounding is really dark, as its only mountains. You can see it also from the EXIF info, that I had to go with a high ISO and a bigger aperture than I usually like.

This is a HDR from 3 exposures, created in Oloneo Photoengine, finished in Photoshop.

Hallstatt lights

Technique: Oloneo Photoengine, Number of exposures: 3, Camera Model: Sony a7R + Metabones MkIII Adapter, Lens: Canon 16-35mm F2.8, Focal length: 35mm, Aperture: 6.3, Middle exposure time: 15.0s, ISO: 400, Tripod used: yes, Location: 47.557063, 13.647558

I tried for a shot like this already last time I was in Paris, but if you were there, you know that this bridge is quite busy during the day. But as always I tried before the sunrise, on a rainy day, and there was almost nobody. Still I had to do two series of shots, to get rid of thew few people that walked into my shots, but it worked out quite nicely.

This is a blend of two same HDRs, each one from 3 exposures, created in Oloneo Photoengine, finished in Photoshop.

Way to the cathedral

Technique: Oloneo Photoengine, Number of exposures: 2×3, Camera Model: Sony a7R + Metabones MkIII Adapter, Lens: Canon 16-35mm F2.8, Focal length: 16mm, Aperture: 7.1, Middle exposure time: 2.0s, ISO: 200, Tripod used: yes, Location: 48.852497, 2.348230
FREE EBOOK!!!
Subscribe to my newsletter and get a free Capturing fireworks ebook. 
Subscribe