Free HDR video tutorial

Free HDR video tutorial

MASTER EXPOSURE BLENDING

Find the best ones

Find the best ones

TOP PHOTOGRAPHY SPOTS

Free wallpapers

Free wallpapers

HIGH-RESOLUTION WALLPAPERS

Oloneo PanoramaA little change to all the photos I took from under it :). It was actually lucky that I went to the bridge on last Friday, as it was a state holiday, so much fewer cars on the bridge, so much less shaking. Like that I even got longer exposures without any problems, which is usually quite hard from there.

This is another one from my recent trend of doing more panoramic shots. I didn’t even use a panoramic head. You actually don’t need one all the time. If what you are shooting is far enough, or you have a uniform area close to you (road, pavement) where it easily can be blended, you can just do a panorama without it. You don’t even have to be that exact :) Here on the side you can see how this photo looked like put together, before all the needed cropping and correction.

From Apollo

Technique: Oloneo Photoengine, Number of exposures: 2*3, Camera Model: Sony a7R + Metabones Adapter ver. IV, Lens: Canon 16-35mm F2.8, Focal length: 16mm, Aperture: 9, Middle exposure time: 5.0s, ISO: 200, Tripod used: yes, Location: 48.13725, 17.10951

Let’s go back to Amsterdam for today, with a new photo. This is of course a very often seen sight in Amsterdam, canals and bikes. You get this on every single street. The amount of bikes there is just crazy :)

This is a HDR from 4 exposure, created in Oloneo Photoengine. The red part in front, is from a car (or bike, I don’t remember anymore) that passed by while I was taking the shot.

Bike at the canal

Technique: Oloneo Photoengine, Number of exposures: 4, Camera Model: Canon EOS 5D mark II, Lens: Canon 24-70mm F2.8, Focal length: 70mm, Aperture: 7.1, Middle exposure time: 25s, ISO: 200, Tripod used: yes, Location: 52.36622, 4.882865

Radian 2

Some of you may remember my Radian time-lapse device review from some long time ago, and a lot of you asked at that time, where you can get one. As it was a Kickstarter campaign, it was a little harder to purchase one afterwards, but right not, Alpine Labs introduced Radian 2 in a new Kicstarter campaign. So right now is the best time to order one, at a promotional price :)

For those who don’t know what a Radian is, it’s a motion time lapse device, that controls the shutter of your camera and rotates the camera after each shot. This is used to create rotating movement in time lapse videos.

Radian 2 expands on this idea, by adding wireless control through iOS or Android, support for advanced time lapsing, and support for sliders. You can even synchronize up to thee radians, to get a pan, tilt and slide movement at once.

To get more info about the Radian 2, please check out their Kicstarter page here.

Green all the way

I tried something completely different yesterday, when compared to my normal city shots. And from the experience, I found out two things :) First is that composing while really zoomed in is so strange for me, when I compare it to my usual wide angle stuff. The telephoto creates such a different perspective compression, that the result is just different. I’ve been just using it too little while doing my standard ultra wide shots, and probably it’s time to change that :)

Secondly, I found out, that getting a sharp photo with my current tripod when zoomed in to 150-200mm is almost impossible even in a little breeze. Again, I should have noticed this earlier, but since I used it so little, I never really did. But it’s funny, as I just this week decided to get a new tripod, and will probably order it in the next few day :)

Todays photo, is a single exposure, edited in Lightroom, and sharpened in Photoshop. The only edits I did, was to add a lot of contrast, warmer white balance and a little clarity. Photo taken in the South Morava in Czech republic.

Green all the way

Technique: Lightroom edit, Number of exposures: 1, Camera Model: Sony a7R + Metabones Adapter ver. IV, Lens: Canon 70-200mm F2.8 IS II, Focal length: 170mm, Aperture: 13, Middle exposure time: 1/5s, ISO: 100, Tripod used: yes, Location: 48.97406, 17.05052

EditI post a lot of behind the scenes shots, from taking photos and from editing, on my Facebook page. So if you like to see them, feel free to follow me there :)

I been really taking a lot more panoramas lately. This one was quite a funny one, as it was taken from a docked pontoon ship, while the Danube was crazy fast around it. Surprisingly, it was quite stable, and I only got shifts between the exposures, not so much in the exposures them-selfs. Also this was the first time I blended moving water together, and I hope no one will notice where the seam is :)

Across the Danube

Technique: Oloneo Photoengine, Number of exposures: 2*5, Camera Model: Sony a7R + Metabones Adapter ver. IV, Lens: Canon 24-70mm F2.8, Focal length: 38mm, Aperture: 7.1, Middle exposure time: 8.0s, ISO: 200, Tripod used: yes, Location: 48.13725, 17.10951

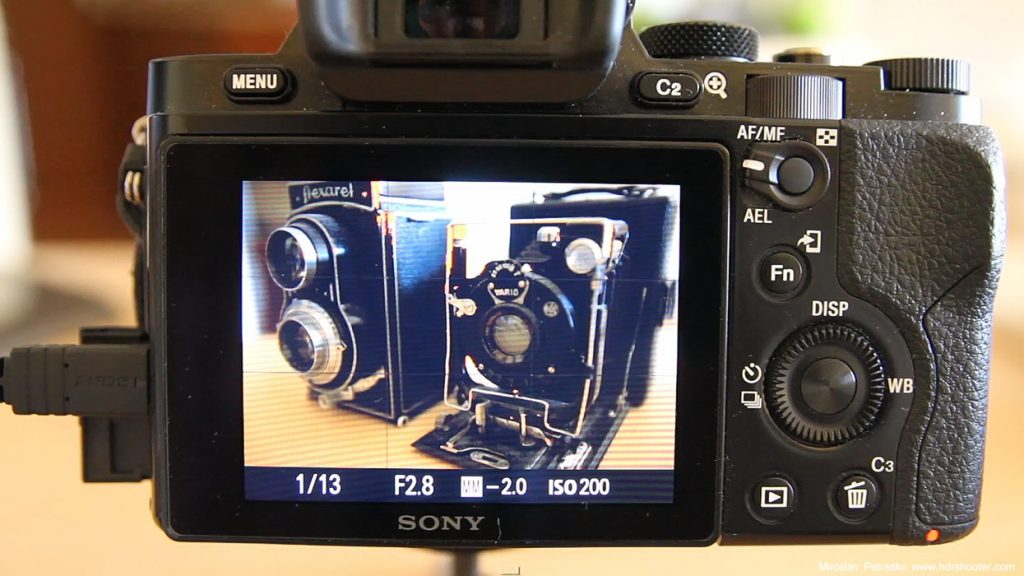
camera-bracketsToday, I will show you how to take multiple brackets for HDR using the in camera auto exposure of the Sony a7R, and also how to do it manually, by changing the shutter speed on the camera.

The a7R is a little limited with the automatic exposure bracketing. You can do only 3 or 5 images, and the 5 can only be spaced by 0.7EV. Additionally, you can’t do all of them with one shutter button press, and you can’t go over 30 second for the longest exposure.

Having a remote while doing this is a real help. Even if you are using the in camera exposure bracketing, you either have to hold the shutter button pressed, or trigger each time separately. Doing this with a remote will result in no camera shaking. If you don’t have a remote, use the 2 second delay, so the camera stabilizes a little after you pressed the shutter button.

For more exposures, you need to go with manual bracketing (or some other off camera solution, I will go through those at some other time :)). Again, it’s better with a remote, but can be done also without. The steps you need to do is:

1. set the camera to manual
2. choose your ISO and aperture
3. set up the shutter speed, so you get the darkest exposure you want ( the camera show only until -2EV, but just split the time in half, and you have -3EV, split again for -4EV ans so on)
4. take the shot (either remote or self timer)
5. double the exposure time (turn the exposure time wheel 3-times)
6. repeat steps 4 and 5 until you have all the exposures you want

A little note to this, the Sony continually meters the scene, and it can show you a different exposure bias as you set. For instance, you can be at 0EV and double the time and the camera only show +0.3EV. You can just ignore that, and just focus on the time. Double the time, change the exposure by 1EV, regardless of what the camera show.

Additional, if you hit on the 30 second limit. For instance, your +1EV is 20 seconds, and you want a +2EV, you would need a 40 second exposure for that. You have two options here. Either switch to the bulb mode, and just use a remote to hold down the shutter button for the 40 seconds, or a much easier way, is to just double the ISO. Doubling the ISO has the same effect as doubling the exposure time, you will brighten the shot by 1EV.

And since the easiest way to show something like this is in a video, here is a video of that :)

I hope it understandable for you, and if you have any questions about it, feel free to ask :)

FREE EBOOK!!!
Subscribe to my newsletter and get a free Capturing fireworks ebook. 
Subscribe