Free HDR video tutorial

Free HDR video tutorial

MASTER EXPOSURE BLENDING

Find the best ones

Find the best ones

TOP PHOTOGRAPHY SPOTS

Free wallpapers

Free wallpapers

HIGH-RESOLUTION WALLPAPERS

500px3

Back on the 1st page of 500px

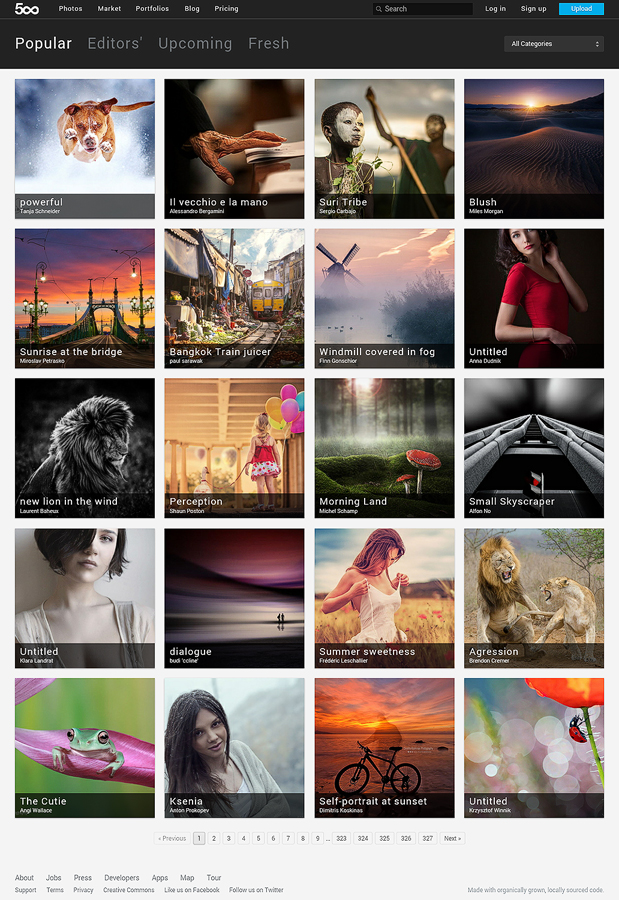
It’s always so nice to get on the front page of Flickr or 500px. Really a great way to approach new people who never seen my photos. And the Sunrise at the bridge photo got there yesterday.

Looking from the castle

The Aggstein castle ruins in Austria are really high up. This is taken from there, but I had to zoom in quite a lot (150mm) as normally you would not even see the ship :) Really great that you can get up there with a car and don’t have to walk that much. If you are in the area, it’s great for a visit, even if just for the view.

This is a manual blend from 3 shots, edited in Photoshop.
Looking from the castle

Destination Slovenia

Early tomorrow I’m off to Slovenia (and for a few hours also to Italia) so wish me luck with weather and hopefully I get few nice photos there. I will be visiting Ljubljana and Maribor in Slovenia and if all goes according to plan also Trieste in Italy. So next week, there should be photos from two new countries on this blog :)

The Red sunset

Today I have for you a photo taken from the top of the SNP bridge. I took it around a week ago there. The sunset was a little boring, but the area just above the horizon was completely glowing with yellow and red colors. So instead of using a wide-angle lens, I zoomed in completely into the scene and captured this.

This is a manual blend from 6 shots.
The Red sunset

I’m currently preparing blog posts for the whole next week (as I will be traveling) and don’t have enough photos edited, there is another process post today. So another oportunity to lear something from my process :)

Today it’s a sunrise photo from Budapest. This was a two stage edit, as I also used Oloneo Photoengine. So to get to this result:
The morning reflection

I took 7 photos, corrected white balance and leveled the horizon in Lightroom and then exported all as 16-bit Tiff files. Imported those to Oloneo Photoengine and combined them. I use only one slider there, TM Strength, and usually move it to aroudn 40-60. Like this I only push down the brightness difference between dark and light areas and give myself a good start for further edits. The result from Oloneo looked like this:
The-Morning-reflection-oloneo

I then loaded it, with the original brackets into photoshop, and did the folowing edits (numbered from bottom up)
1. Oloneo result
2. 0EV exposure to correct the ship, as it was moving
3. +2EV to brighten few areas on the bridge
4. -2EV to darken most of the image (it was just too bright)
5. Color efex pro contrast preset used to get more detail from the image
6. Color efex detail extractor preset on a low setting, to get even more detail. It was mostly needed on the buildings
7+8. Glow effect (check out my glow tutorial)
9. color balance to make the sunrise more yellow
10. brightened the shadows to make the light more even
11. nothing, I just needed the merget layer for Color efex, and forgot to delete it :)
12. Color efex Darken/Lighten center, to darken the corners and lighten the center (so the image pulls your eyes more into the sunrise)
13. added contrast to basic midtones
14. added more exposure to the image, but not to the brightest parts. At this stage of the edit I was just tweaking the final look, making small changes.
15. added overall contrast
16. brightened the darkest parts again
17. desaturated the ship, so it’s white
18. removed a little bit of saturation from the whole image
19. added detail with the high pass filter
20. still was not satisfied with the brightenss in few parts, so corrected it with a levels channel
The-Morning-reflection-process

And thats all :)
Continue to the full post to see the original 0EV exposure.

I posted already few photos from the Prague metro, and this is another one. As to make this post a little more interesting, here are also photos from three other metro stations I posted before. You notice the same composition and that is on purpose. I also have different ones, but the symmetrical ones look the best here. The symmetry combined with the repetition of the architecture works just perfectly.

So here are the three older photos
Hiding in the Underground
Underground
The Angel Station

and here is the new one, this one is a manual blend from three shots, taken at the Charles Square metro stop.
Charles Square stop

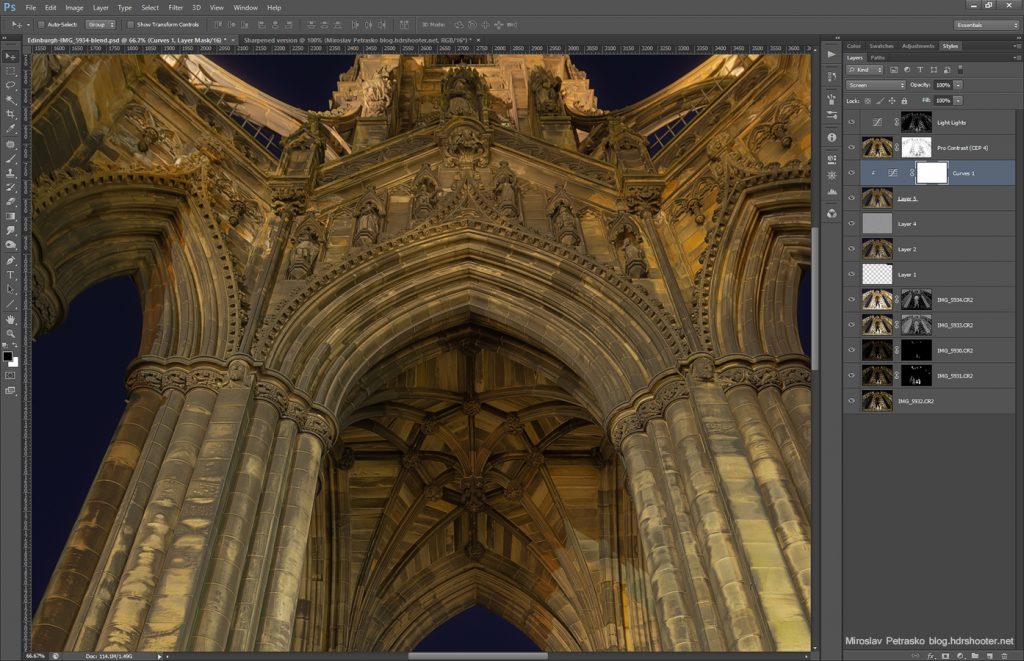
Another tuesday, another process post. For today I chosen a photo of the Scott monument in Edinburgh, Scotland. So to get to this photo, I took 5 photos.

The Scott monument
I loaded all the RAW files into Lightroom, where I corrected the white balance first (you can see on the original photo that it has a strong purple cast).

After that I exported all files into Photoshop and did the following steps (layers numbered from bottom up)

1. 0EV exposure
2. -1EV exposure, used luminescence masks and darkened the statue in the middle and few other bright spots
3. -2EV exposure, used to darken the statue even more
4. +1EV exposure, brightened the overall photo
5. +2EV exposure, brightened the sky more and few other areas
6. content aware fill to create a small part of the missing sky, which was lost due to lens correction
7. corrected a light glow around the statue, this sometimes happens when there is a huge difference between dark and light areas
8. added details using the high pass filter
9+10. added glow, check out my Glow tutorial to see exactly how
11. Color effex pro contrast to pull out more detail from the photo
12. darkened the brightest areas a little
The-Scott-Monument-process
And that’s all.
Continue to the full post to see the original 0EV exposure.

FREE EBOOK!!!
Subscribe to my newsletter and get a free Capturing fireworks ebook. 
Subscribe