Free HDR video tutorial

Free HDR video tutorial

MASTER EXPOSURE BLENDING

Find the best ones

Find the best ones

TOP PHOTOGRAPHY SPOTS

Free wallpapers

Free wallpapers

HIGH-RESOLUTION WALLPAPERS

As I take quite a lot of photos and visit some cities fairy regularly, I decided to put together few lists of my favorite places to take photos from.

So if you are going to visit any of them, and want to know some nice places from where to take photos, check them out.

I’m including a gps location to also show where the respective photo was taken (or where the general area was) and also if tripods are allowed or not. I focus on publicly accessible areas and prefer the ones with tripods allowed.

The lists are also available in Japanese, and you can find those here トップ写真スポット.

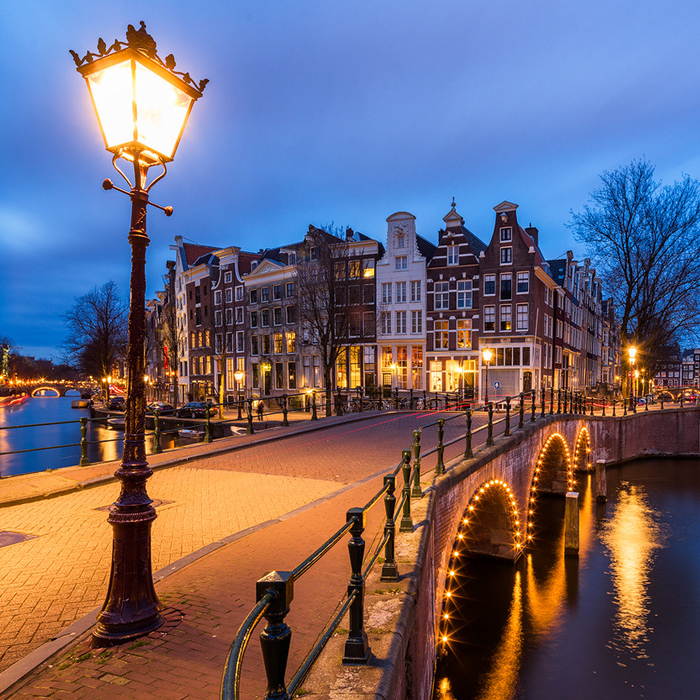
Amsterdam

Top 5 photography spots in Amsterdam

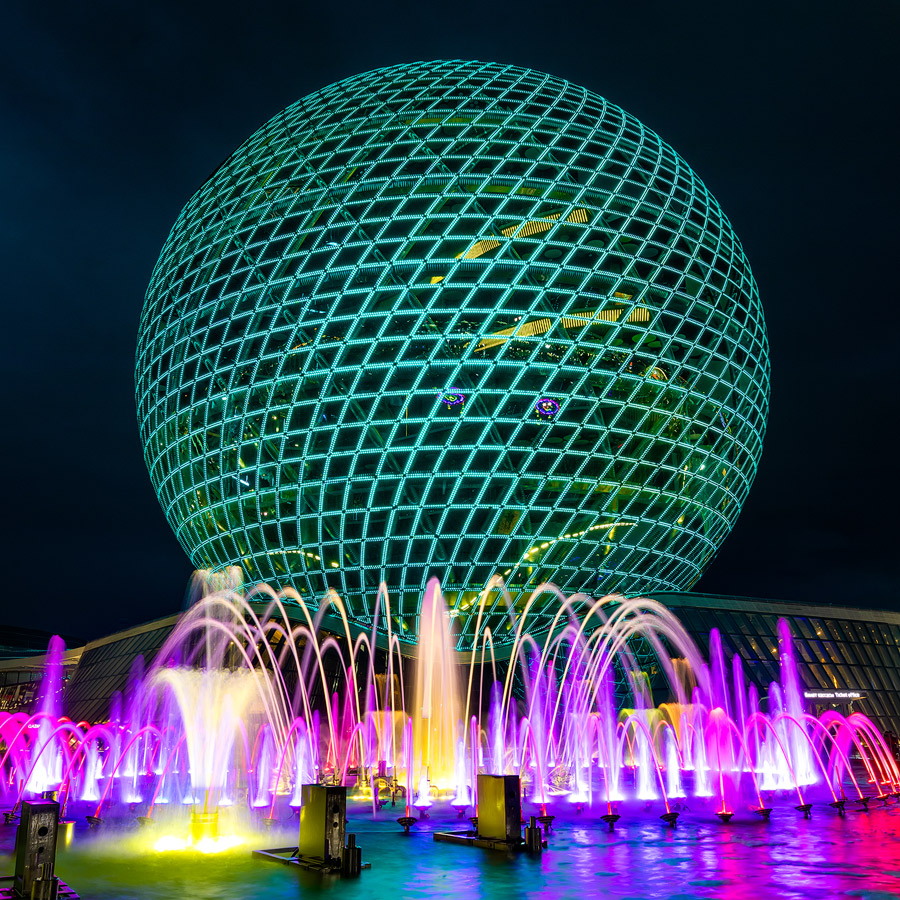
Astana

Top photography spots in Astana

Bratislava

Top 5 photography spots in Bratislava

Budapest

Top 5 photography spots in Budapest

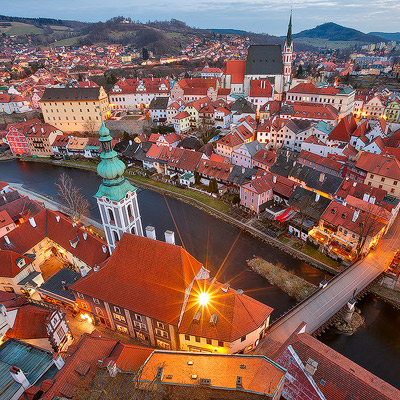
Cesky Krumlov

Top 5 photography spots in Cesky Krumlov

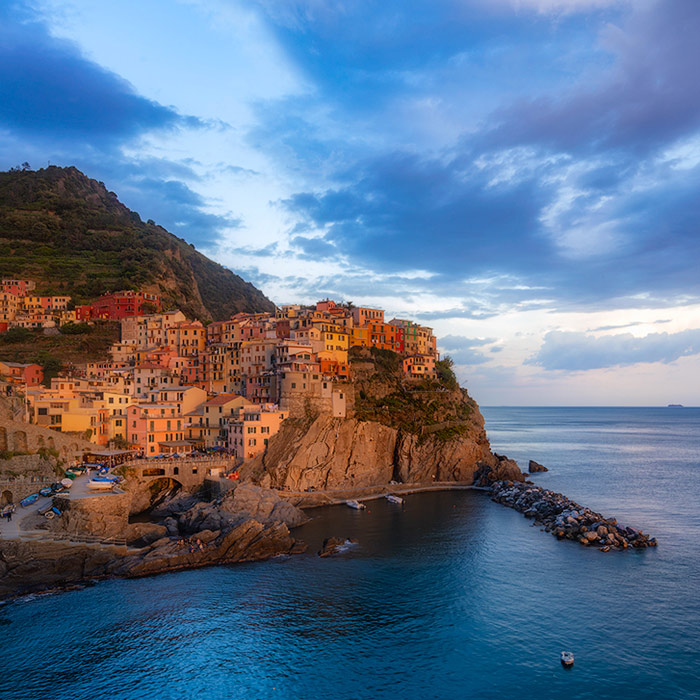
Cinque Terre

Top 5 photography spots in Cinque Terre

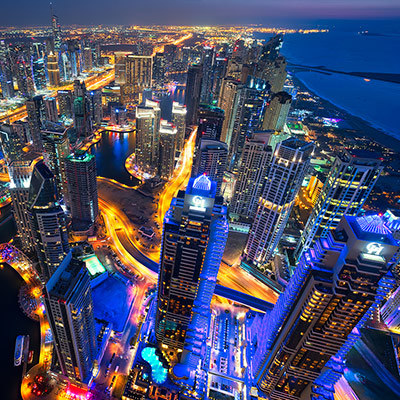
Dubai

Top 5 photography spots in Dubai

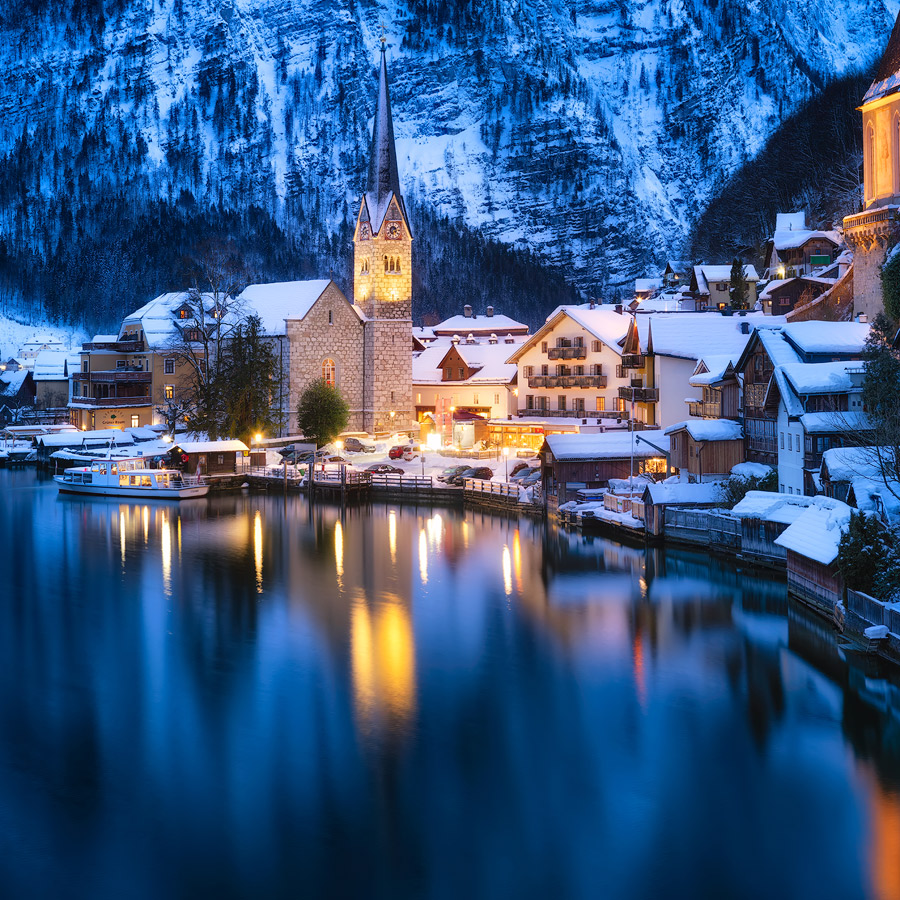
Hallstatt

Top photography spots in Hallstatt

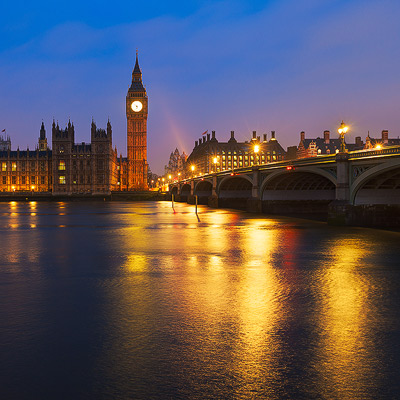
London

Top 5 photography spots in London

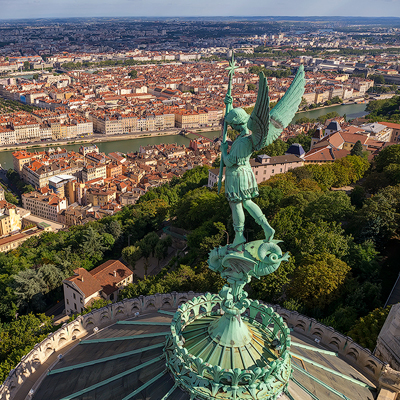
Lyon

Lyon

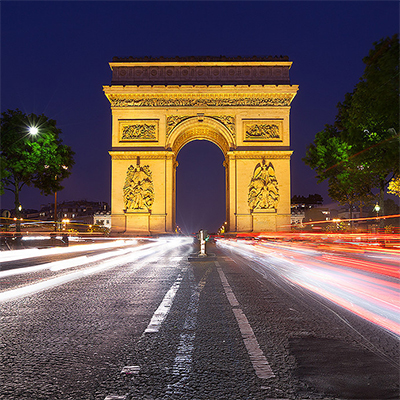
Paris

Top 5 photography spots in Paris

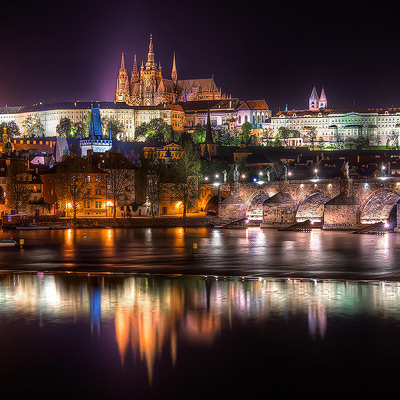
Prague

Top 5 photography spots in Prague

Wachau Valley

Top 5 photography spots in Wachau Valley

If you are from any of the respective cities, and know a great place there, feel free to leave a message in the comment. I will try to check it out next time I’m visiting :)

Just a reflection

Another reflection photo. I just can’t stop taking them :) Yesterday I again had one of those days, when I just can decide what photo to put here. It happens from time to time. So in the end I decided for this one :)
Just a reflection Another reflection photo. I just can't stop taking them :)

Getting the final look

As you can see, the result from Photomatix is not the final photo. You have to tweak it more to get the final result.

There are two main approaches that you can use, to get the final, desired look in your HDR photo.  You can either use basic photo adjustments (curves, levels, contrast, hue/saturation…) in Photoshop  or you can use various available plugins.Using the adjustments is harder and takes more time to master, but you have much better control of the result (and better results in the end). Using the plugins is much simpler (usually you just select a preset) and much quicker to learn.I personally use a combination of both approaches, I just use what fits the image. But you always have to be careful. When you can recognize the plugins from the final photo, you have overdone it.I won’t go int photo adjustments here. There are a big part of Photoshop and if you look around you can find many tutorials how to use them. Instead I will show you the plugins and their settings I use the most.

Masking the results in

Same as when correcting problems in HDR’s,  these plugins should not be used on the whole photo, but just be masked in where you need it. For instance, you need more noise reduction on the sky, but usually no sharpening.

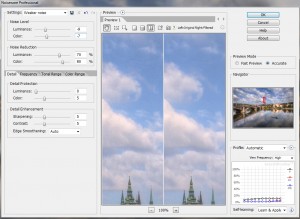
Imagenomic Noiseware Pro

http://www.imagenomic.com/nw.aspx

My prefered way to remove noise from images. As I mentioned in previous part, be care full not to overdo it, as you will lose a lot of detail in your photo. Usually you need more noise reduction in the sky, than in other parts of the photo. Also when you are shooting citiscapes, you should not remove noise on the buildings. You need to keep some detail there.As I shoot mostly on the 5D mark II with the ISO on 100 I don’t go very high on the setting here. Preset weaker noise, with luminance -10 to -5 and color usually -20 to -5. You can easily experiment here, to see how much you need.

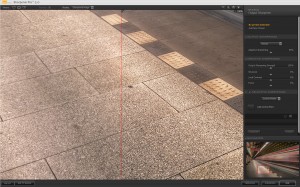
NIK Sharpener Pro

http://www.niksoftware.com/sharpenerpro/usa/entry.php

Currently my favorite way to sharpen the final image. I always use the output sharpener with the default settings. Only sometime I go up with the sharpness to about 130% and structure to about 10. Also be quite gentle with this, as when you sharpen too much, it’s starts to create artifacts in your image.Sometimes I do a second pass with the unsharp mask (as I mentioned in the previous part).  Sharpener pro sharpens the small details very nicely, and the unshapr mask with a higher radius (around 4px) can bring out the bigger ones.Don’t forget to remove the sharpness from the sky and from parts of your image with no details.

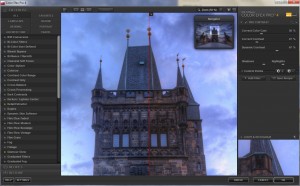
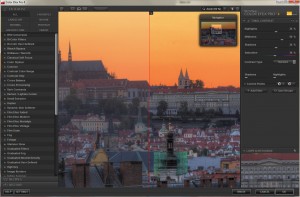
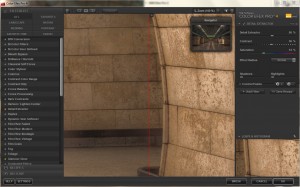
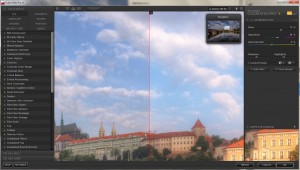
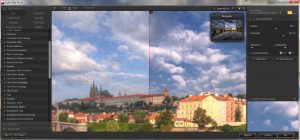
NIK Color effects Pro

http://www.niksoftware.com/colorefexpro/usa/index.php

I used to use this one on all of my images, but not anymore. I do more adjustments directly in Photoshop now. But still this is one great plugin and can help you a lot. For me the most useful presets here are:

Pro Contrast

The quickest way to correct the colors in your photo. Works very nicely in about 80% of cases. Still it should not be overused. You have 5 settings here:

  • Correct Color Cast – corrects colors. If you had bad white balance in your shots, this can really help. Setting around 30-50% works well here. If you don’t change the other settings, this is not that visible.
  • Correct Contrast – ads more contrast to your photo.
  • Dynamic Contrast – works together with the Correct Contrast. Ads more contrast on smaller scale, so you and up with more details. Both work best at around 30-50%
  • Shadows – Pro contrast tends to create a lot of black areas. Move this slider to the right to make them brighter.
  • Highlights – same as with shadows, Pro contrast can create very bright areas. Moving this to the right will make them darker

Pro contrast can create a lot of noise, so you should remove the noise before you apply this filter. It also can darken parts of your photo, so adding a levels layer and brightening the mid-tones can help a lot.

Tonal Contrast

If you photo looks too flat, and you want to add more detail to it use this one. But keep it subtle and use it only on the parts of your photo where you need it. For instance on clouds it can look absolutely horrible. Also be careful with a very noisy image. It can take noise as detail and make it worse. You have the following settings there:

  • Highlights, Midtones, Shadows – adds details in the respective parts of the photo. Usually you need the most detail in the midtones, but settings of 25% in all work very well.

  • Saturation – adds more color to your photo. I have noticed that tonal contrast can create very nice colors so it can be an alternative way to saturate your photo.
  • Shadows and Highlights – same as by Pro contrast. Move them both a little to the right.

It can happen that you want to use only the detail or only the colors from this effect. If you just want the detail and no change in colors set the Tonal Contrast layer to luminosity. If you want only colors, set it to color.

Detail Extractor

Similar to tonal contrast, this one also adds more detail into your photo. There are photos where this works wonders, but there are those where it creates a horrible mess. Best used when you have something where you want much more detail.Settings here are simple. Just add as much detail extractor as looks good. Adding a little contrast will give you a better result. 

Glamour Glow

This filter is under portrait category, but can create very nice results also on landscape shots. Especially very noisy clouds and dark clouds get a lot from this effect. Settings here are:

  • Glow – how much glow is in the photo. Around 20-30% is usually enough
  • Saturation – default settings are very low here. Add more and you will get better results. Around 30% works usually well
  • Glow Warmth – can be used to give a photo more warmer or cooler looks. Similar to white balance, but more subtle.

Polarize

Simulates the effect of a polarizer filter on you lens. Adds a lot of blue into your photo. Best used when you have very bright sky and want to darken it.Changing the Rotate setting will change the color and Strength will change how much of the effect is used.

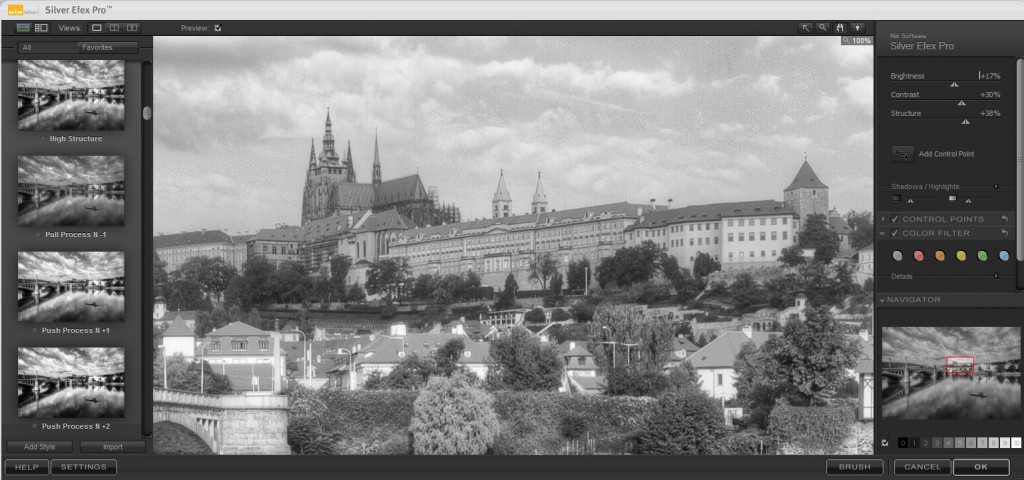
Nik Silver Effects Pro

http://www.niksoftware.com/silverefexpro/usa/entry.php

This plugin is one of the best ways you can convert your photos into B&W. It is very simple to use and can create stunning results. There are only three settings here, Brightness, Contrast and Structure. Only structure is something new. It adds more detail and micro-contrast into your photo. My favorite preset here is high structure.

Topaz Adjust

http://www.topazlabs.com/710-3-1-18.html

Another very popular plugin. Can create a lot of very nice effects on you photos. But same as by all other, don’t overdo it.  A subtle effect can create a much more pleasing photo than a strong one. There are a lot of presets in Topaz Adjust, but my three favorite are Photo Pop, Portrait Drama and Spicify.

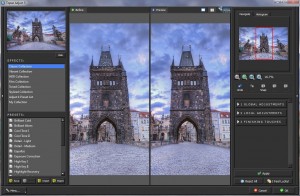
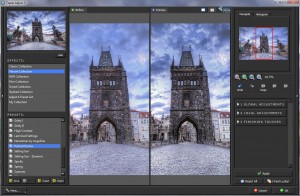
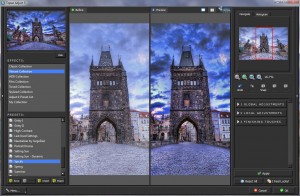
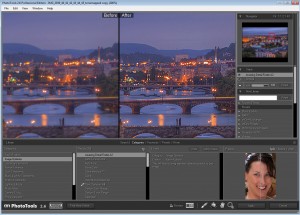
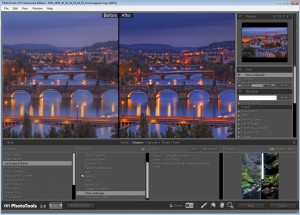
onOne PhotoTools

http://www.ononesoftware.com/products/phototools/

Another plugin that gives you so many options and results. A lot of photographers use only one from these three (either Color Effects, Topaz or Photo tools) as it is quite a lot to know all the settings in all of them.  I haven’t used this one in very long time but still you should give it a try. My two most used presets in this one are Amazing detail finder and Wow Landscape.

And that’s all for this part. This should have been the last part of my tutorial but there will be few more. There still are a lot of thing I can add here.

Colorful ships on Danube

Another ship themed photo. The yesterdays elevator was on a similar ship to this one. And as summer is closer and closer there are more ships on Danube. Not as big as the ones cruising the seas, but still huge :)
Colorful ships on Danube As summer is closer and closer there are more boats on Danube.

Glass elevator

During a little photo work I had the opportunity to visit a beautiful new ship called Amacerto, which now cruses the Danube river. I had little time, so I took only few shots inside, but I couldn’t resist to take a shot of this glass elevator. It reminds me a little of the one in the Old town hall in Prague.

I used the fish-eye lens on this one. I’m still getting used to it, and I thought that this would make a nice scene for it. I removed the distortion a little, as I was standing quite close and it was a little to much for my taste. Is it just me, or It is quite hard to center a fish-eye photo? I was a little off on this one, and I’m still not sure it perfectly symmetrical.
Glass elevator During a little photo work I had the opportunity to visit a beautiful new ship called Amacerto, which now cruses the Danube river.  I had little time, so I took only few shots inside, but I could resist to take a shot of this glass elevator.

FREE EBOOK!!!
Subscribe to my newsletter and get a free Capturing fireworks ebook. 
Subscribe