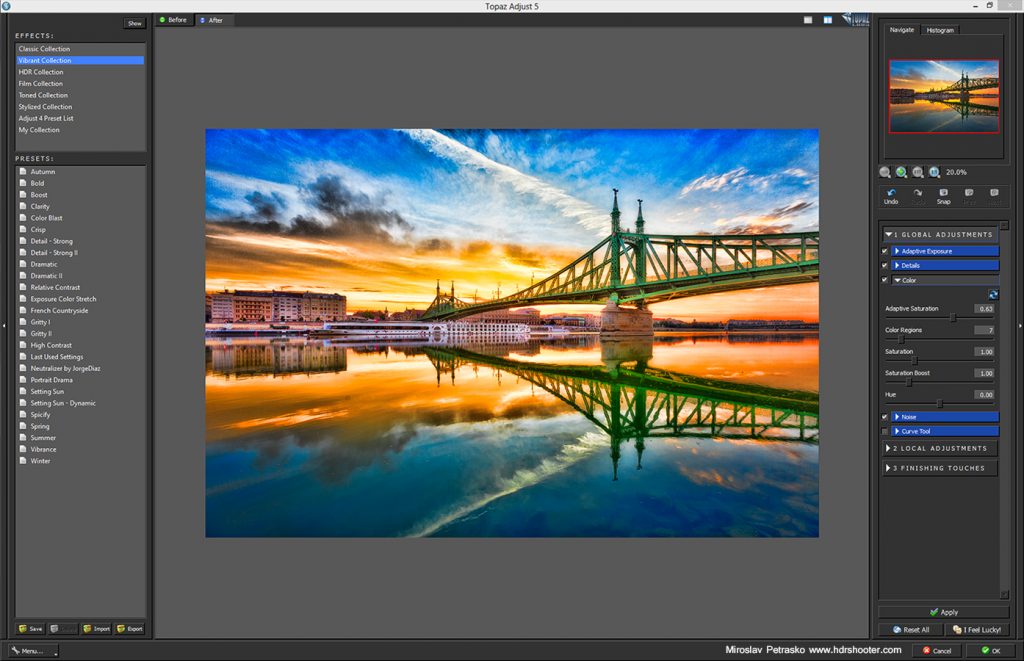
Topaz Adjust is another very popular Photoshop plugin, used to enhance the look of photos. Similar to Nik Color Efex Pro, it’s a huge set of presets, but different to it, here are all the presets done using the same set of adjustments. And there are quite a lot of those.
You can either start by choosing one of the presets, or jump directly into the specific adjustments. There are split into three categories: Global Adjustments, Local Adjustments and Finishing Touches.
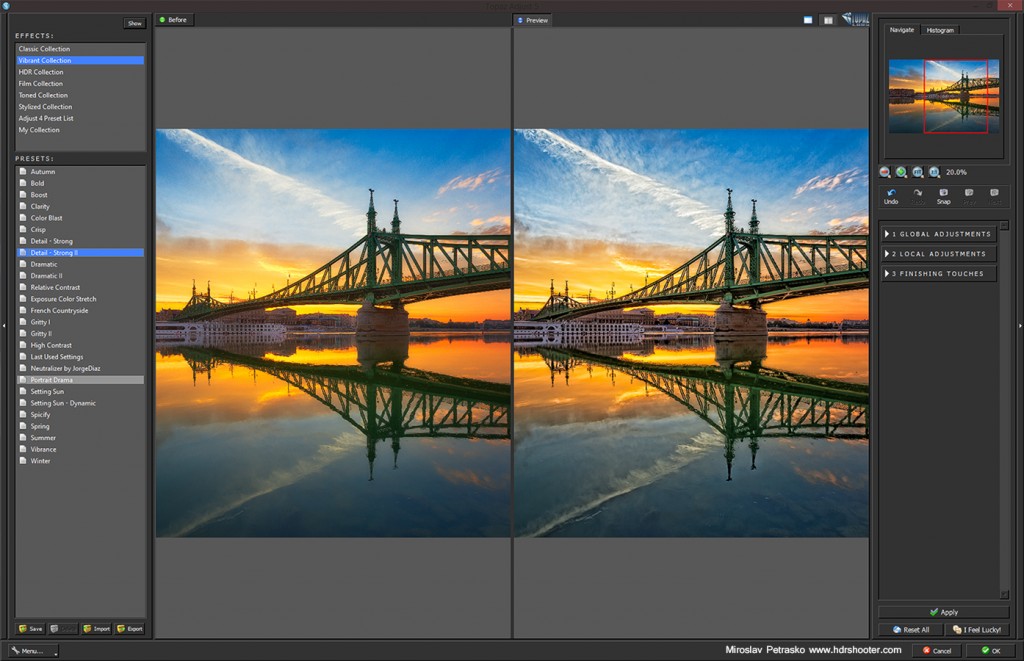
Global adjustments are the once you will use the most here. You can use Adaptive Exposure to balance the images tonal values and to add more color and local contrast. You can use the Details sliders to give you photo a crazy amount of detail. Similar you can use the Color adjustments to add more color. Topaz adjust also supports adaptive saturation, which is similar to vibrance in Lightroom.
Under local adjustments you can find adjustments like burn or dodge. It is debatable if this is useful. If you are using this plugin from Photoshop, you can do the same directly there, if you are using it from Lightroom, maybe then they are more handy. You can also selectively brush out the effect from the photo, but I think using Photoshop layers for this is much easier.
As finishing touches you can add a Vignette, Grain, Warmth, Border and more. This are all classic adjustments, that can be done in many different ways, but if you are unfamiliar with advanced adjustments in Phtoshop or Lightroom, this can make your work easier.
The most unique feature of Topaz Adjust is the Adaptive exposure. It can pull out a lot of detail and tonal range from a single exposure, so you can even fake a HDR look with it. But if you do, I really suggest you tone it down later in Photoshop. The results of Topaz Adjust are usually quite strong and very prominent in the photos. You can think about it as, if you can recognize the used filter from the look of the photo, than you have overdone it.
Here are few of my favorite presets from Topaz Adjust 5:
Dramatic:
Adds a lot of drama to the photo. If blended properly, it will bring out detail and local contrast in the final photo.
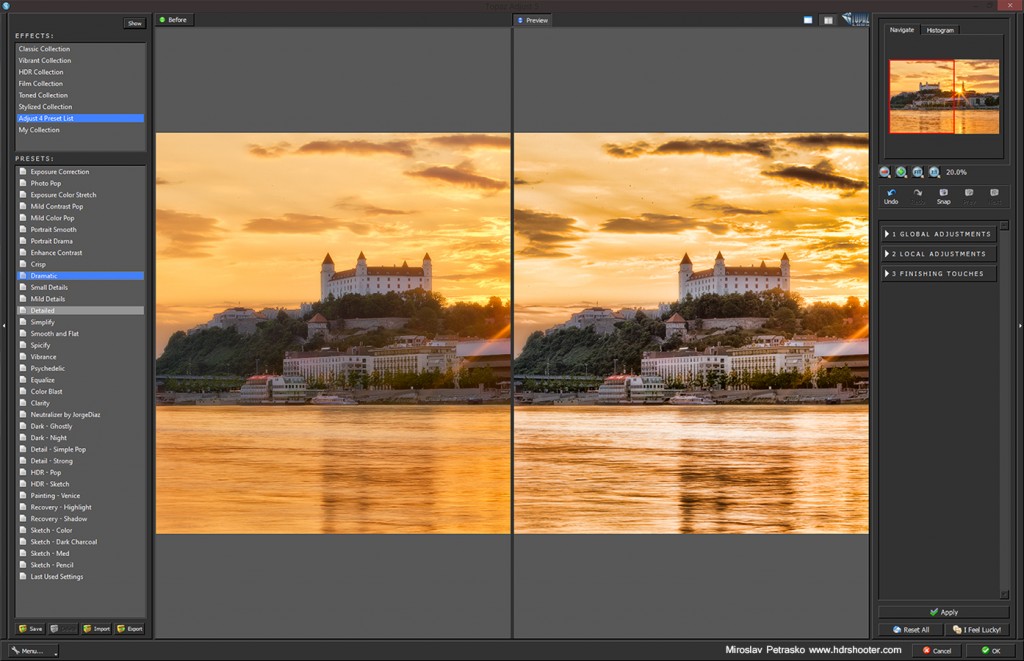
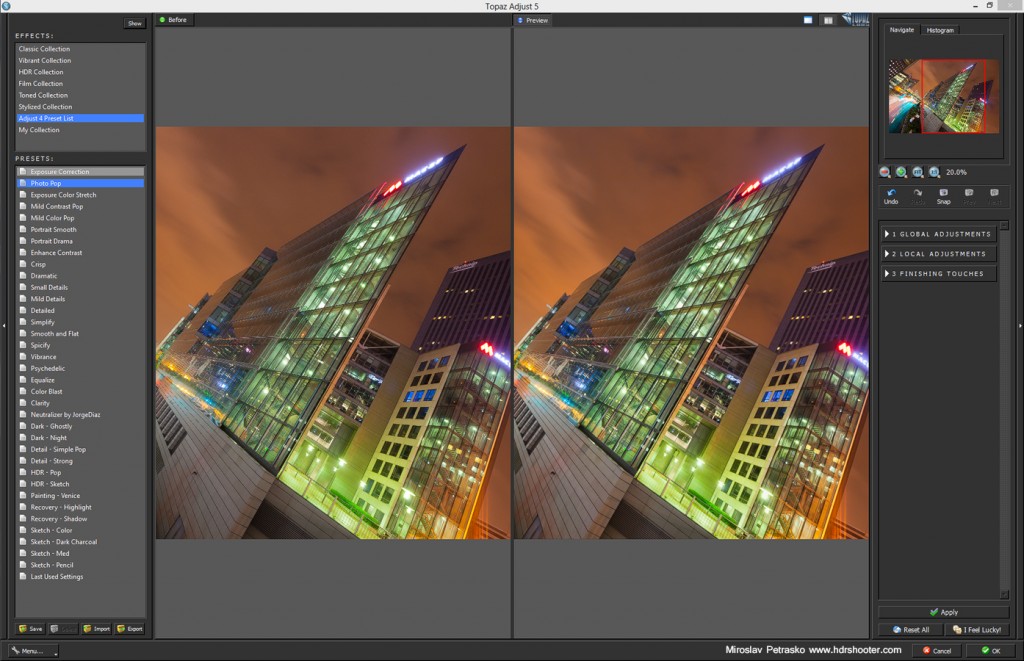
Photo pop:
Probably the most useful preset. Adds a little color, contrast and detail. Makes the photo “pop”. Can help a lot of photos to stand out. The effect is usually very subtle, but noticeable.
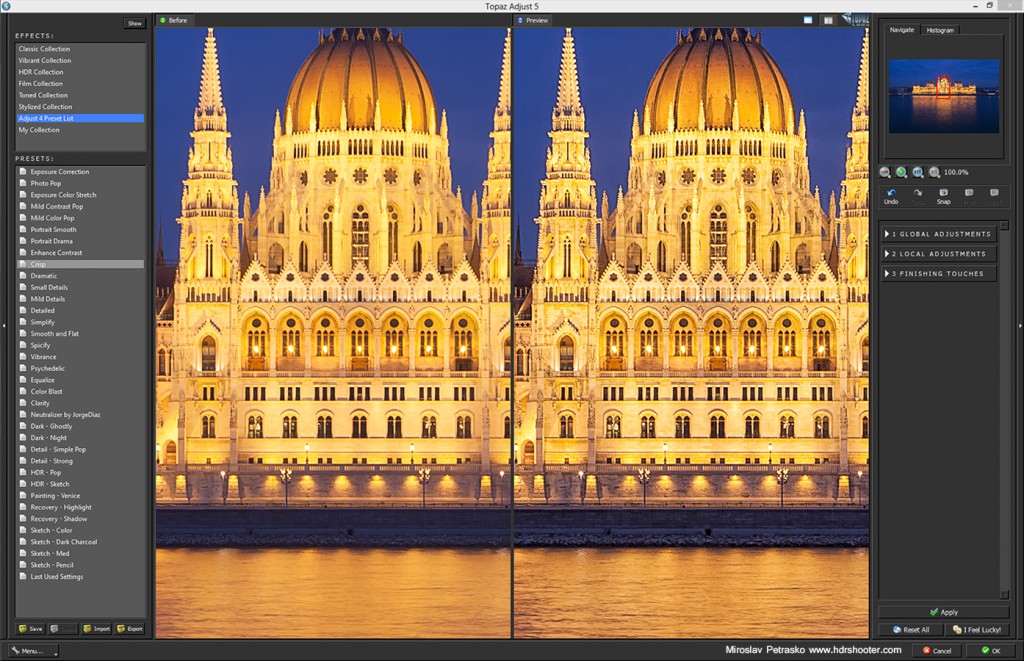
Mild detail:
This is similar to unsharp mask in Photoshop, or structure in Nik Viveza. Adds a lot of sharpness and small details.
Overall the Topaz Adjust plugin can create stunning results. But if you want to use it, use it gently. I really advise blending its results with the original images.
For more information, please visit the Topaz Adjust page.




Leave a Comment